
Mother’s Day is around the corner and soon flowers will be flying off the shelves at our local grocery stores. When I receive a larger bouquet, I often prefer to take it apart and create several arrangements for my home.

In this Mother’s Day edition, I will show you how I create custom floral arrangements from flowers you can buy at your local grocery store. Some of the flowers are already a bit tired, and I apologize for that. I wish I could get market-fresh local flowers, but it is early in the season and most are imports I am sure.
Things you’ll need:
A variety of vases
Flowers, perhaps two larger bouquets and some fillers like baby’s breath and some greenery.
Scissors
If you have: a flower pin frog

Flower pin frog
Step 1: Source your flowers
There are a couple ways you can go about doing this. I will be focusing on buying a few bunches of both flowers and greenery from Costco, however, feel free to check out your favorite grocery store, your local farmer’s market, or even your own backyard!
Tip: Whether you are doing it for yourself or for your mom, think about what colours work in your home when you are shopping for flowers. What colours are in the art on your walls or in your area rug. Also look for natural flowers, not the horrible artificially dyed ones.

Step 2: Pick out your vases

As you can tell I like white vases…
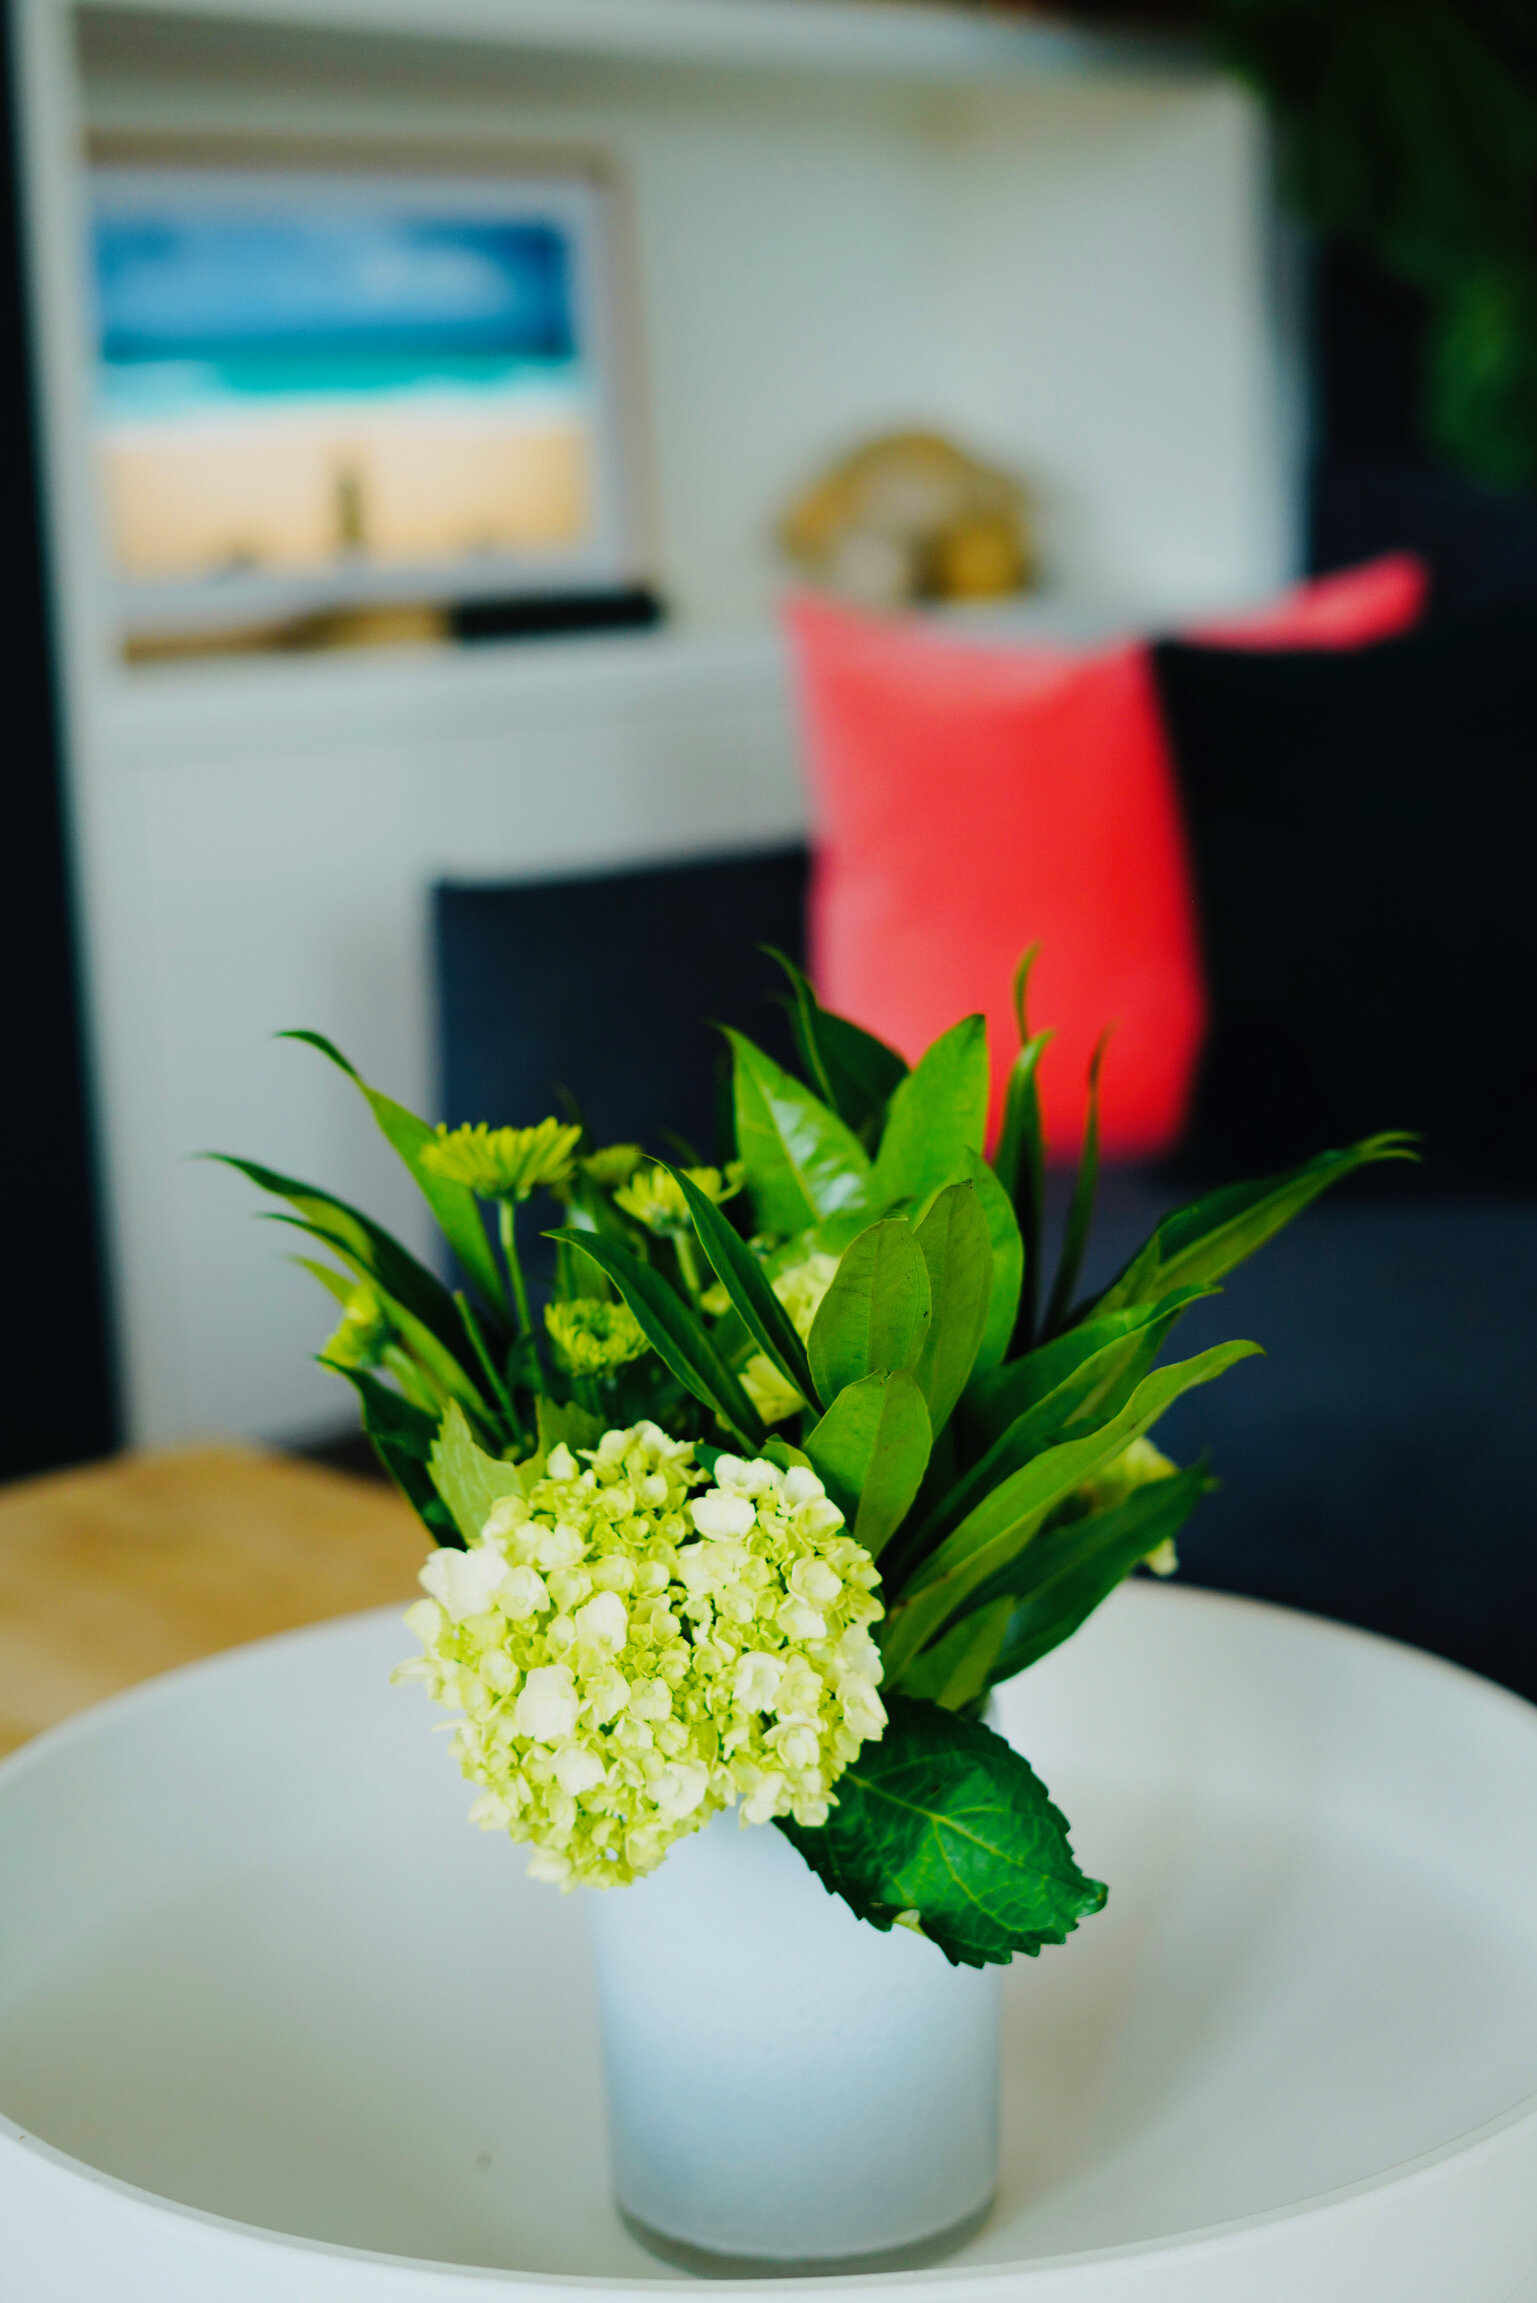
The right vase is equally as important as the flowers you choose. Look for a vase with a narrow opening, this will help to keep your arrangement in place and your flowers upright. As you will see, you can use small vases and larger, but I usually prefer to keep my arrangements low. They look better once placed on a table or shelf.
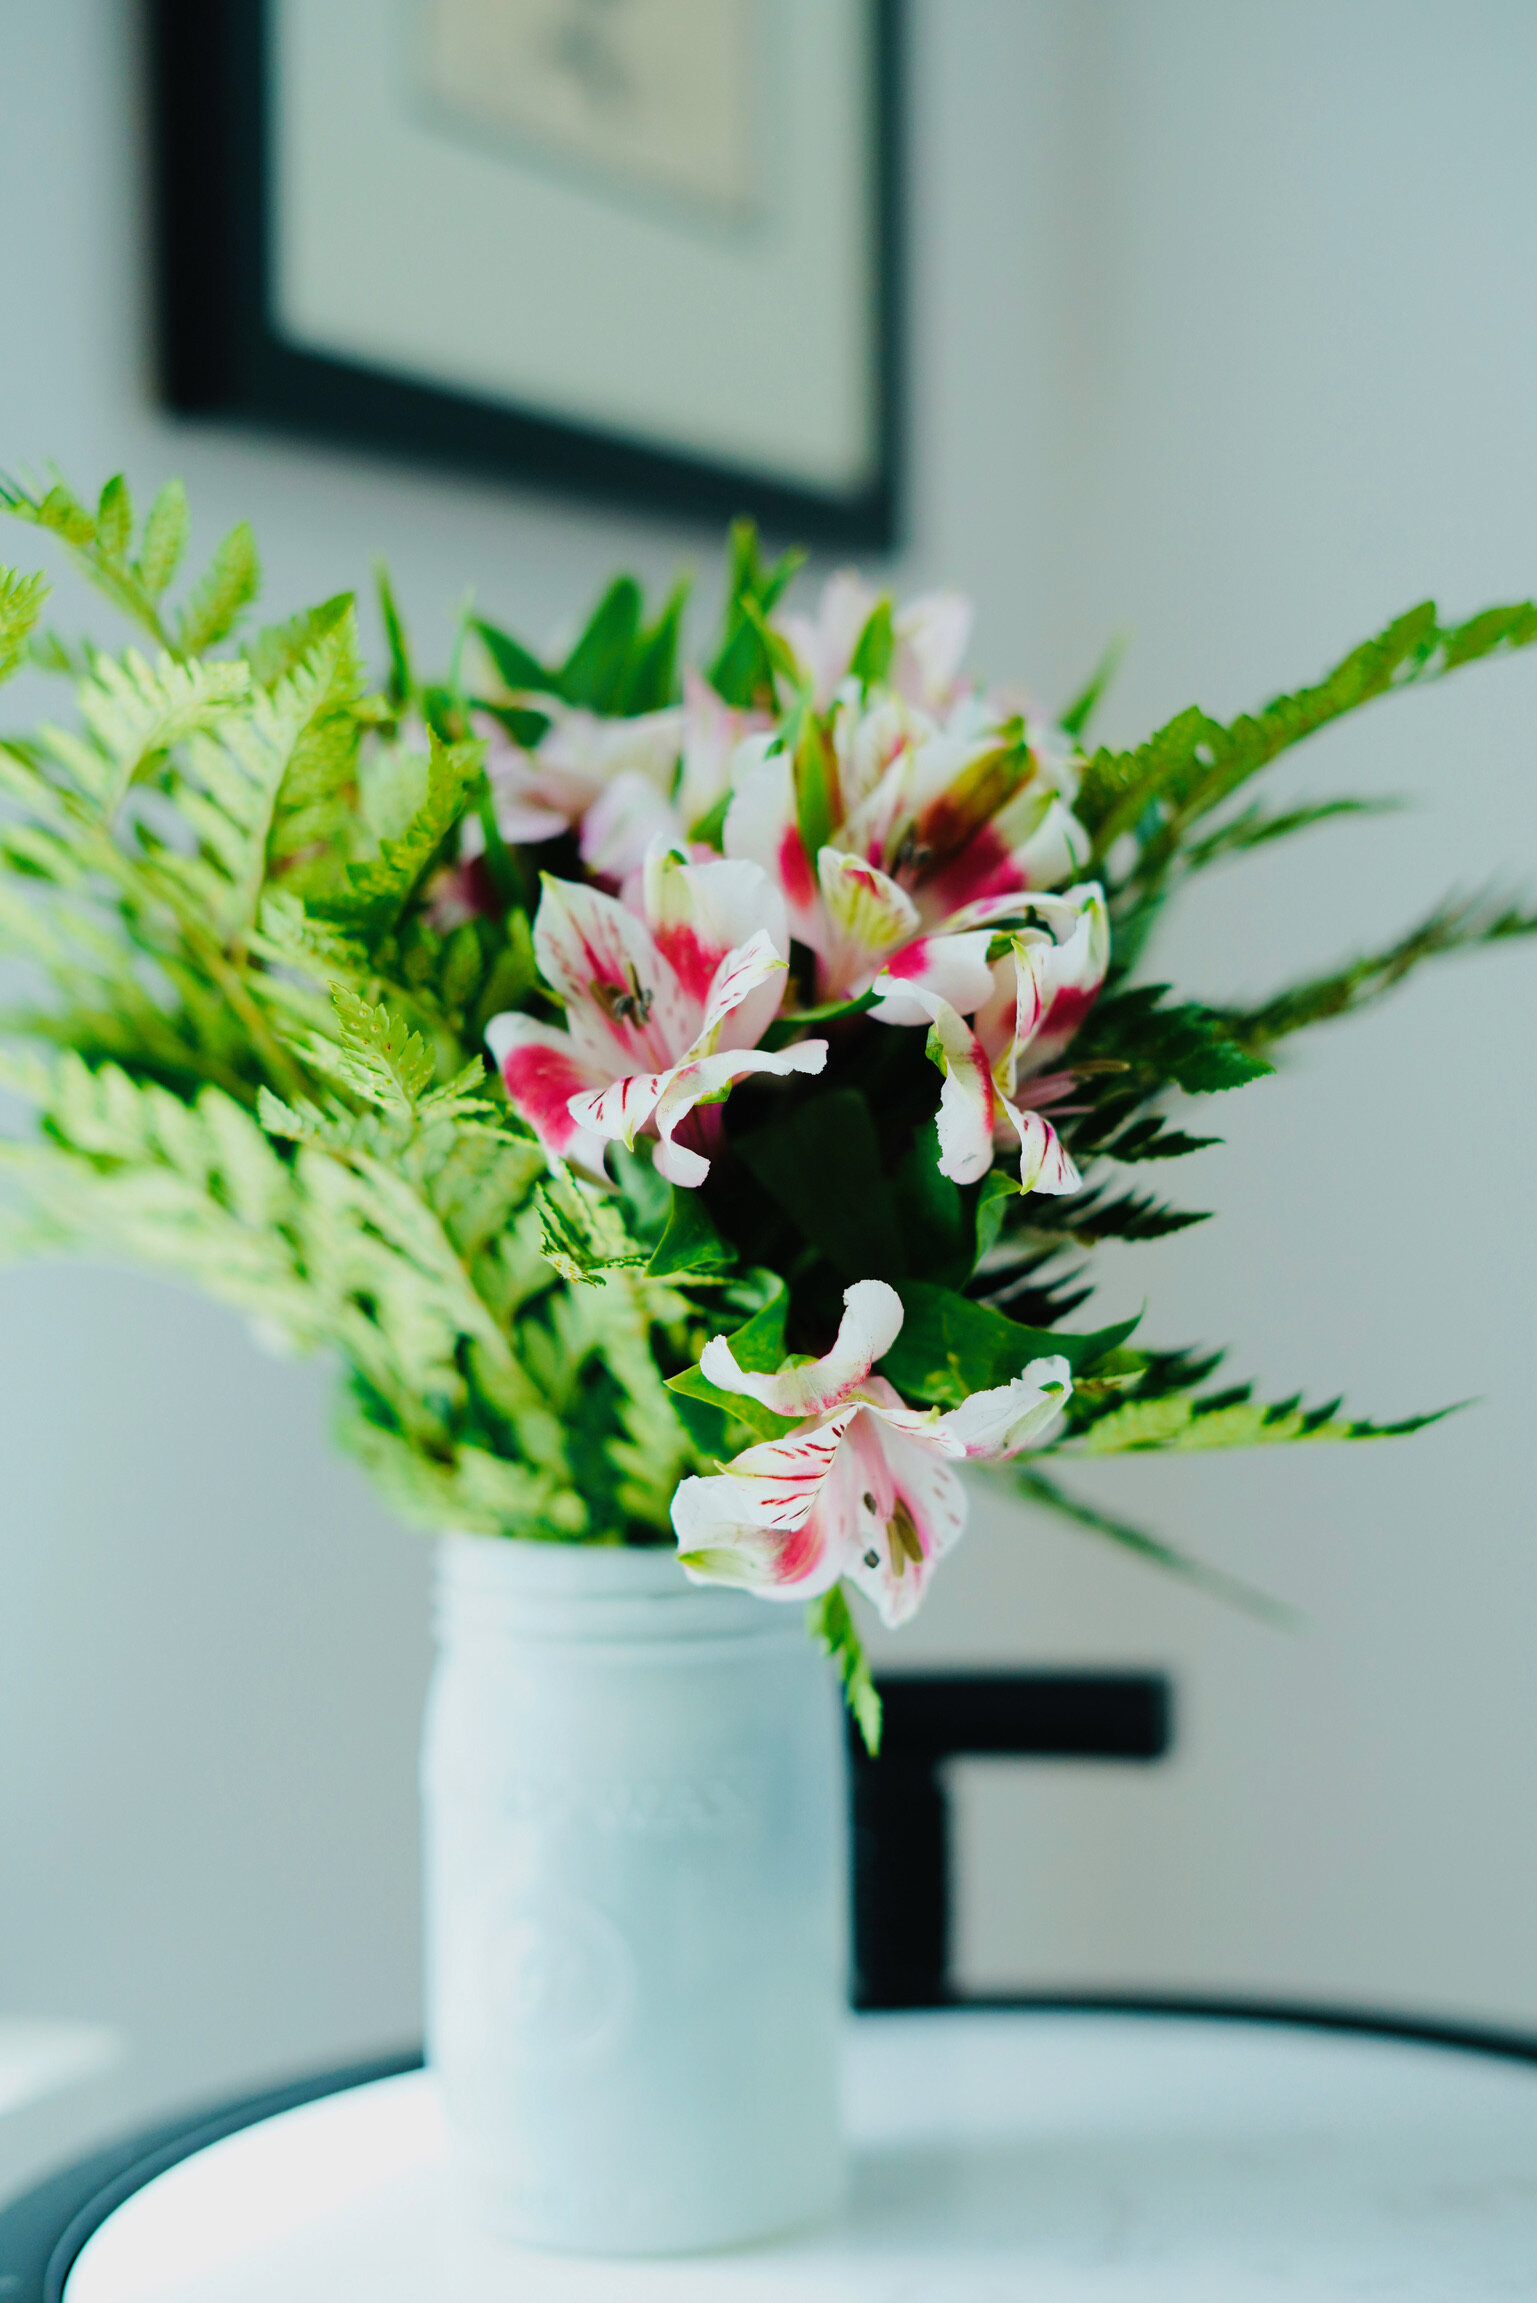
Mason jars, for example, are a great inexpensive option, they add a simple farmhouse feel to any arrangement.
Tip: Check out your local thrift store to find reasonably priced glassware.
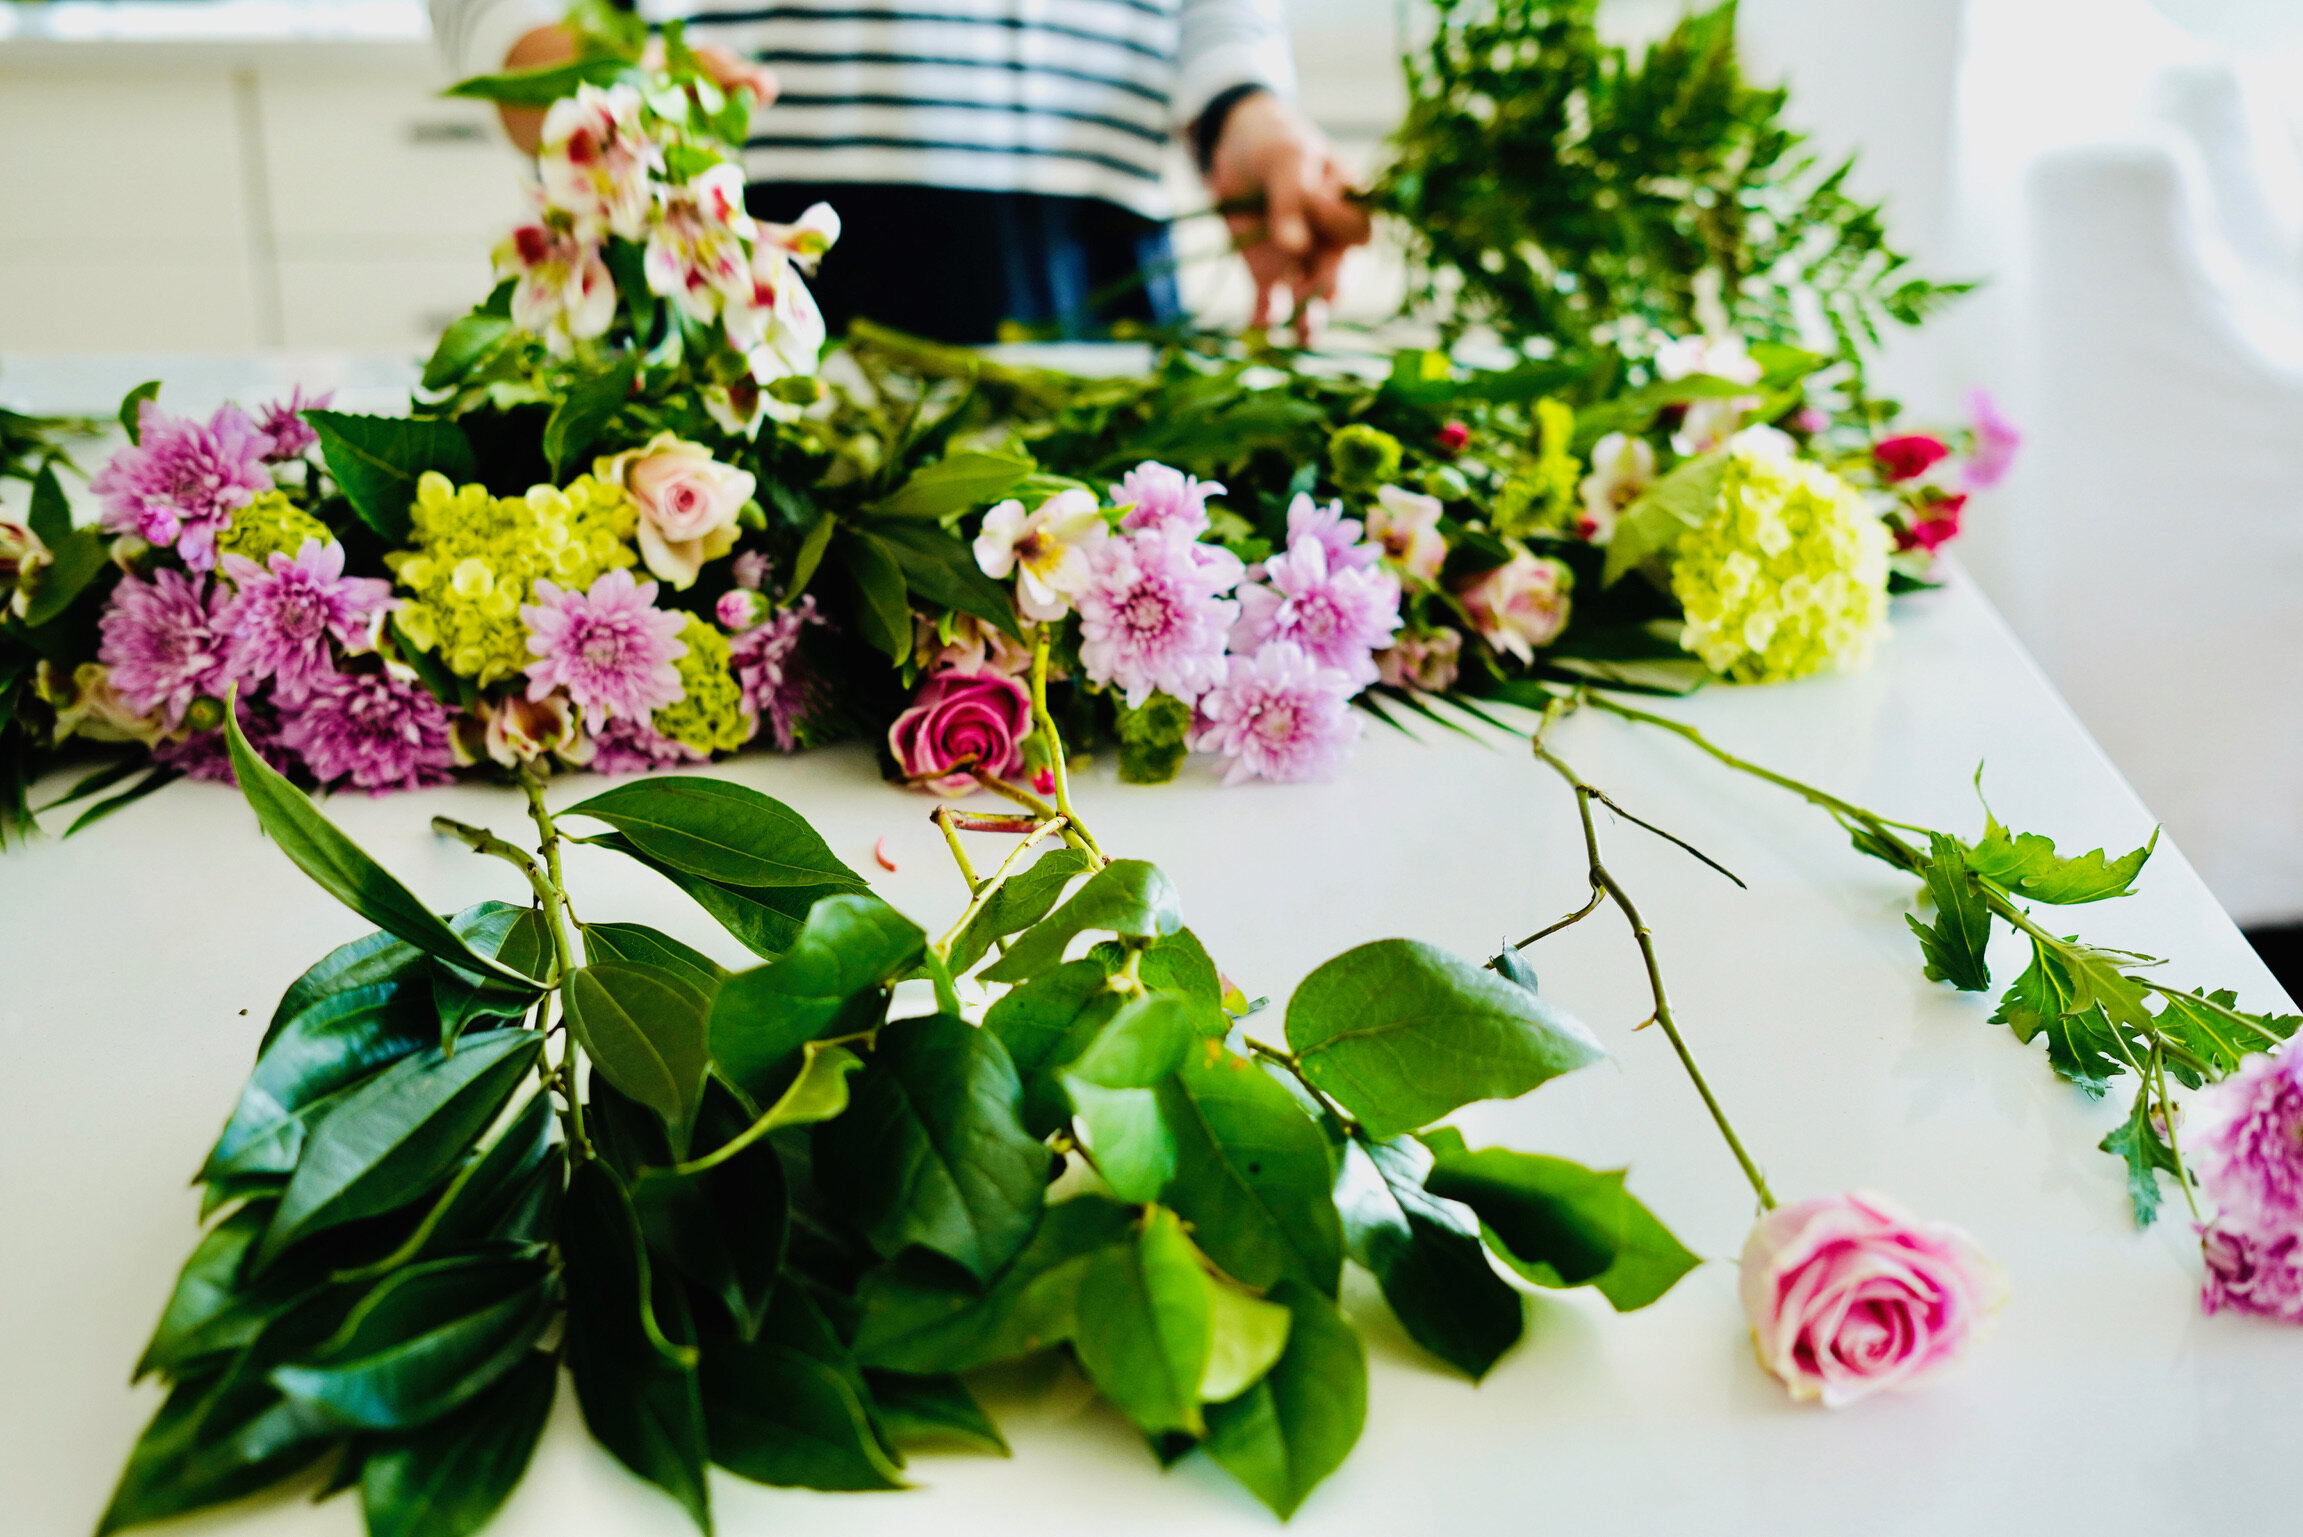
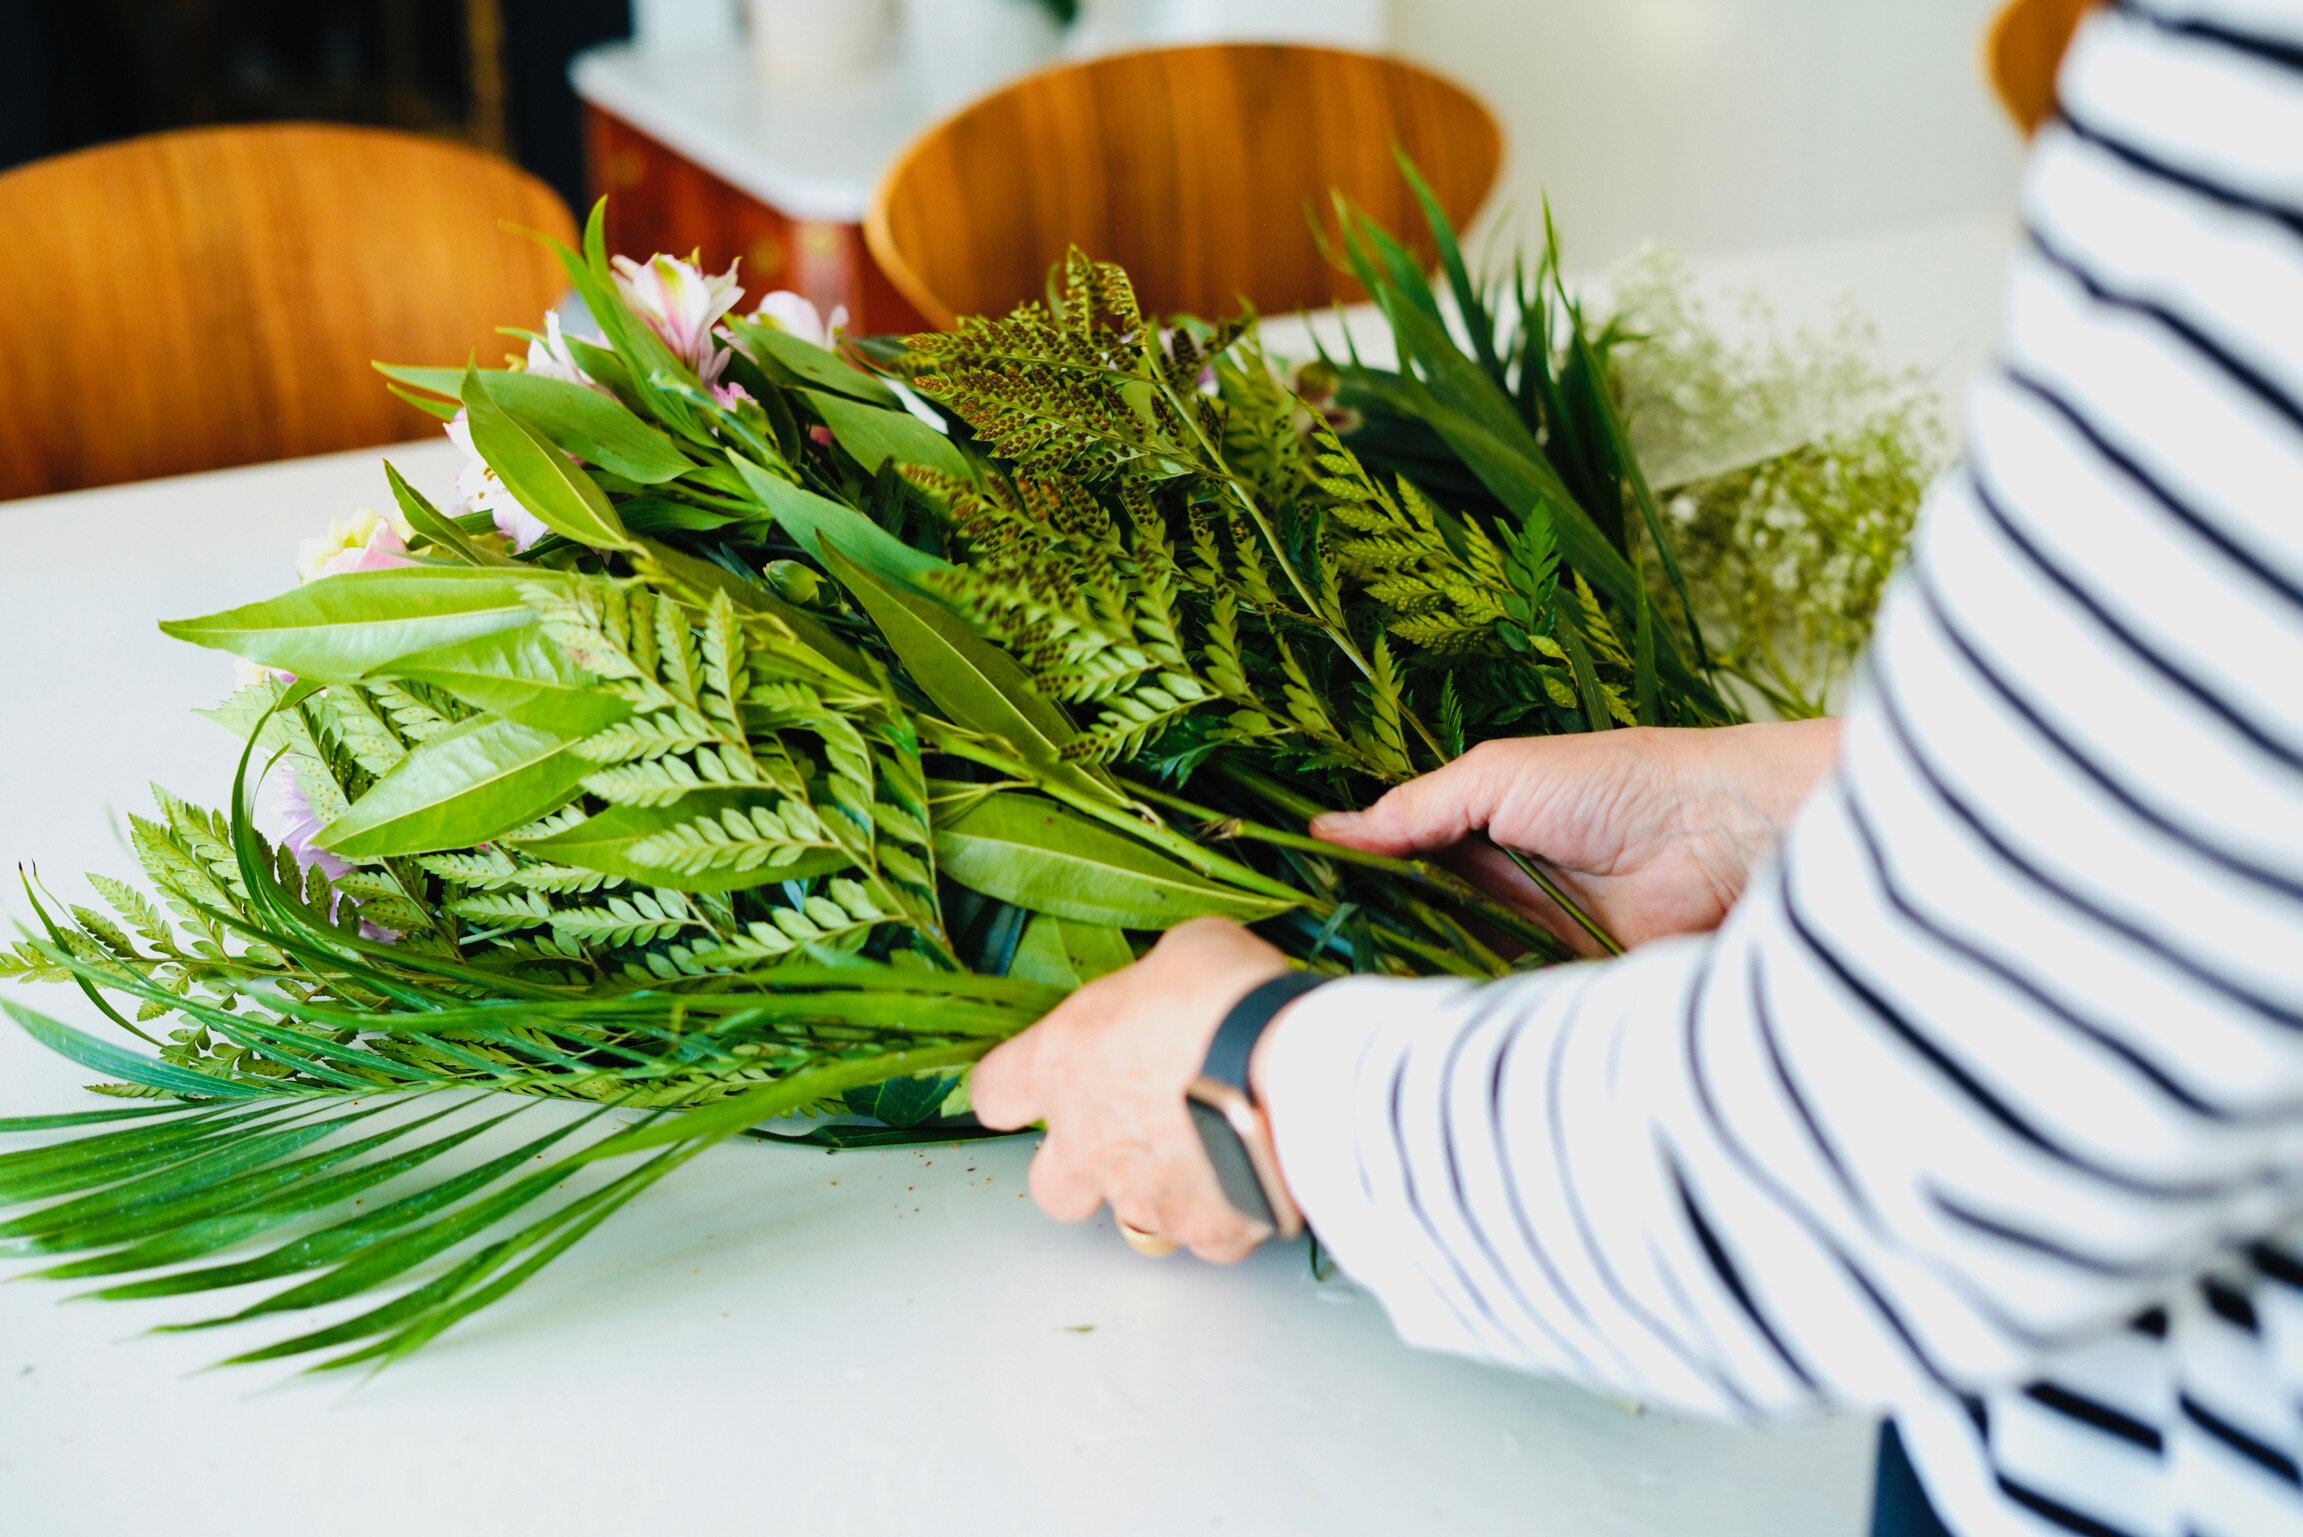
Step 3: Prep your flowers

Use a sharp tool to cut stems on an angle.
Once you have picked out your vases and brought home all your flowers, the next important step is prepping your flowers so that they last as long as possible. Start by removing the extra leaves, unwanted buds, or damaged petals from each stem. Next, you will want to prep each stem by cutting the bottom on a 45-degree angle to help maximize water absorption. Place your freshly trimmed stems in water while they wait to be arranged in your final piece.
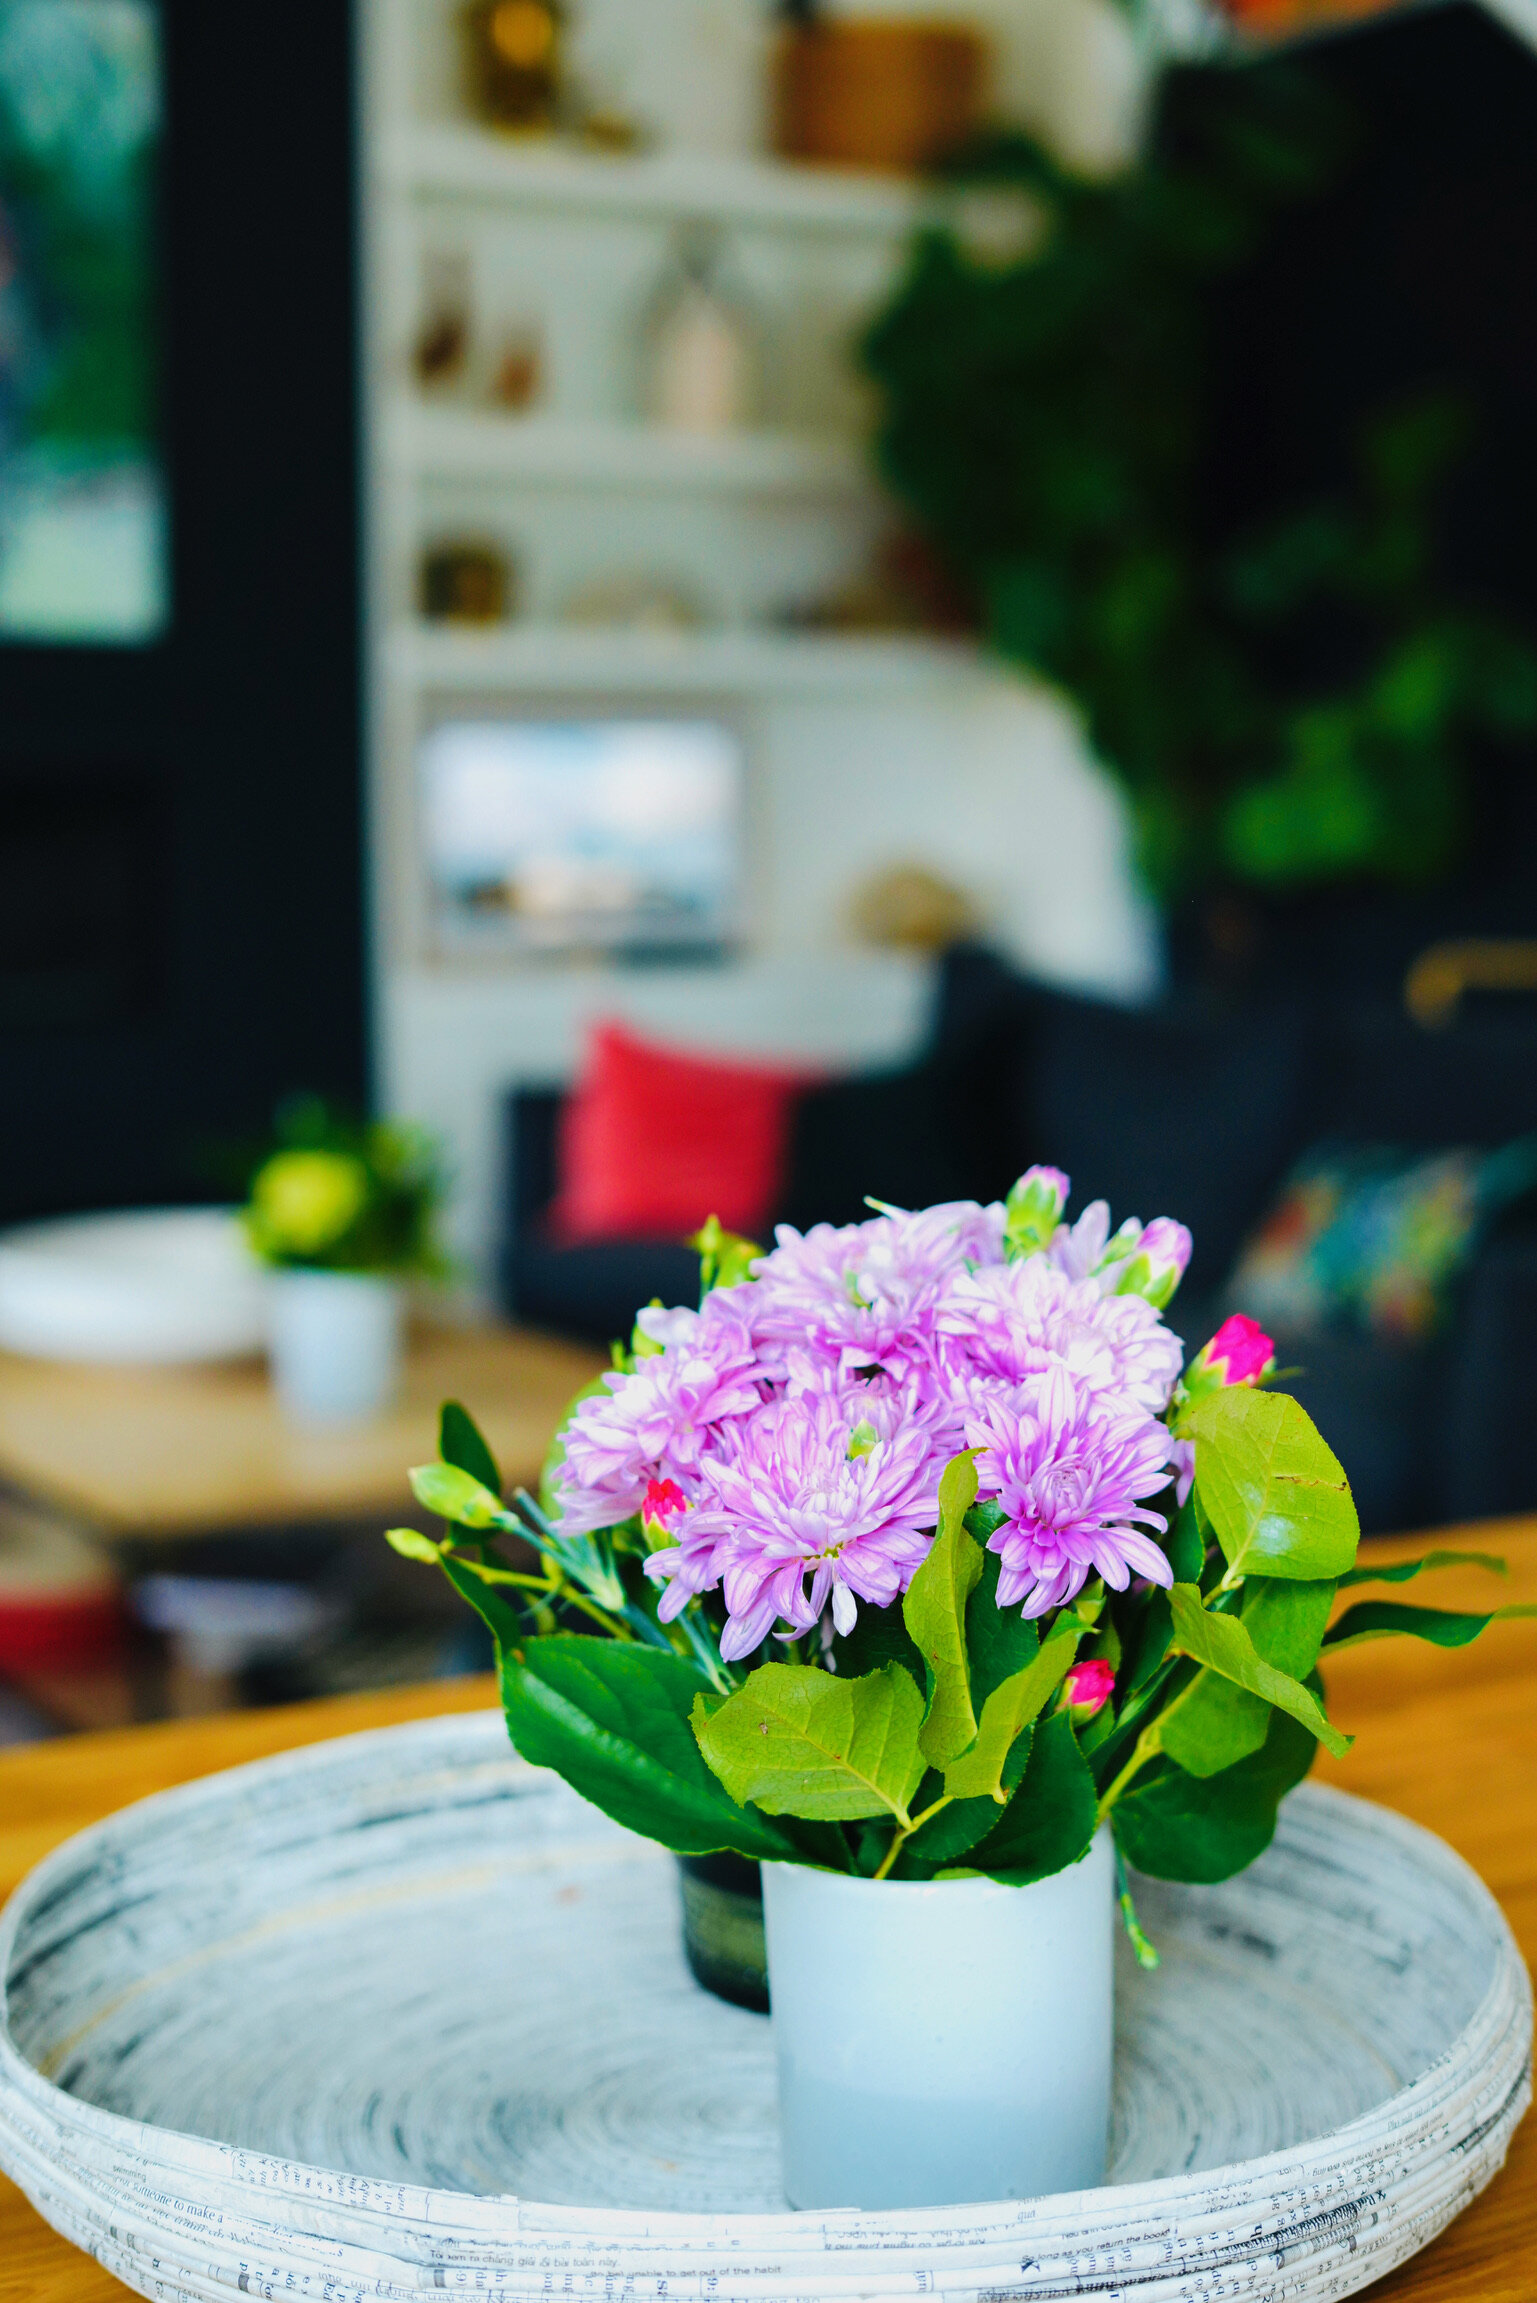
When you are ready to arrange, sort the stems separating out the different kinds of flowers and greenery. Lay them on the table and start deciding how to put them together. I am an amateur at this and a flower shop worker might cringe at my methods. I do prefer to keep my arrangement a bit “loose” and not so perfect and I also prefer less variety of flowers in my bouquets. Keep it simple.
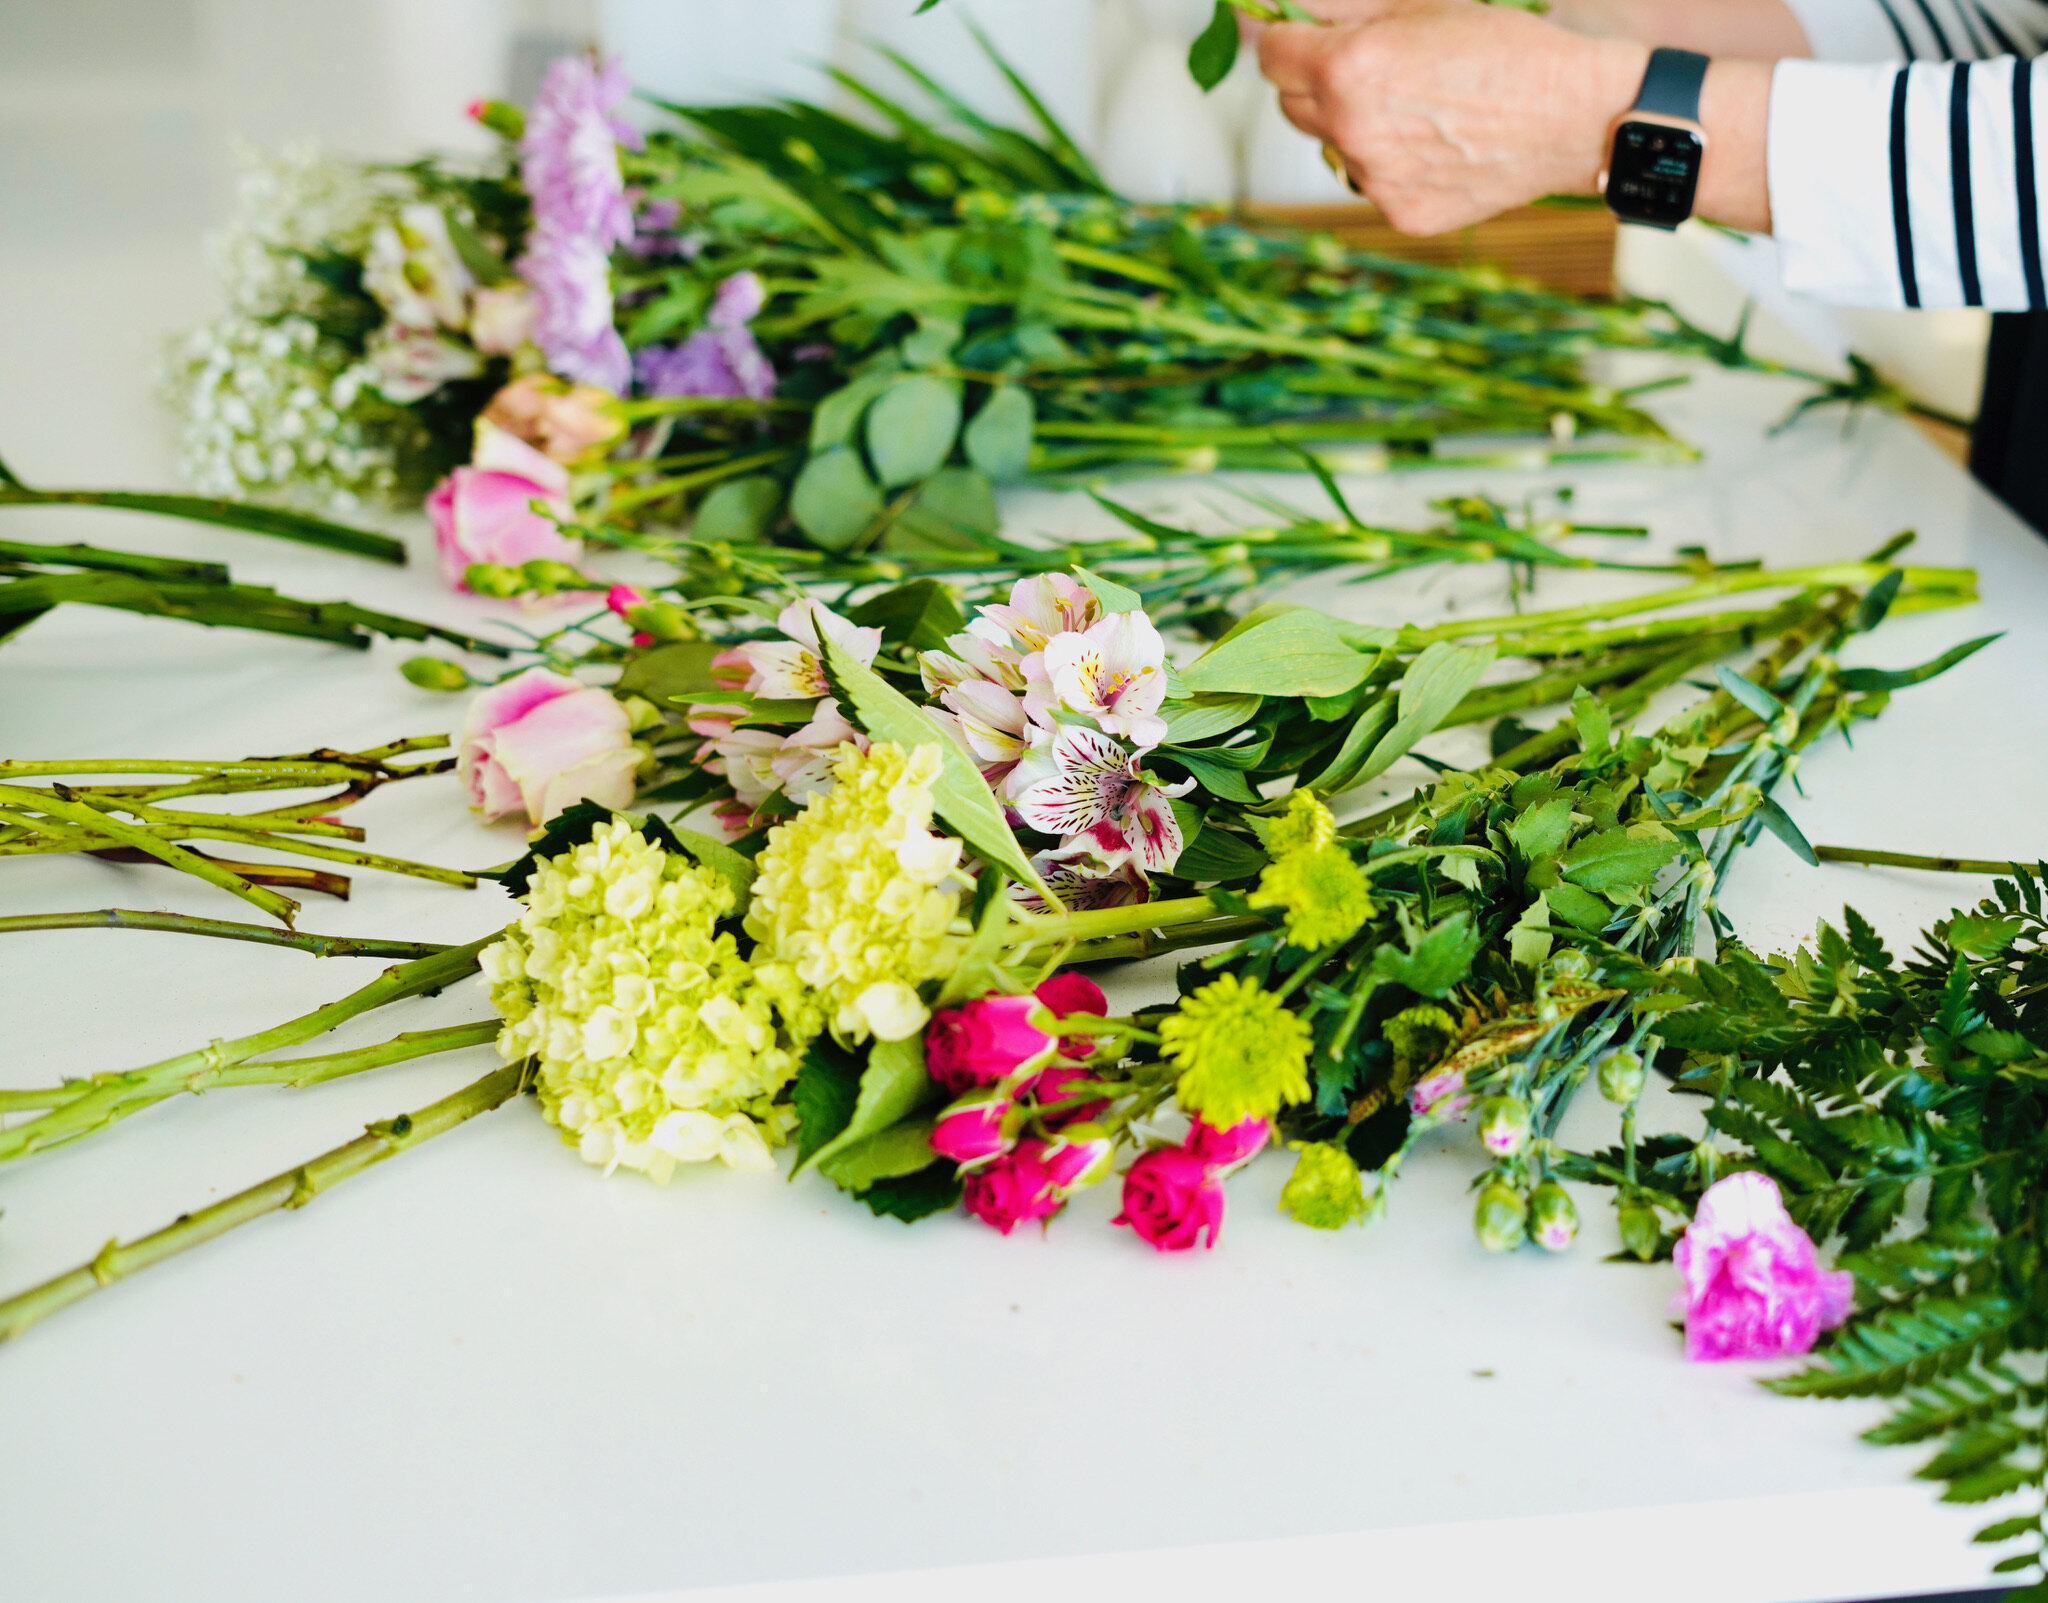
Step 4: Arranging!
Here comes the fun part! I know there is the “professional” way of arranging, but I don’t have that skill as of yet, so I arrange with my senses. Winging it if you like.
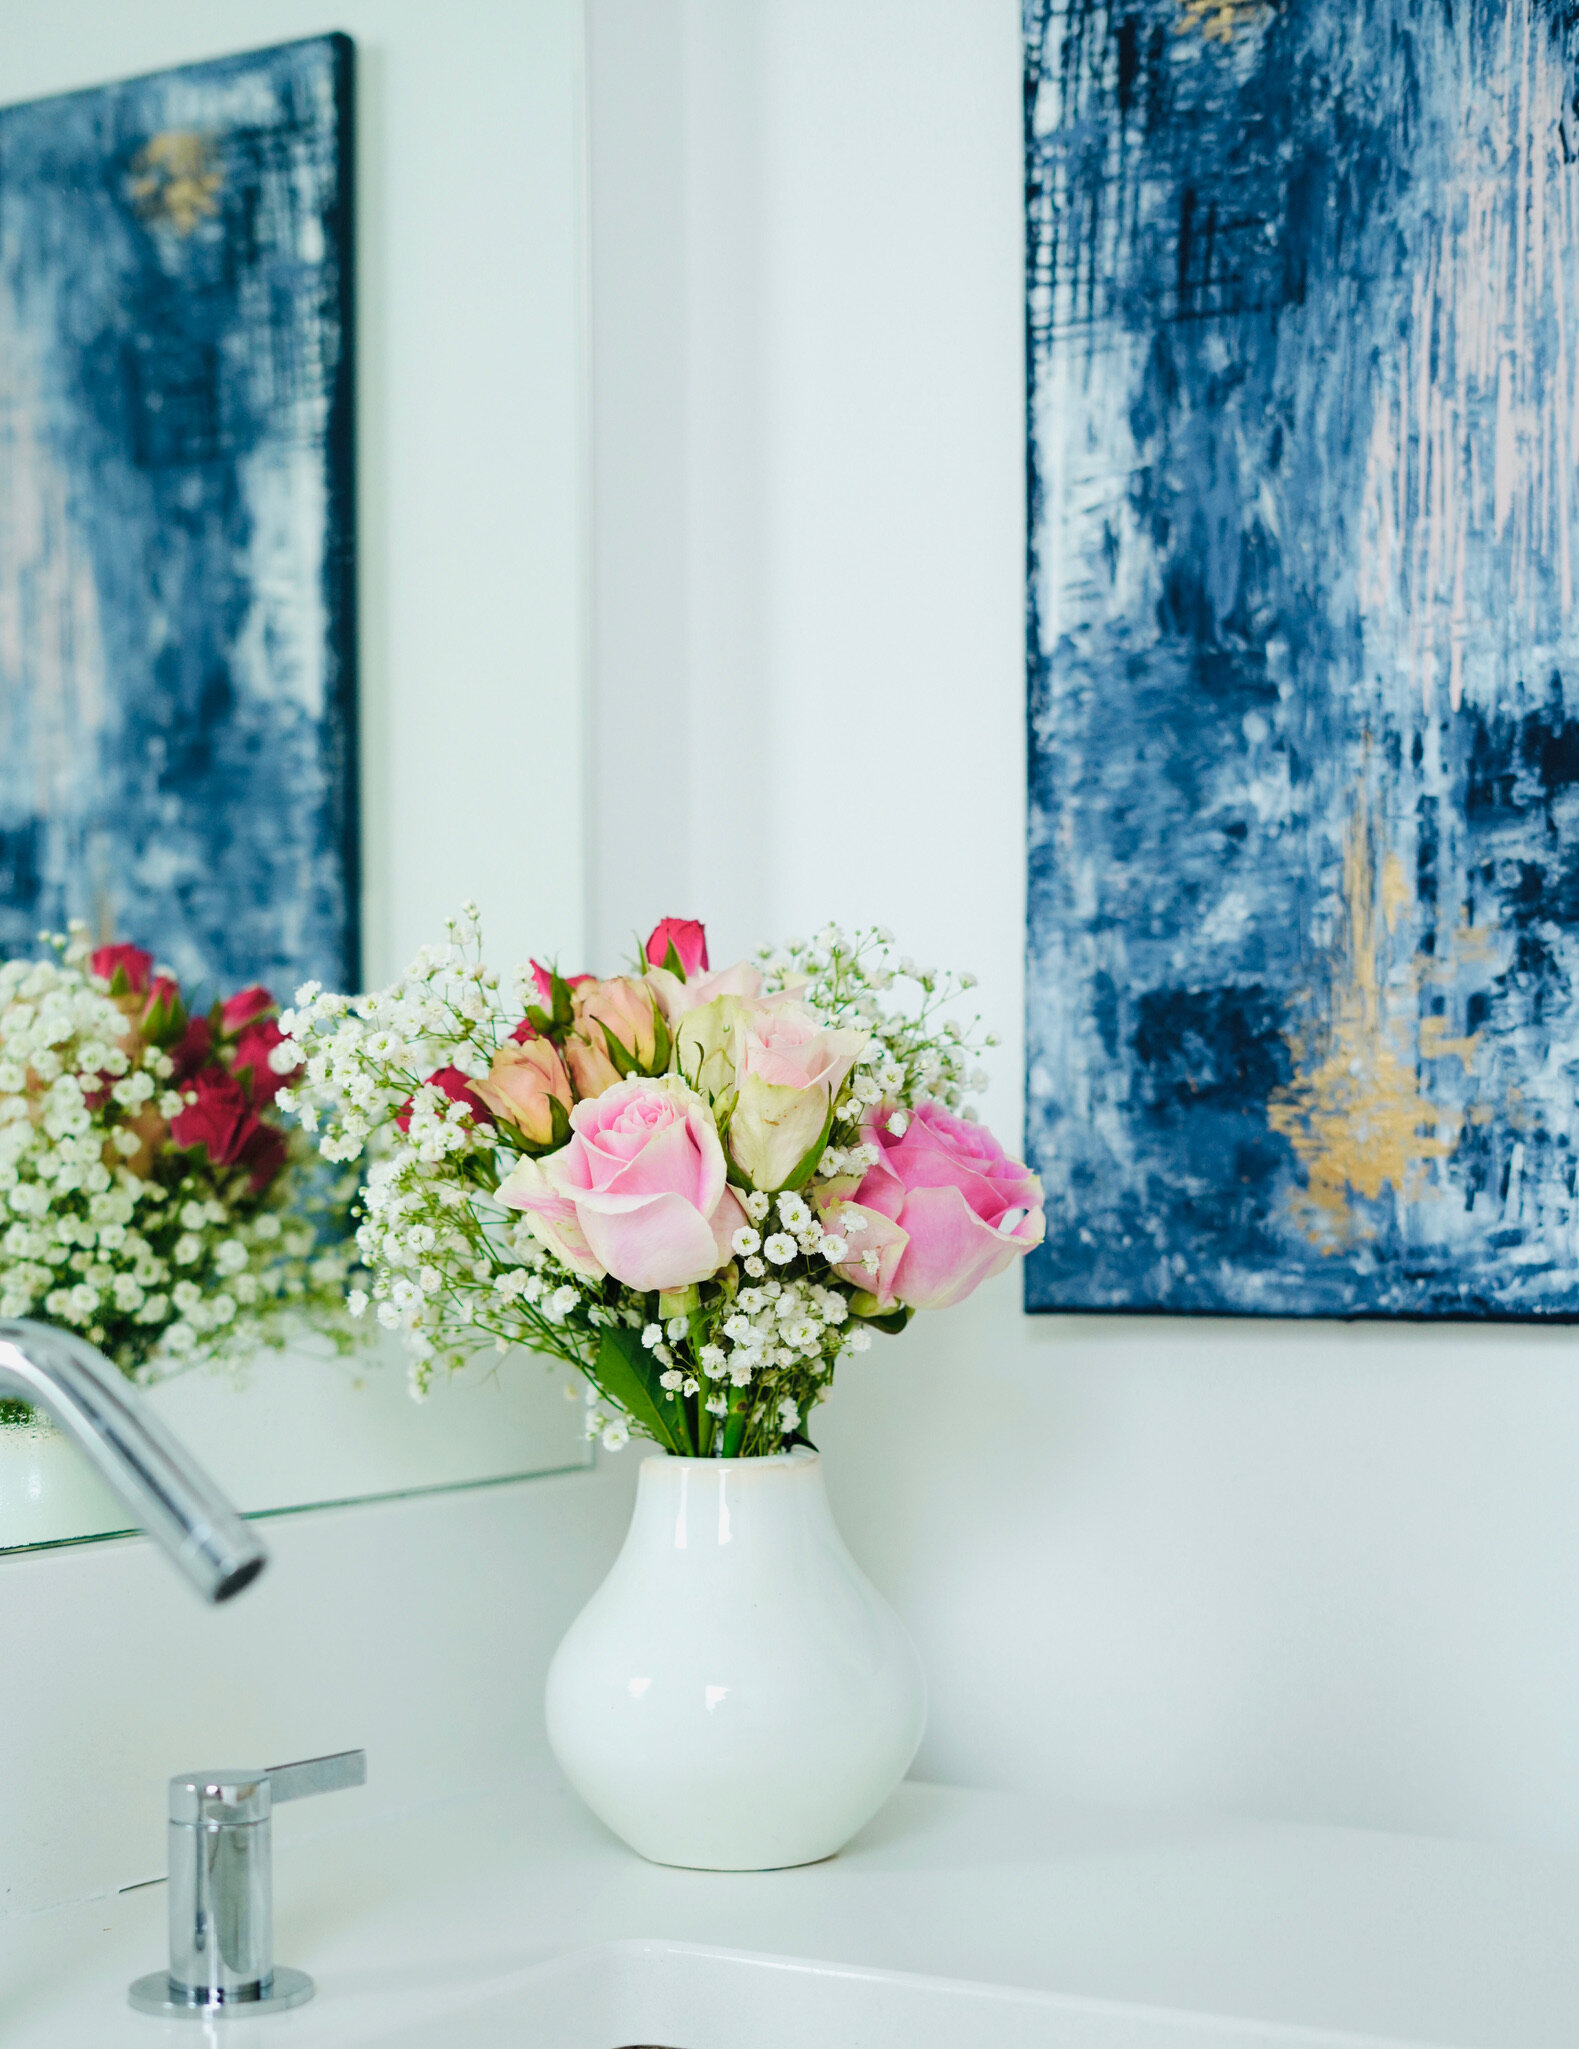
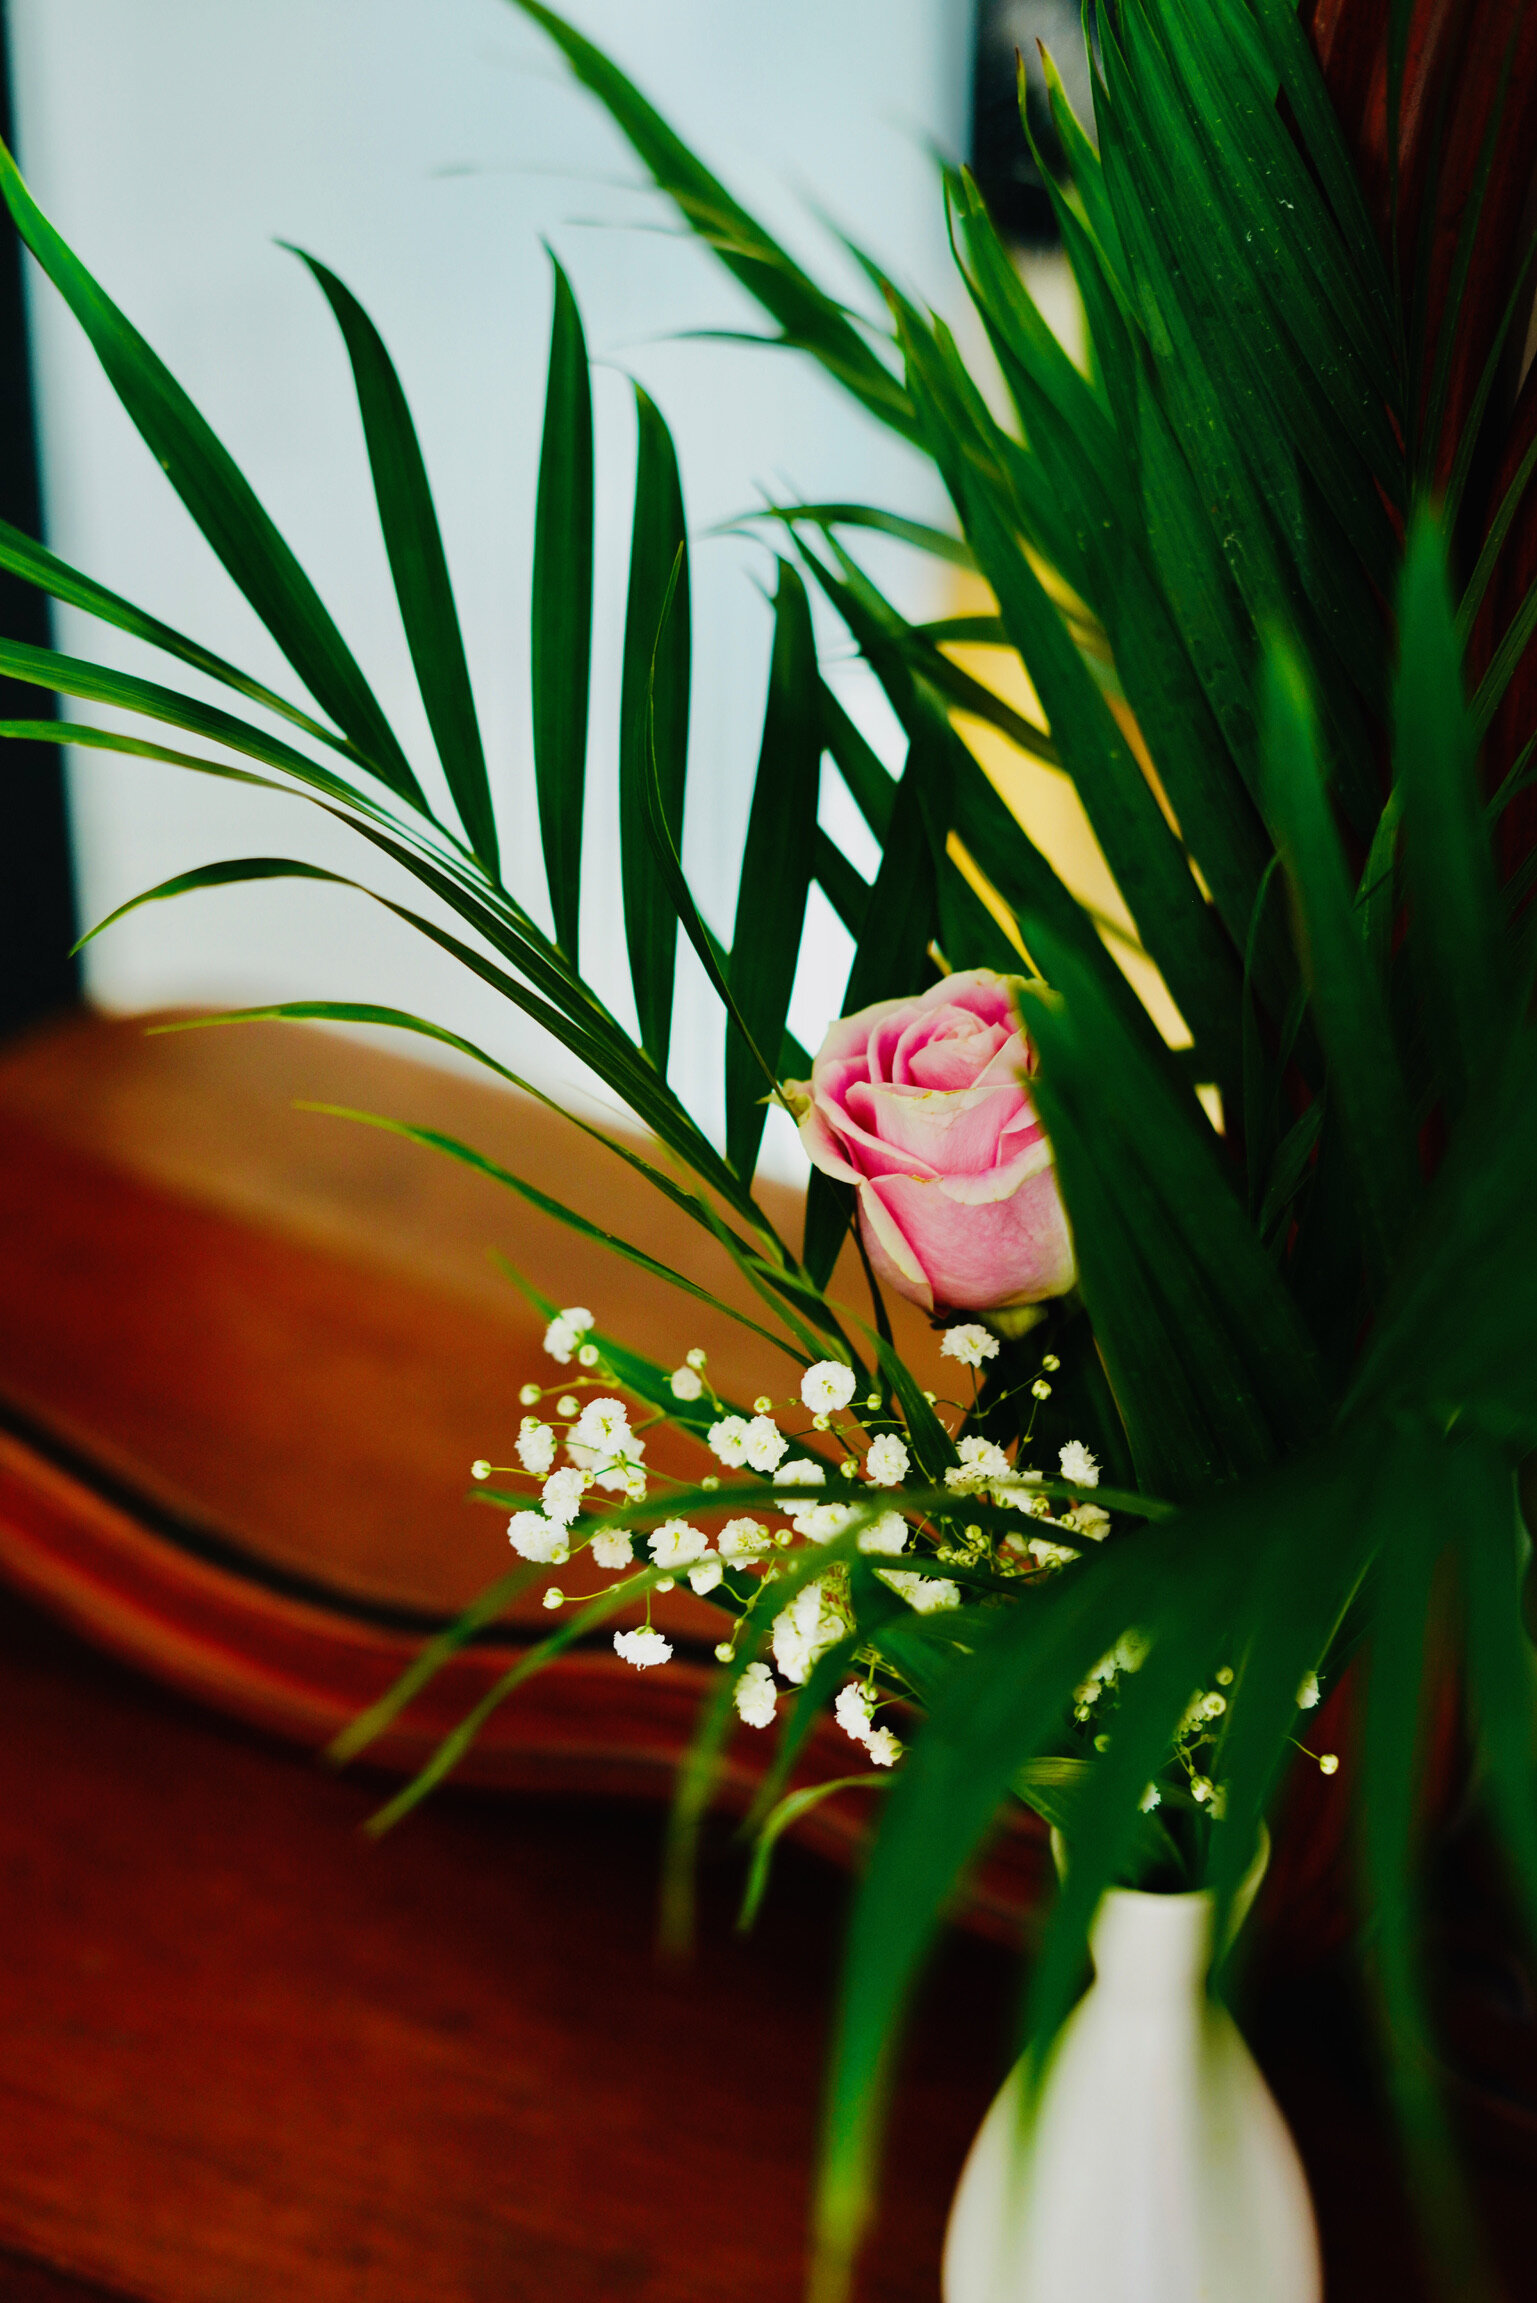
I tend to group roses together with baby’s breath, for some reason they seem to go well together. I also like pairing different greens and keeping the bouquets monotone. There is something soothing about it.

Baby’s breath and roses work well together!
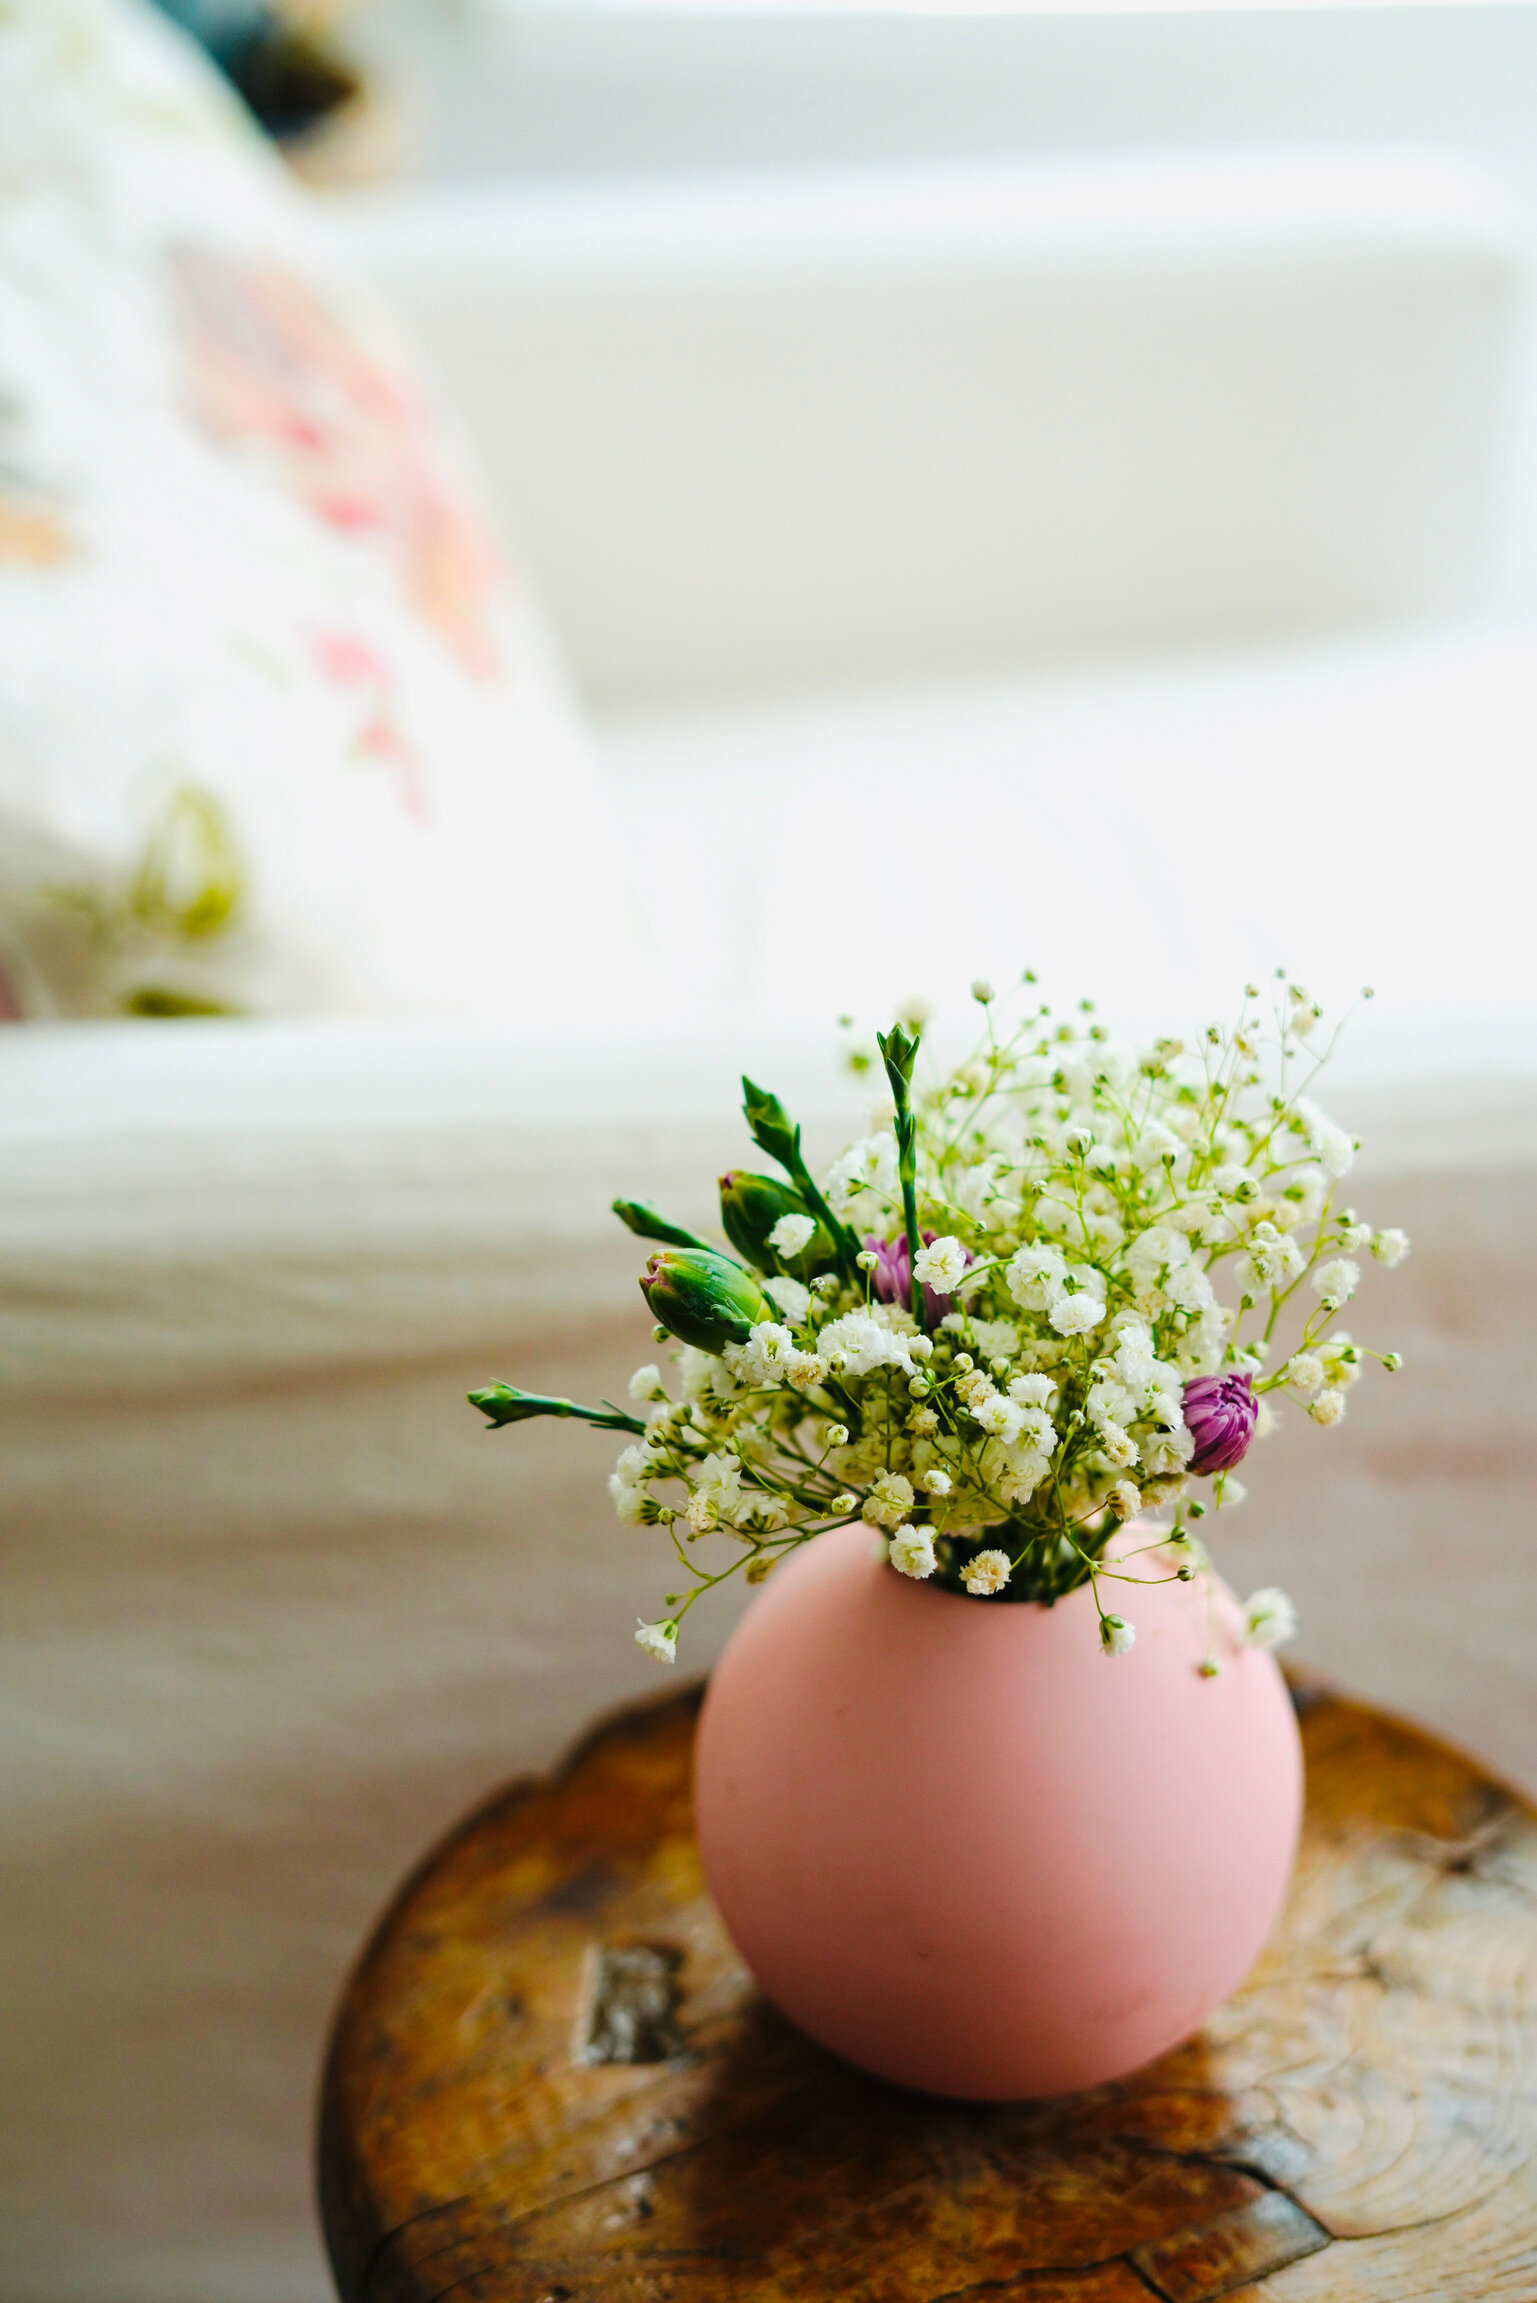
The first arrangement seems to be the easiest one, first obvious picks. Then it gets a bit more challenging, but it all works out in the end. If flowers break off with a bit of stem, I place them in a bud vase (made for one stem).

Tip: Cut the flowers short, usually 1.5 times the vase. Adjust as you go, pull out stems that seem too high and cut some more off. Have fun, keep it loose and organic.

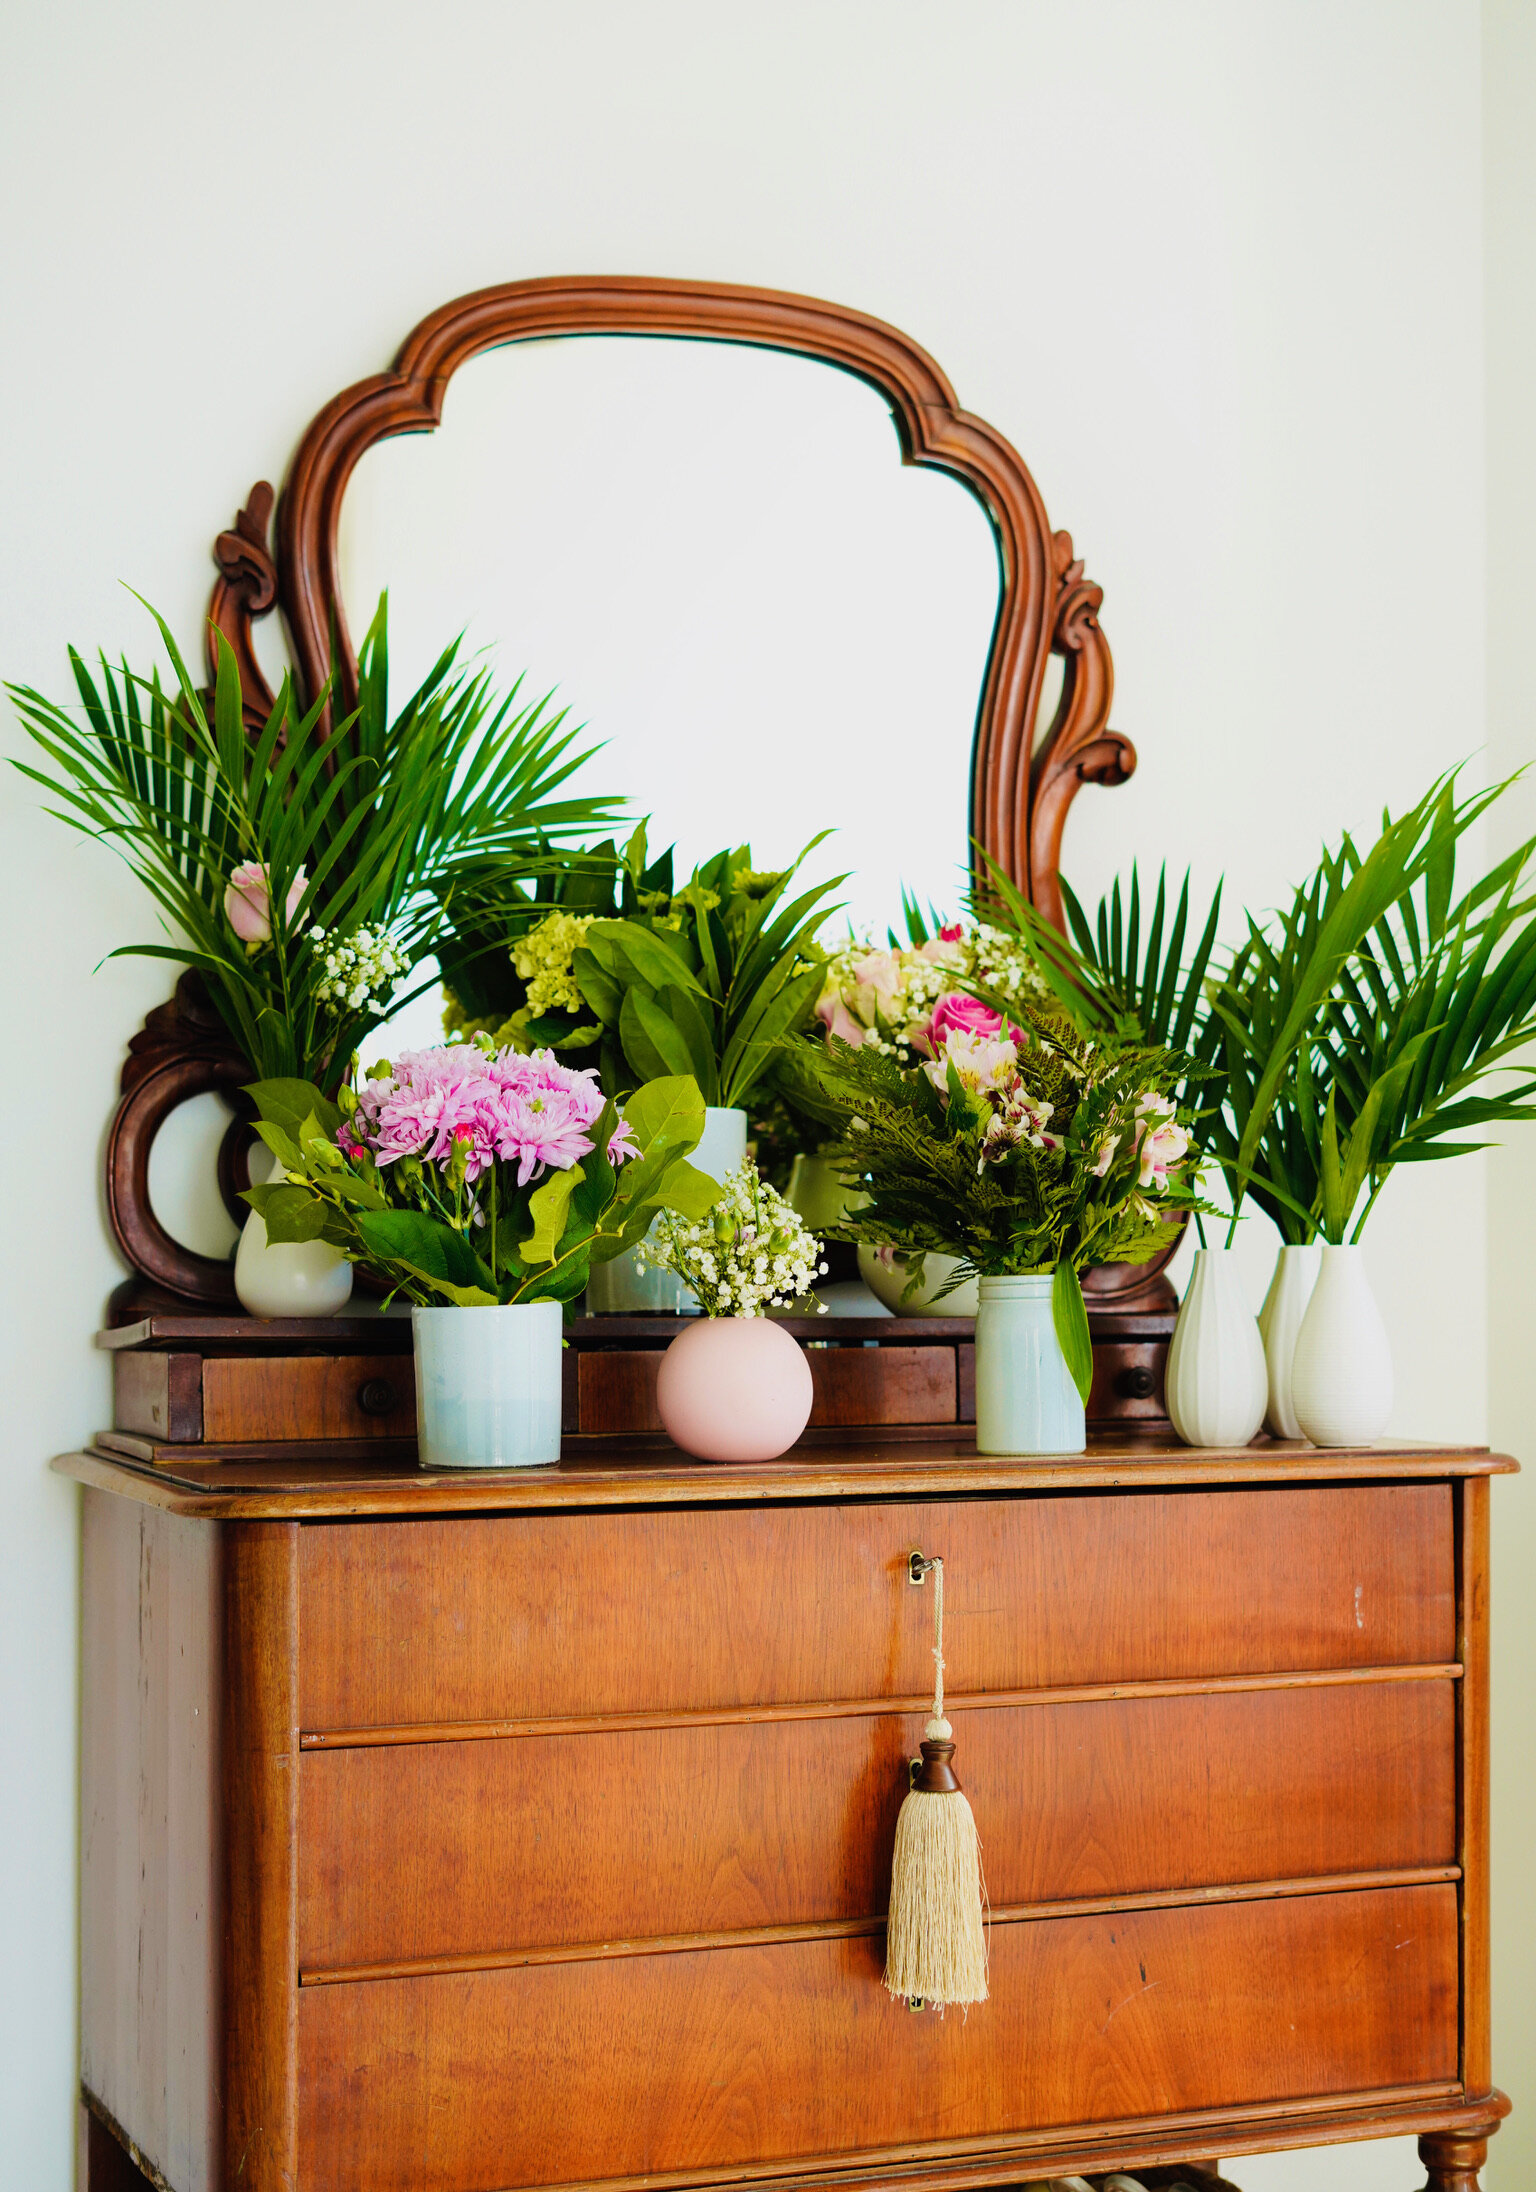
STEP 5 : Placement
Spread the joy! Now that you have several arrangements, place them throughout your house for enjoyment in every room. I always like fresh flowers in my powder room and on a small table near where I sit. My desk also gets to be pretty, to make it more pleasing when I am at my computer.
Tip: Don’t forget to change the water every few days and maybe snip off some of the ends to help them drink. Also make sure there are no leaves in the water as they tend to start to rot. Some suggest adding a drop of bleach or a copper coin to keep the flowers fresh longer.