

DIY Floral Arrangements for Mother's Day
If you are like me, you think the grocery store flower arrangements are not that exciting. I feel they could do so much better in putting the bouquets together. So when I receive a larger bouquet, I tend to take it apart and create several arrangements for my house.
Mother’s Day is around the corner and soon flowers will be flying off the shelves at our local grocery stores. When I receive a larger bouquet, I often prefer to take it apart and create several arrangements for my home.

In this Mother’s Day edition, I will show you how I create custom floral arrangements from flowers you can buy at your local grocery store. Some of the flowers are already a bit tired, and I apologize for that. I wish I could get market-fresh local flowers, but it is early in the season and most are imports I am sure.
Things you’ll need:
A variety of vases
Flowers, perhaps two larger bouquets and some fillers like baby’s breath and some greenery.
Scissors
If you have: a flower pin frog

Flower pin frog
Step 1: Source your flowers
There are a couple ways you can go about doing this. I will be focusing on buying a few bunches of both flowers and greenery from Costco, however, feel free to check out your favorite grocery store, your local farmer’s market, or even your own backyard!
Tip: Whether you are doing it for yourself or for your mom, think about what colours work in your home when you are shopping for flowers. What colours are in the art on your walls or in your area rug. Also look for natural flowers, not the horrible artificially dyed ones.

Step 2: Pick out your vases
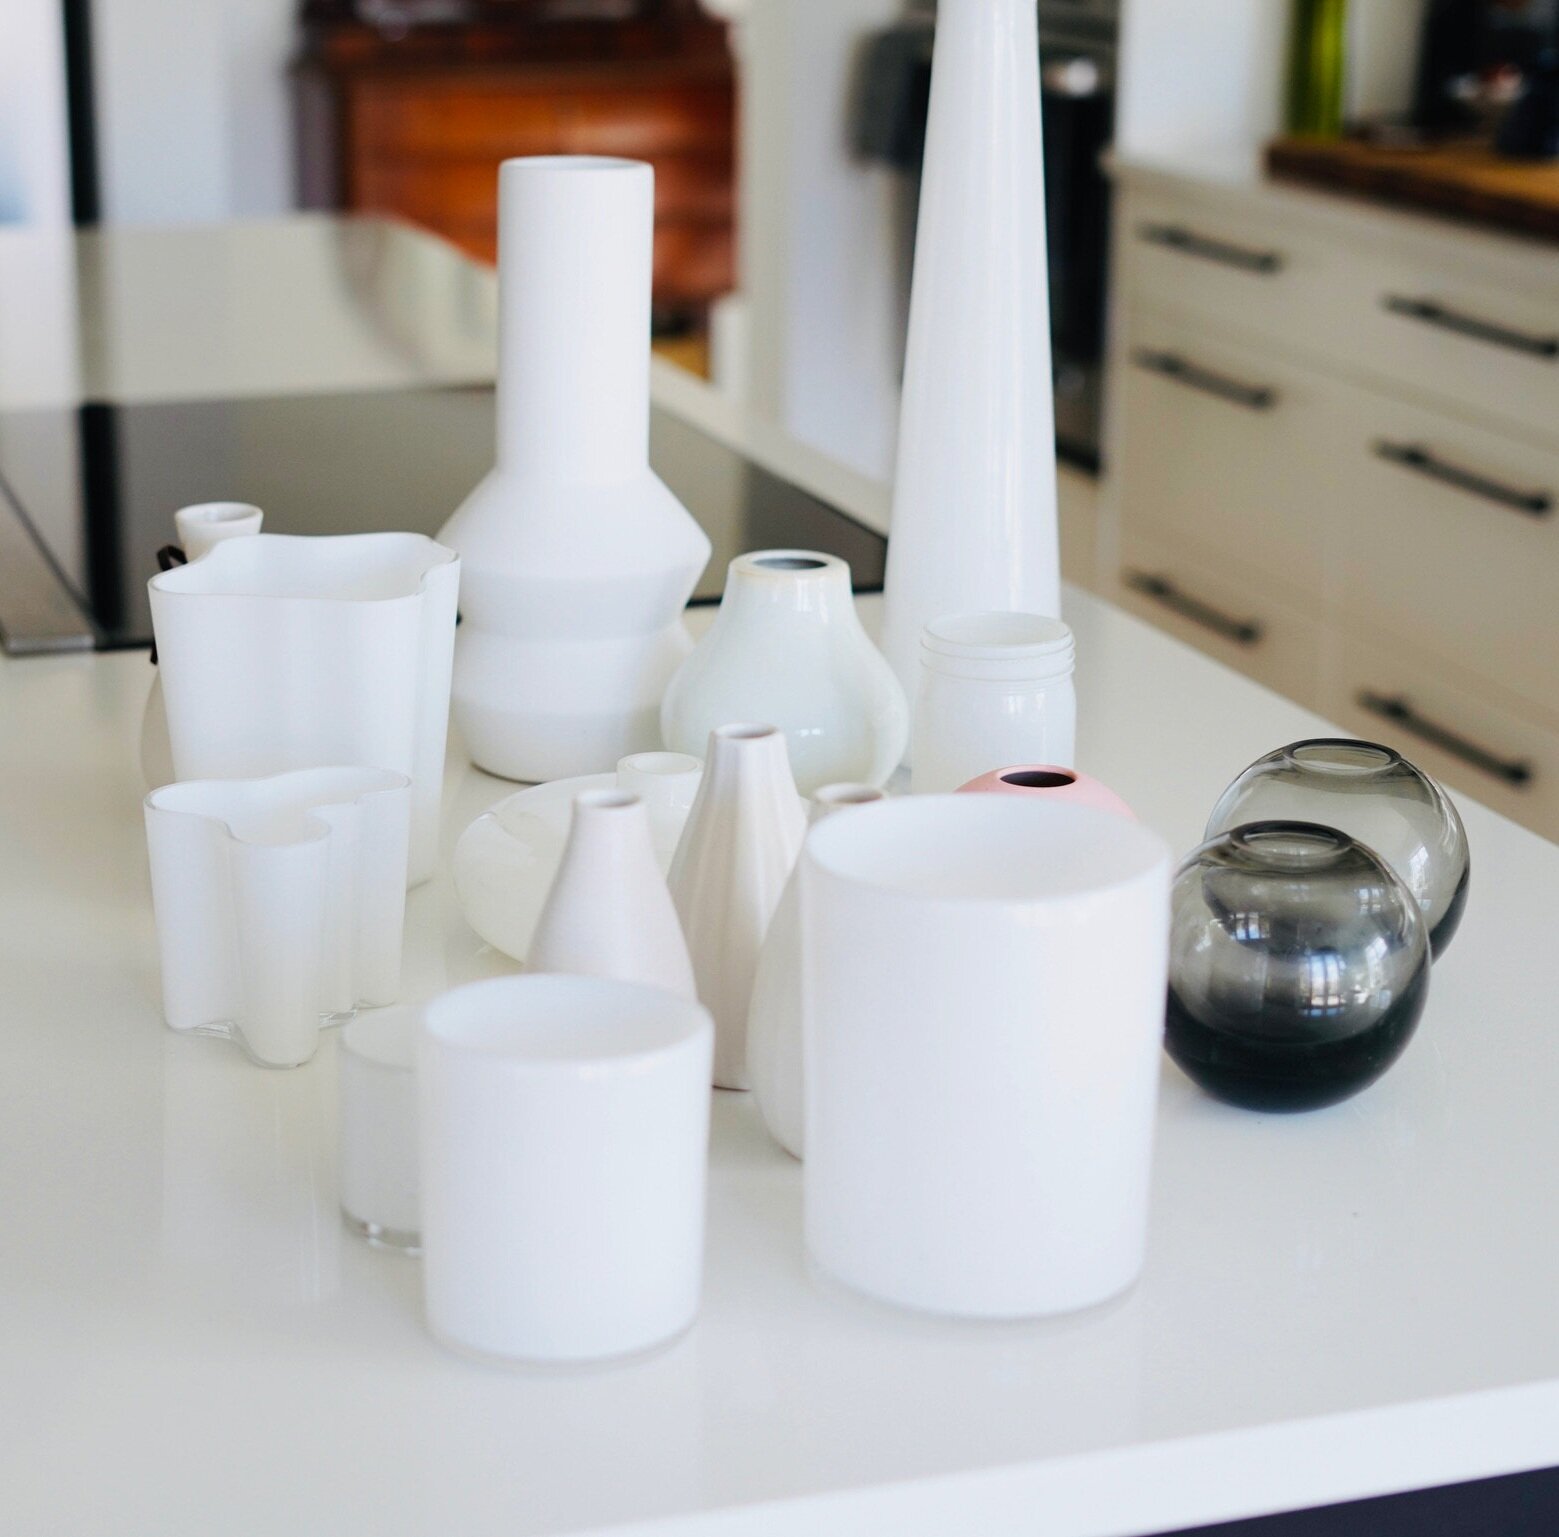
As you can tell I like white vases…
The right vase is equally as important as the flowers you choose. Look for a vase with a narrow opening, this will help to keep your arrangement in place and your flowers upright. As you will see, you can use small vases and larger, but I usually prefer to keep my arrangements low. They look better once placed on a table or shelf.
Mason jars, for example, are a great inexpensive option, they add a simple farmhouse feel to any arrangement.
Tip: Check out your local thrift store to find reasonably priced glassware.
Step 3: Prep your flowers

Use a sharp tool to cut stems on an angle.
Once you have picked out your vases and brought home all your flowers, the next important step is prepping your flowers so that they last as long as possible. Start by removing the extra leaves, unwanted buds, or damaged petals from each stem. Next, you will want to prep each stem by cutting the bottom on a 45-degree angle to help maximize water absorption. Place your freshly trimmed stems in water while they wait to be arranged in your final piece.
When you are ready to arrange, sort the stems separating out the different kinds of flowers and greenery. Lay them on the table and start deciding how to put them together. I am an amateur at this and a flower shop worker might cringe at my methods. I do prefer to keep my arrangement a bit “loose” and not so perfect and I also prefer less variety of flowers in my bouquets. Keep it simple.
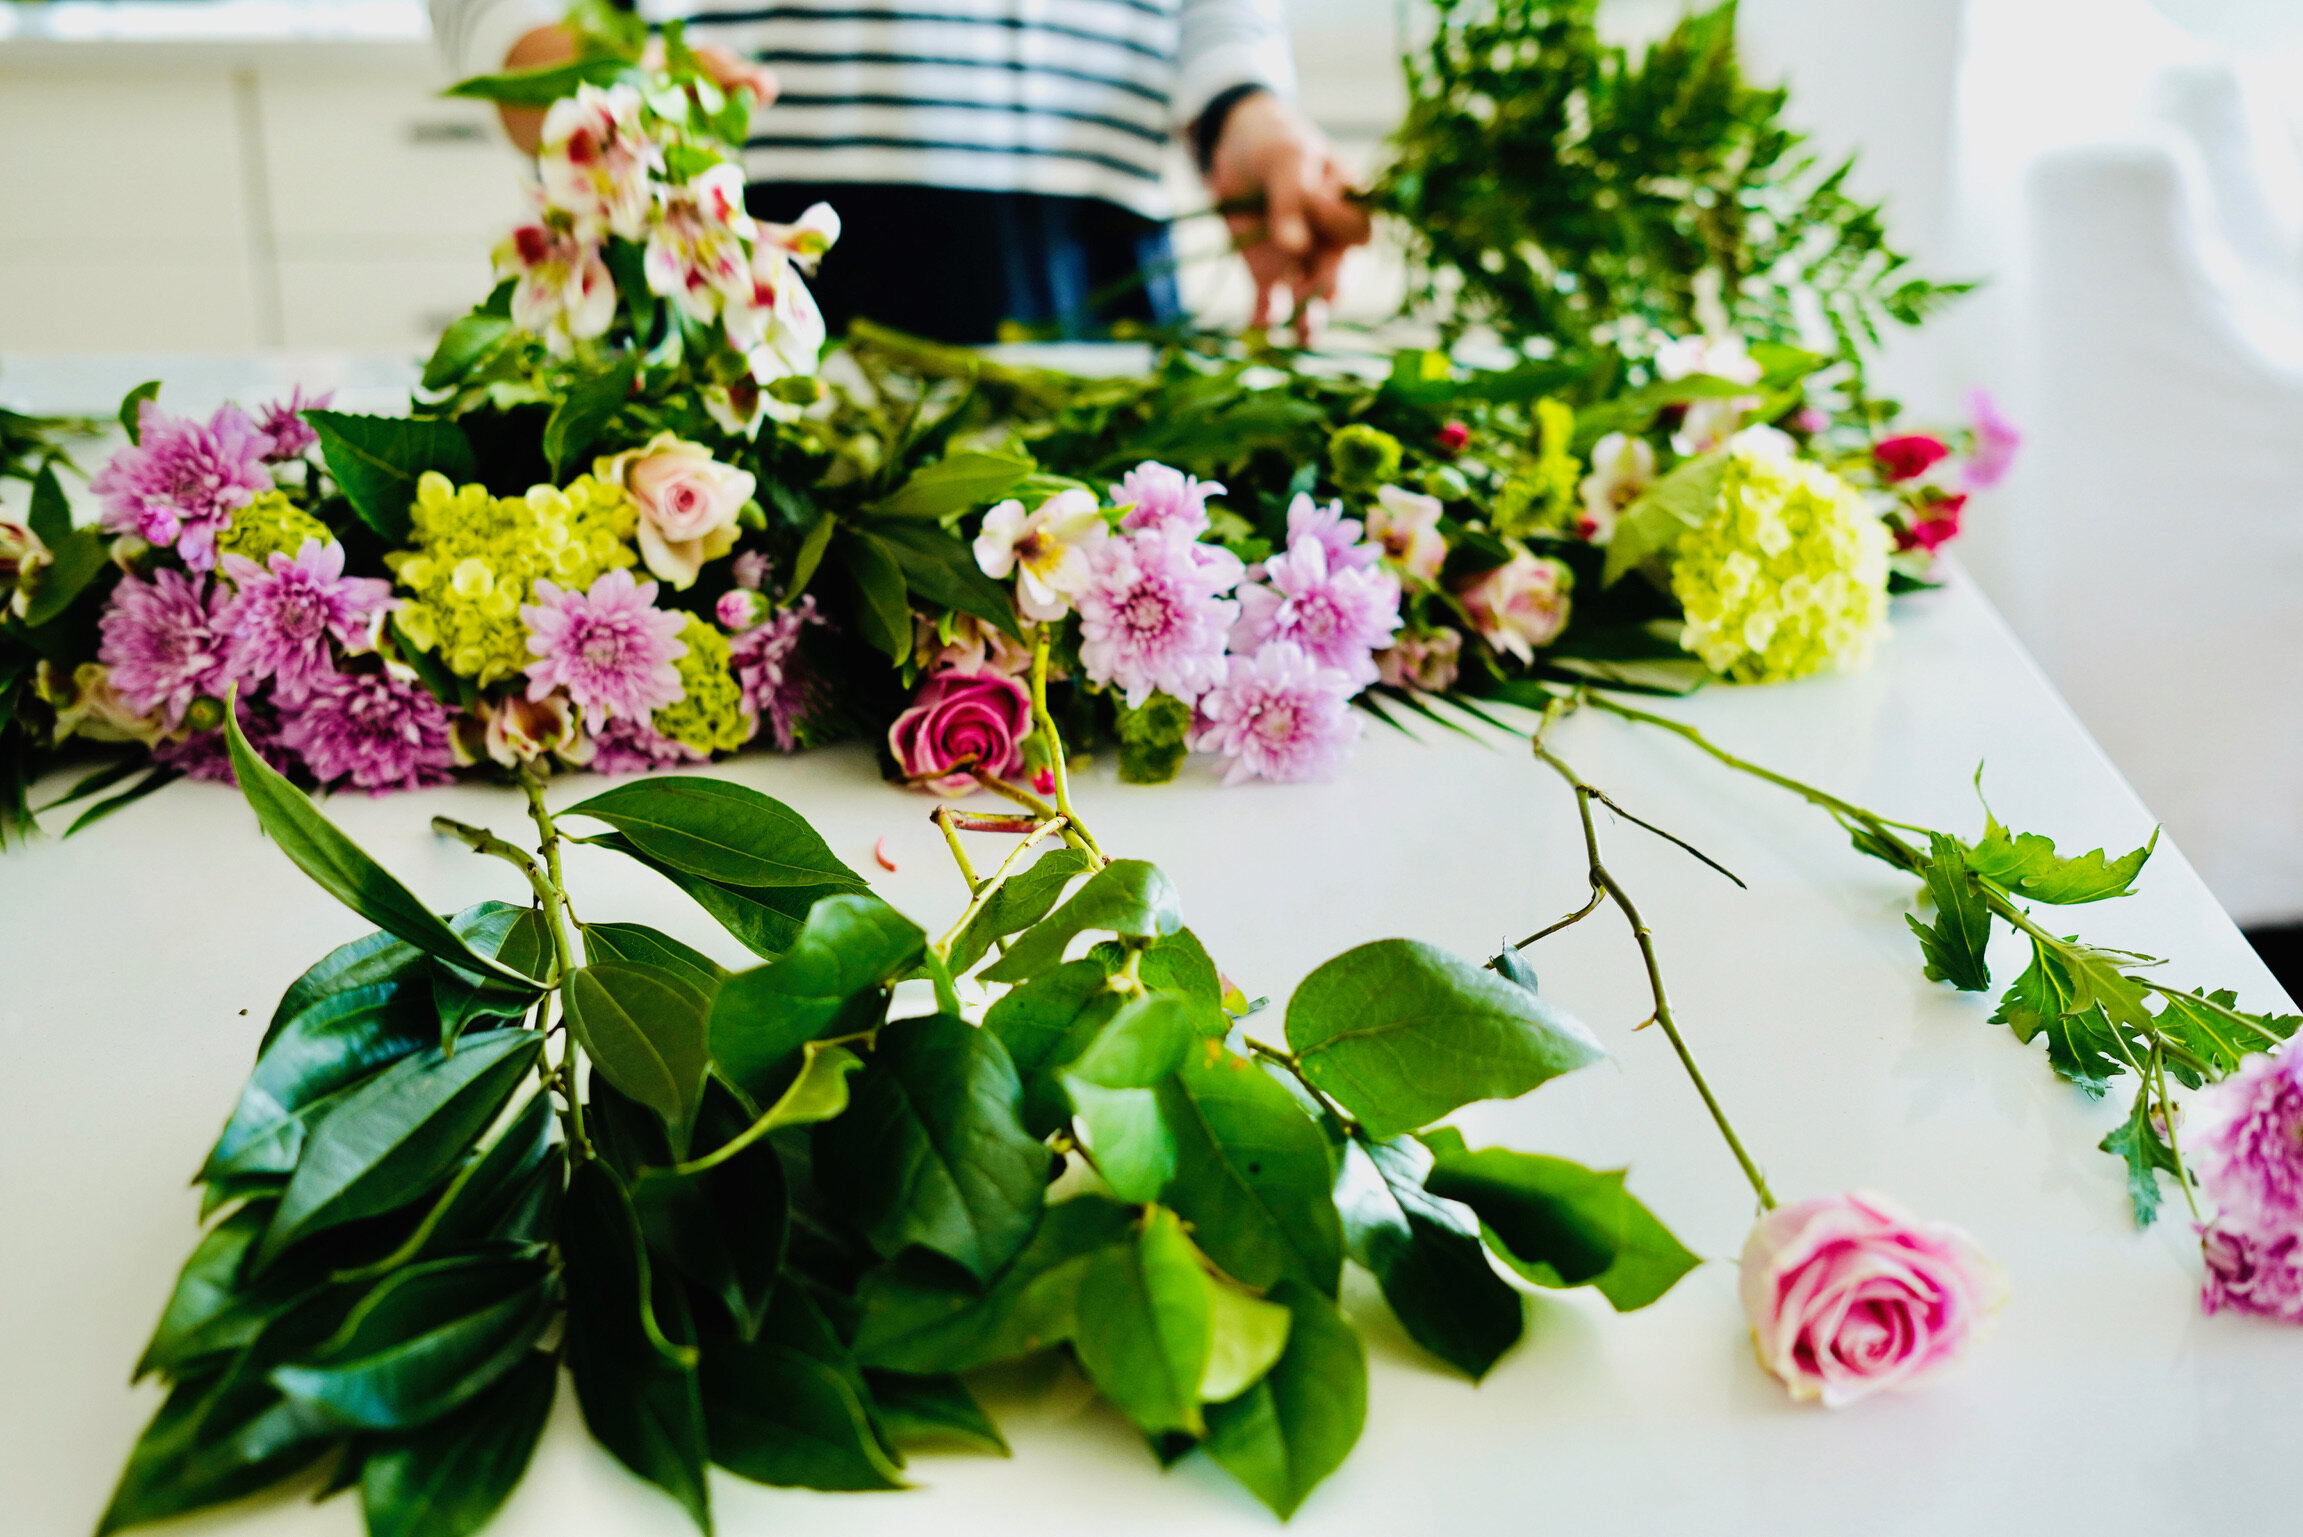
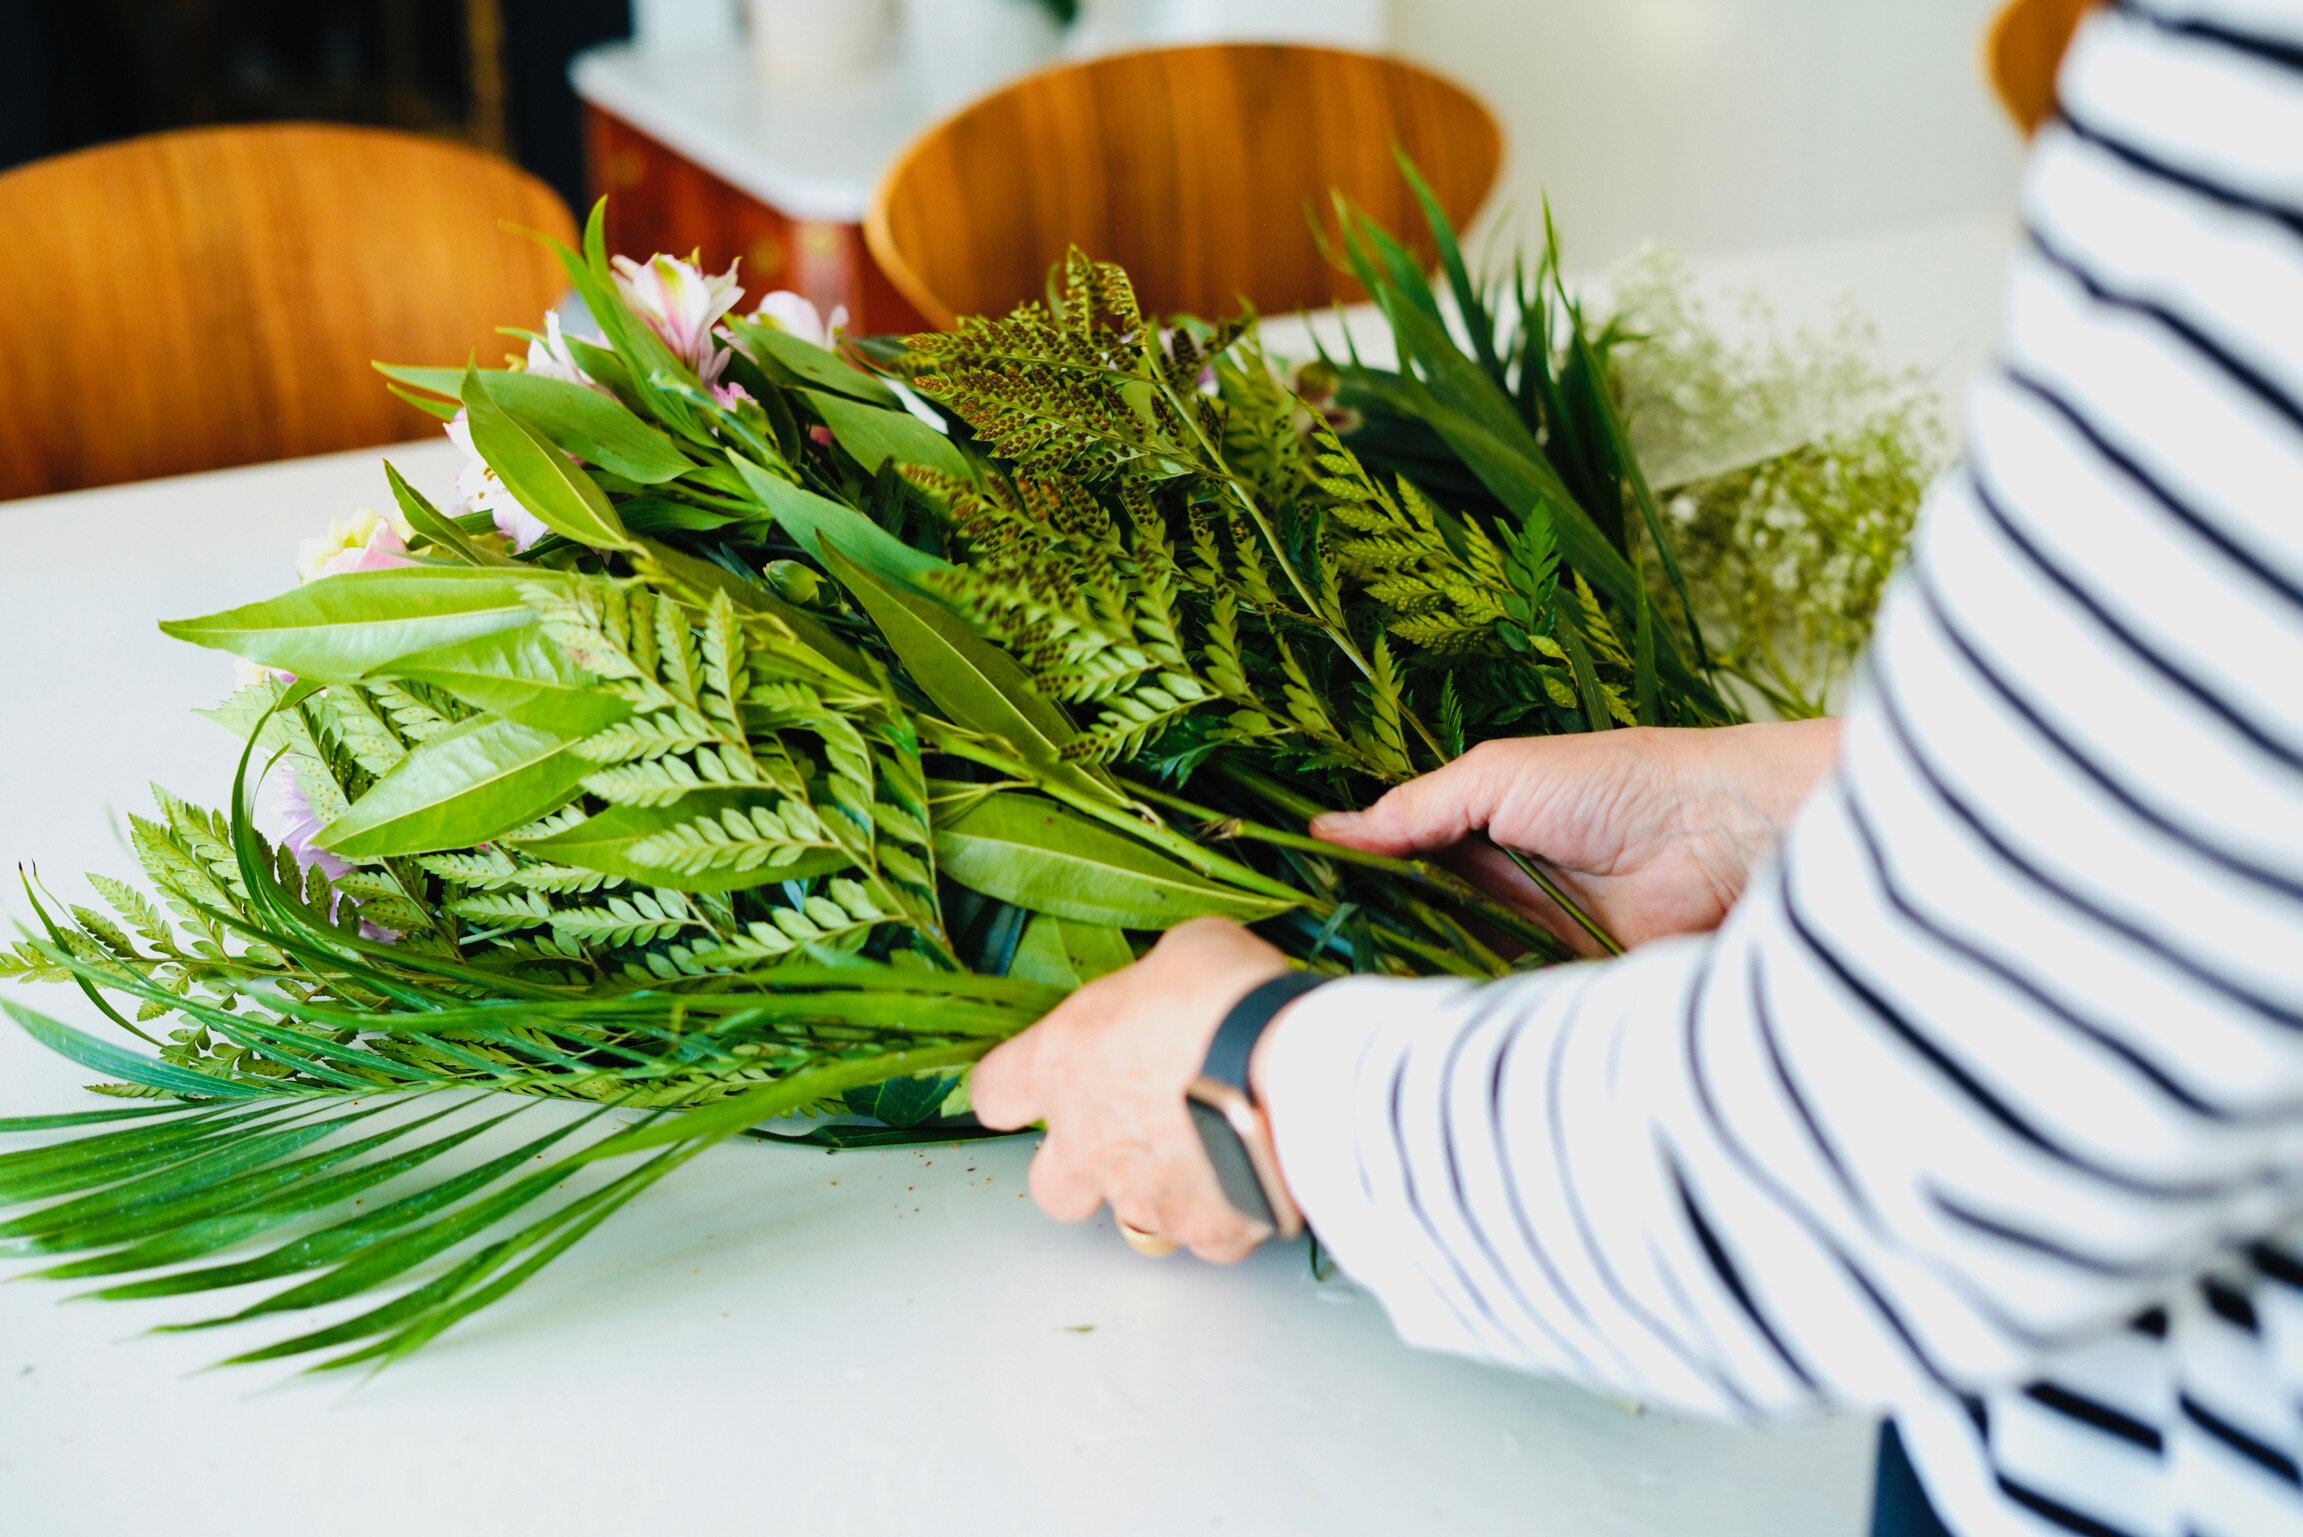
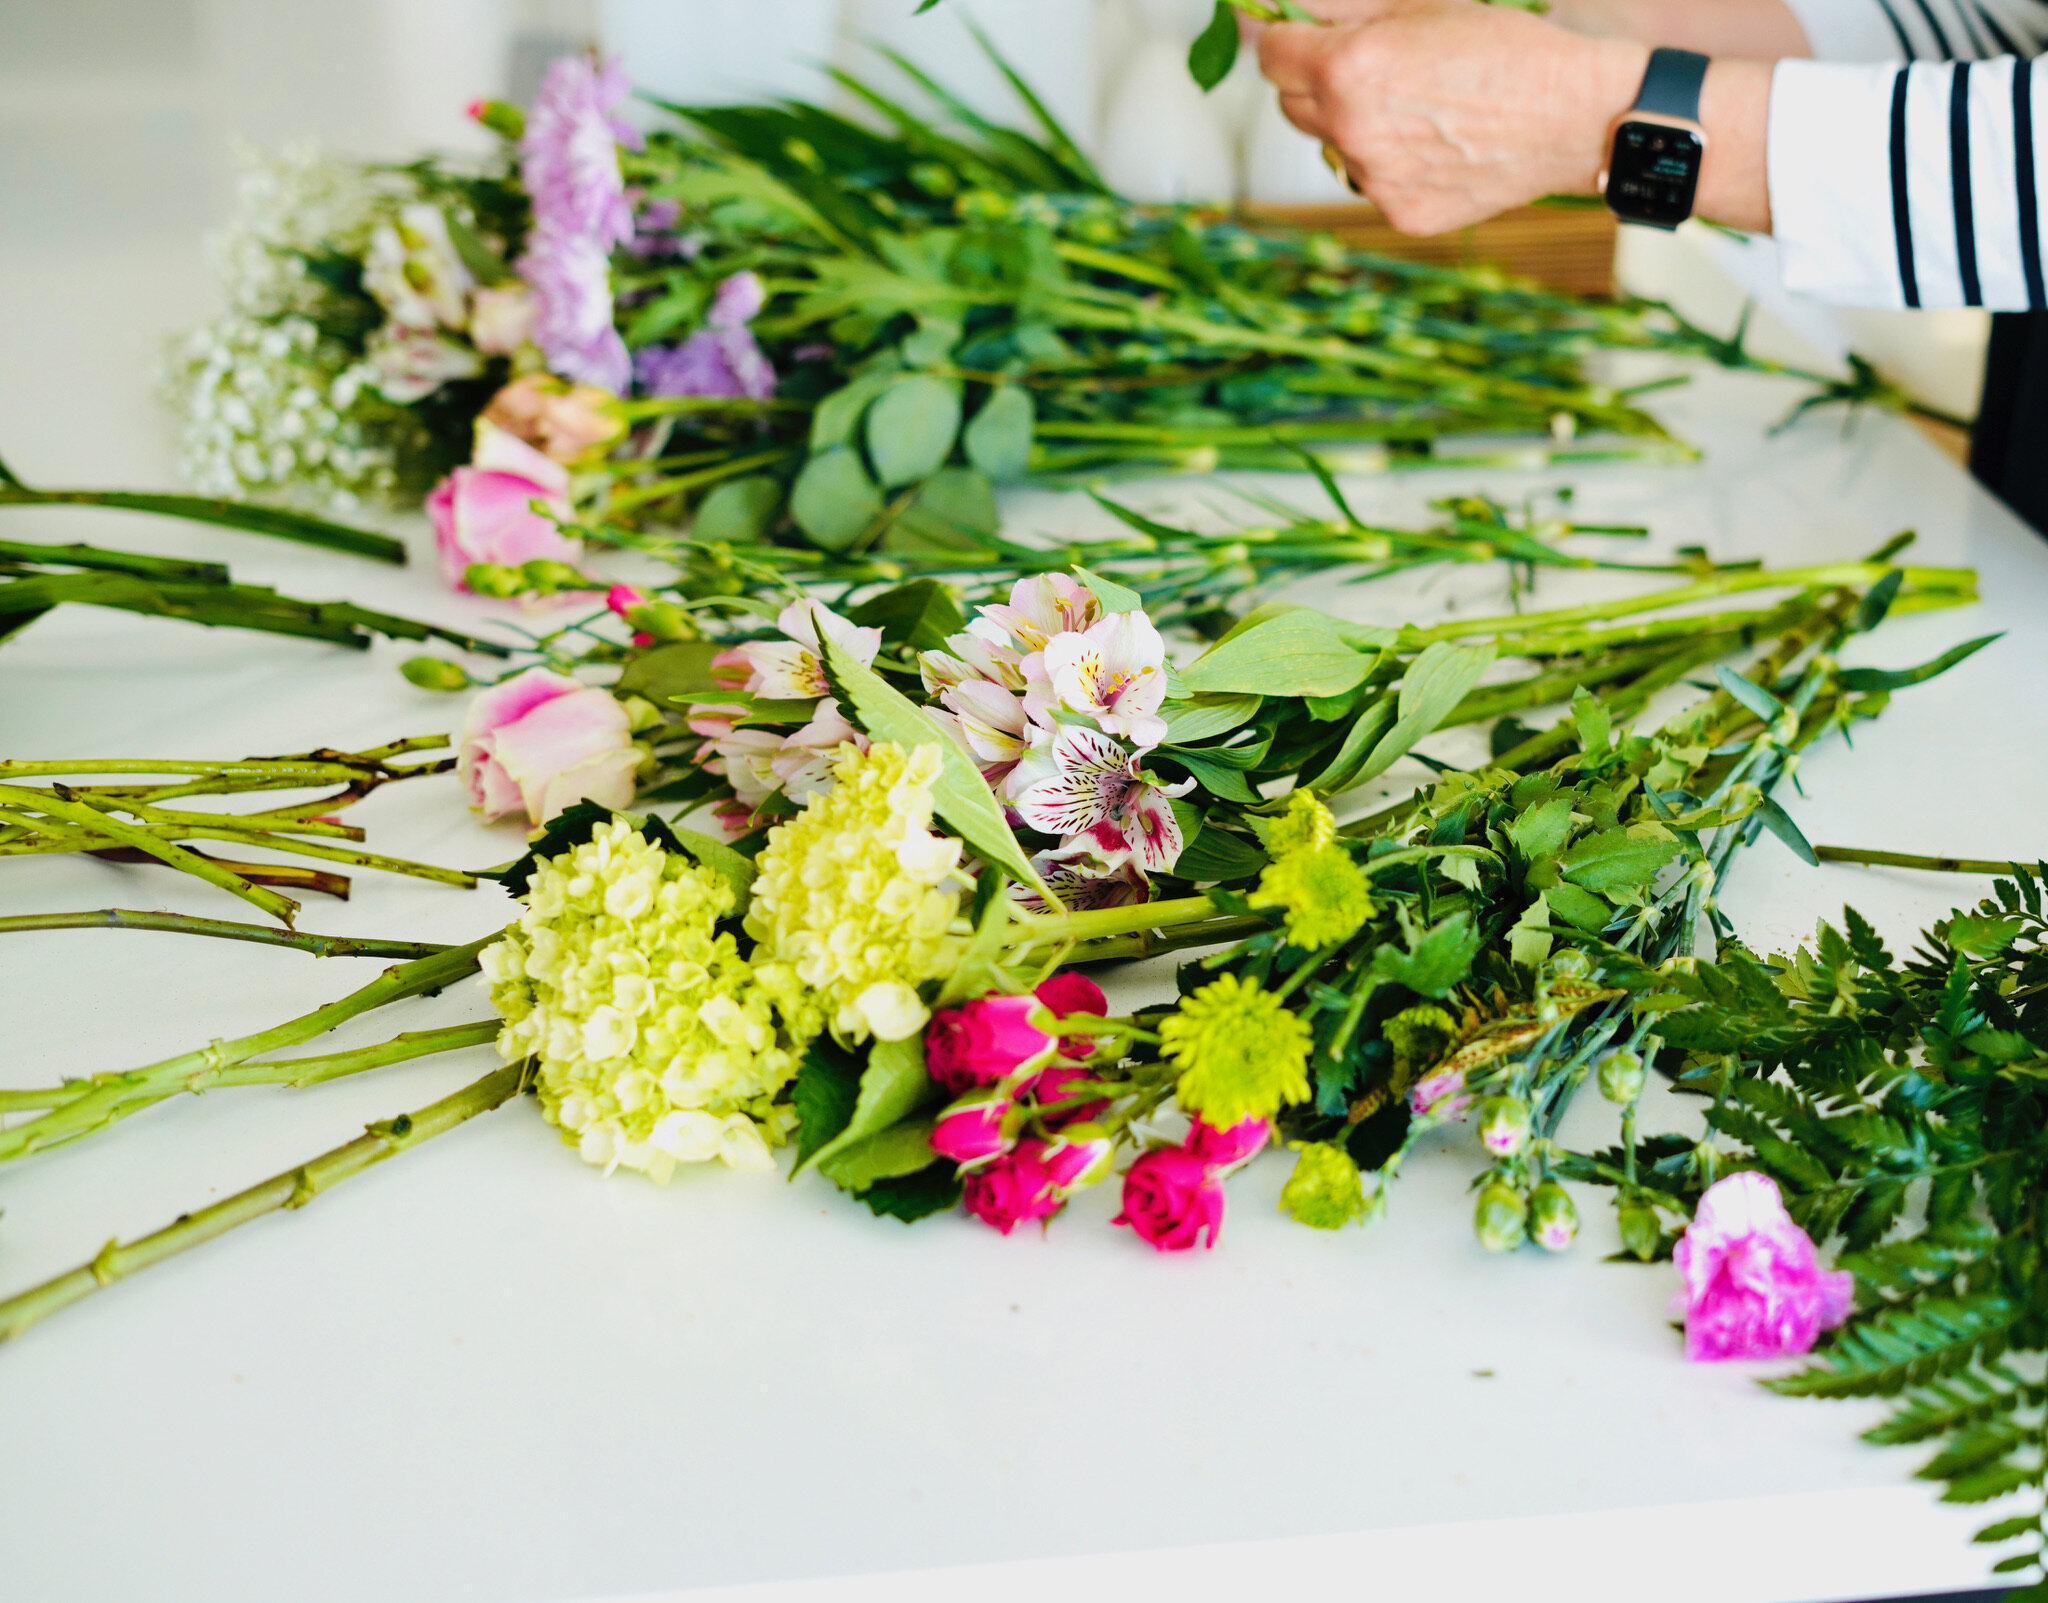
Step 4: Arranging!
Here comes the fun part! I know there is the “professional” way of arranging, but I don’t have that skill as of yet, so I arrange with my senses. Winging it if you like.
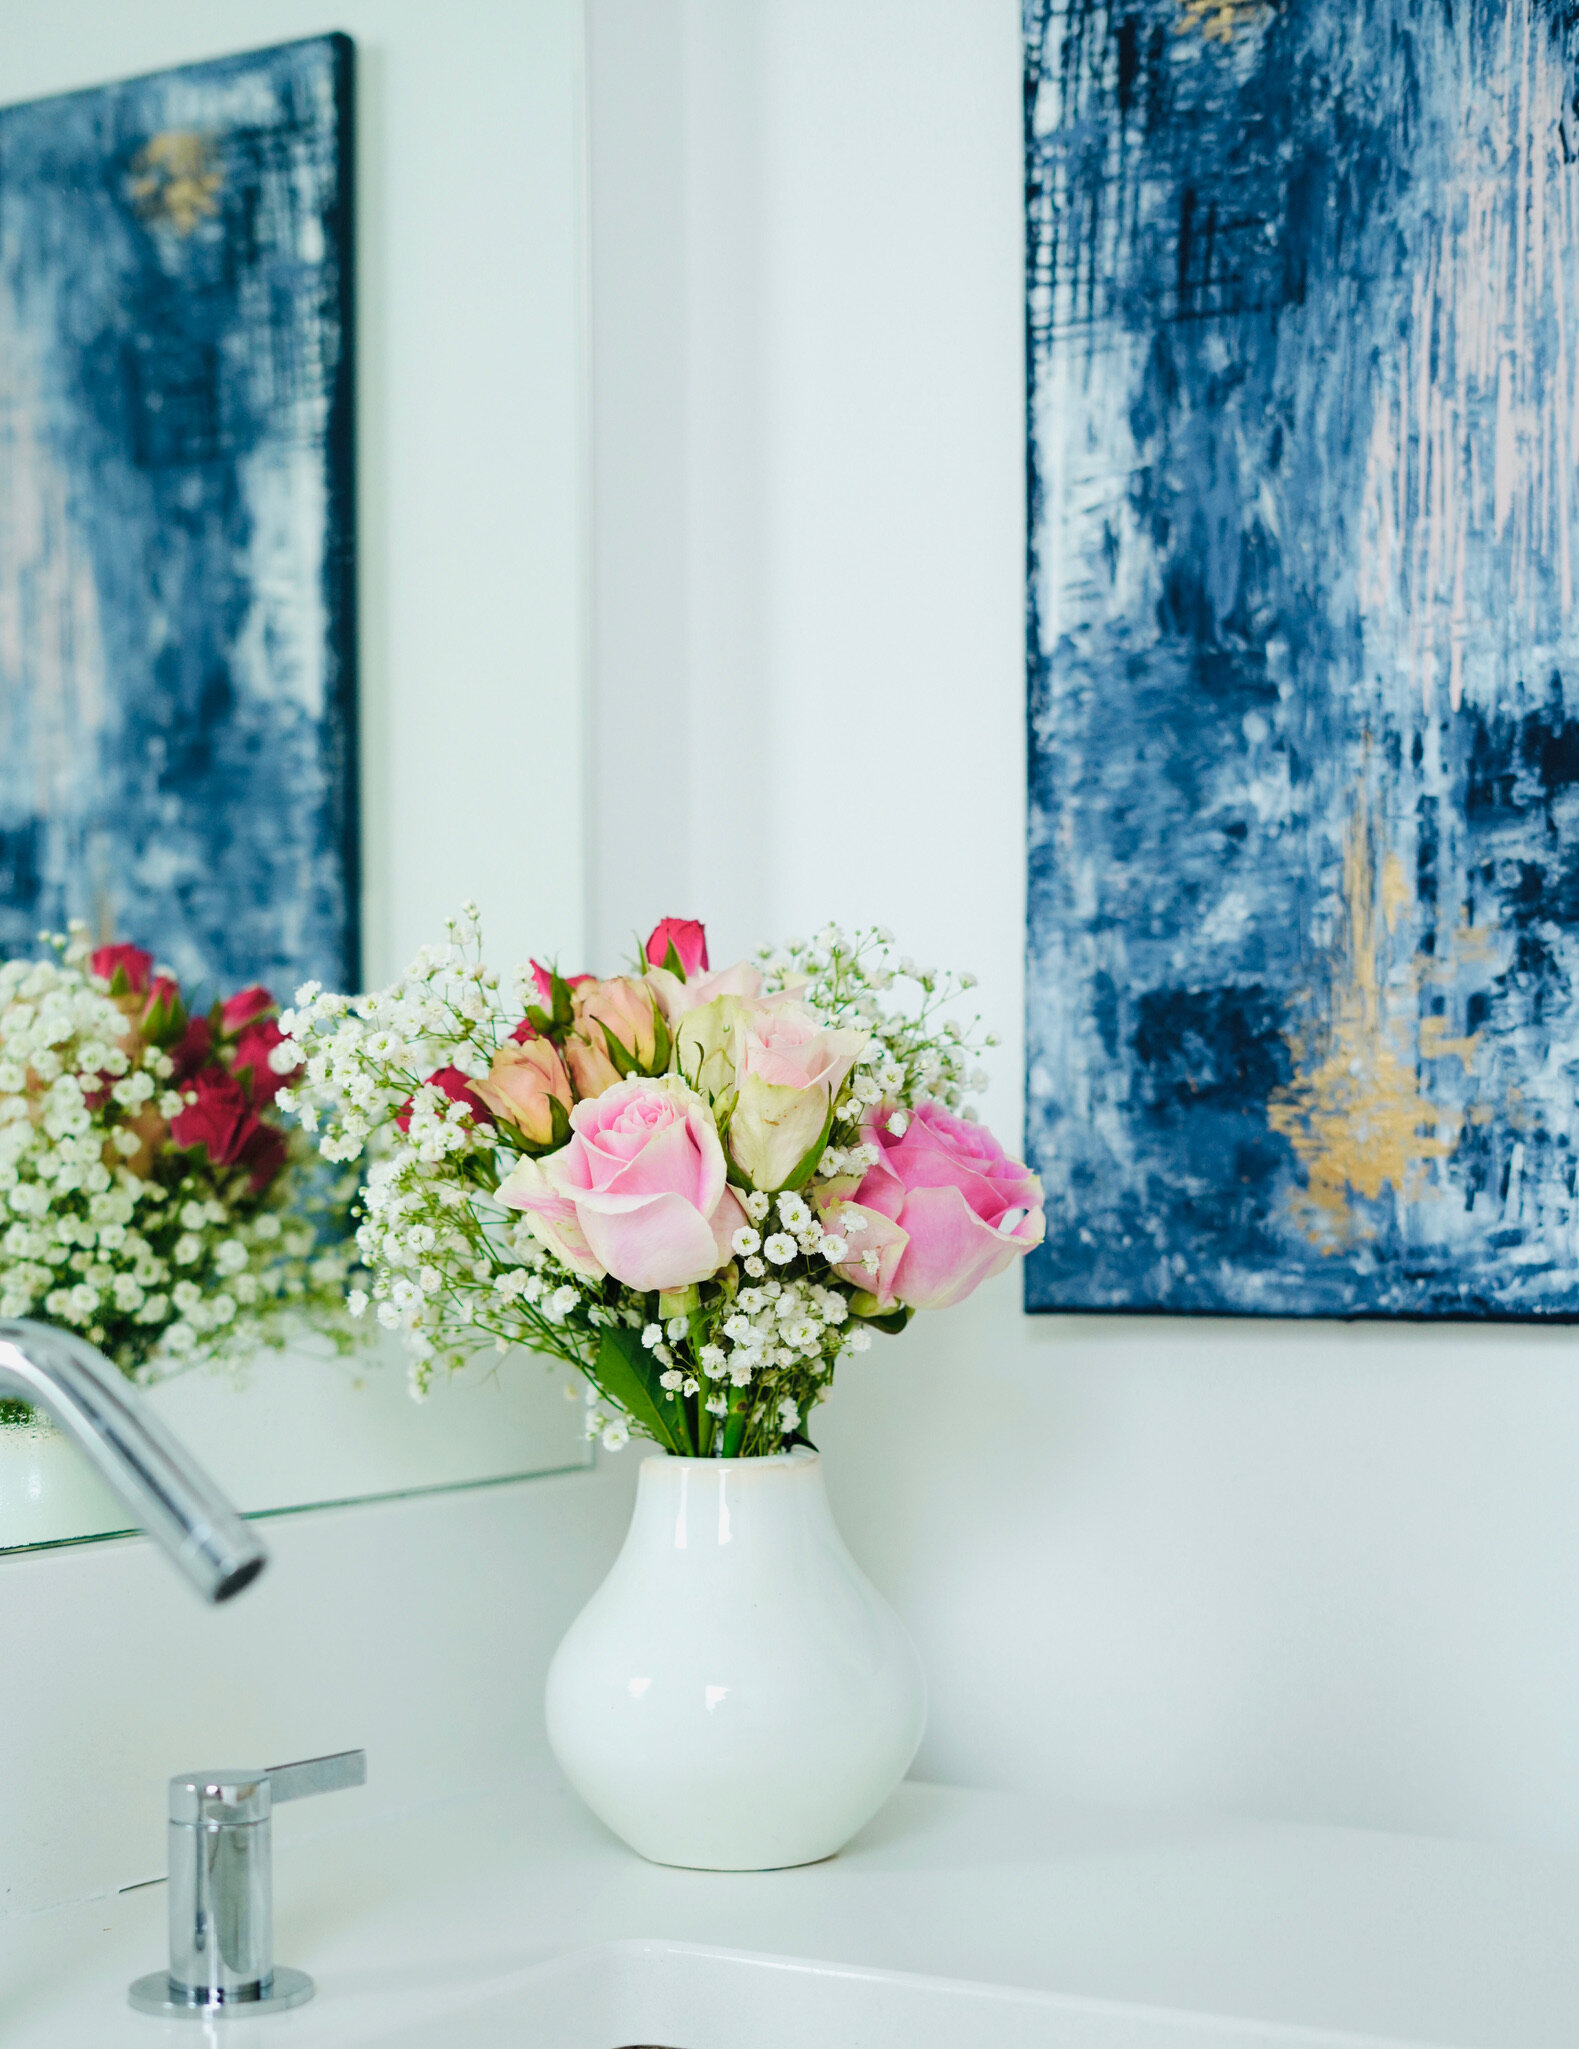
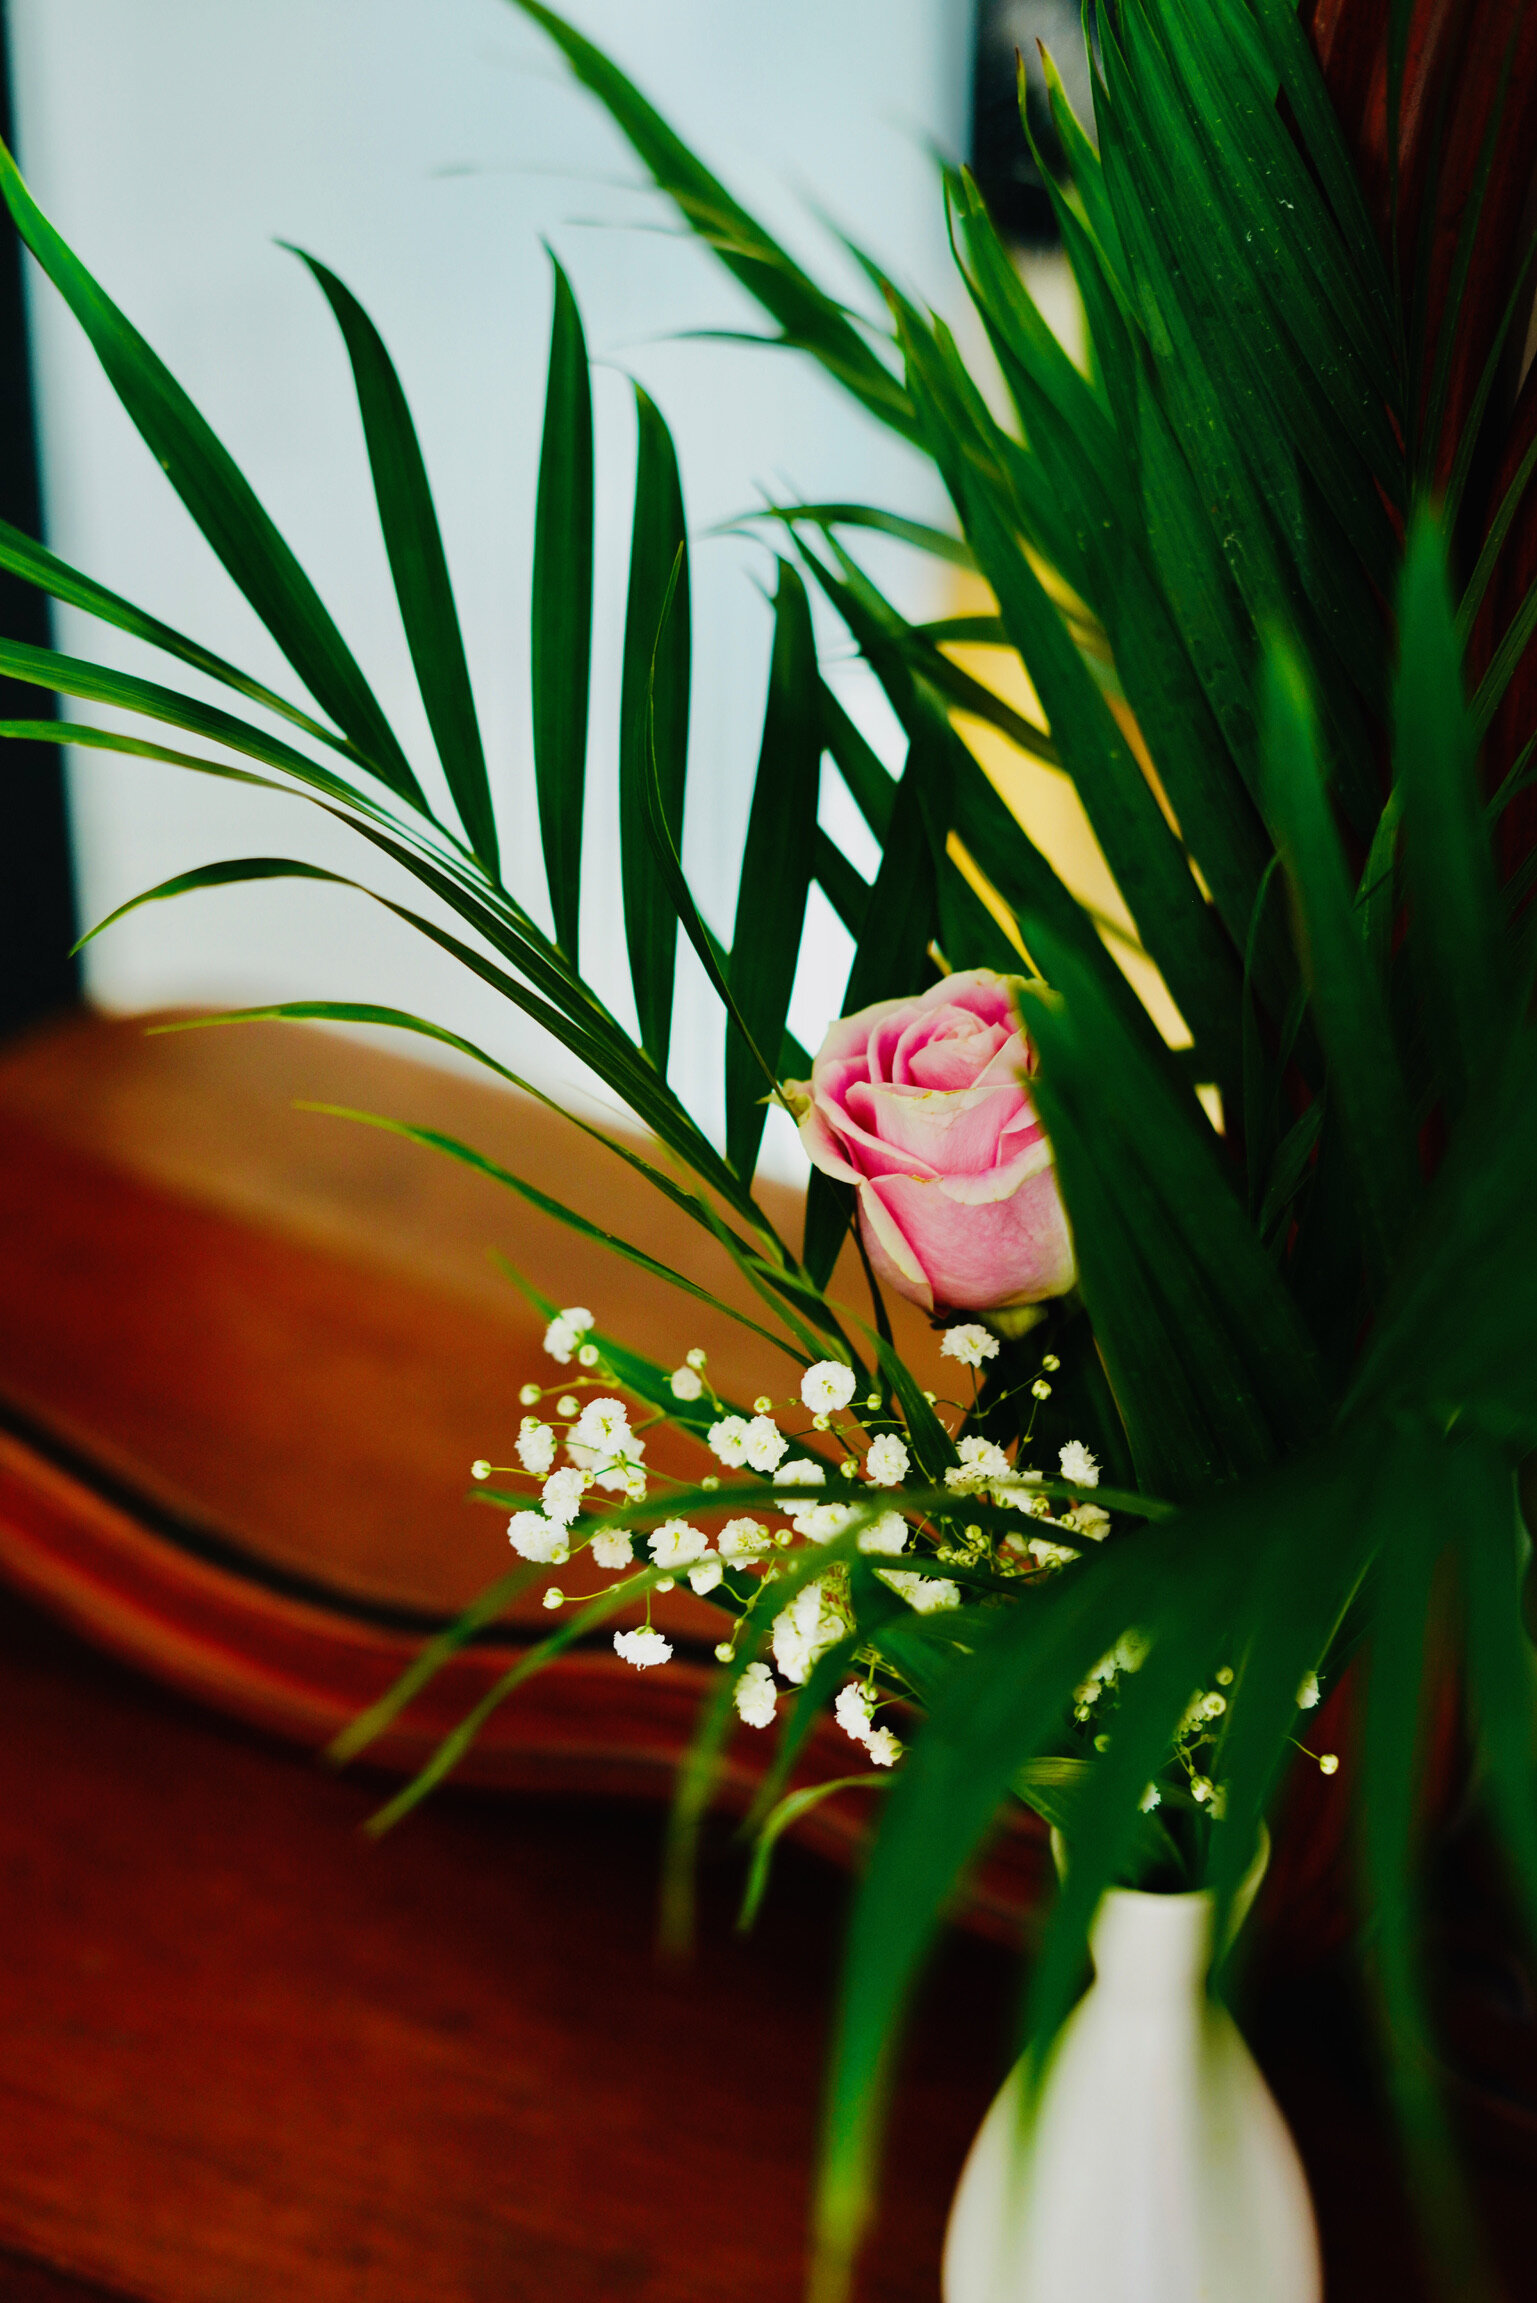
I tend to group roses together with baby’s breath, for some reason they seem to go well together. I also like pairing different greens and keeping the bouquets monotone. There is something soothing about it.

Baby’s breath and roses work well together!
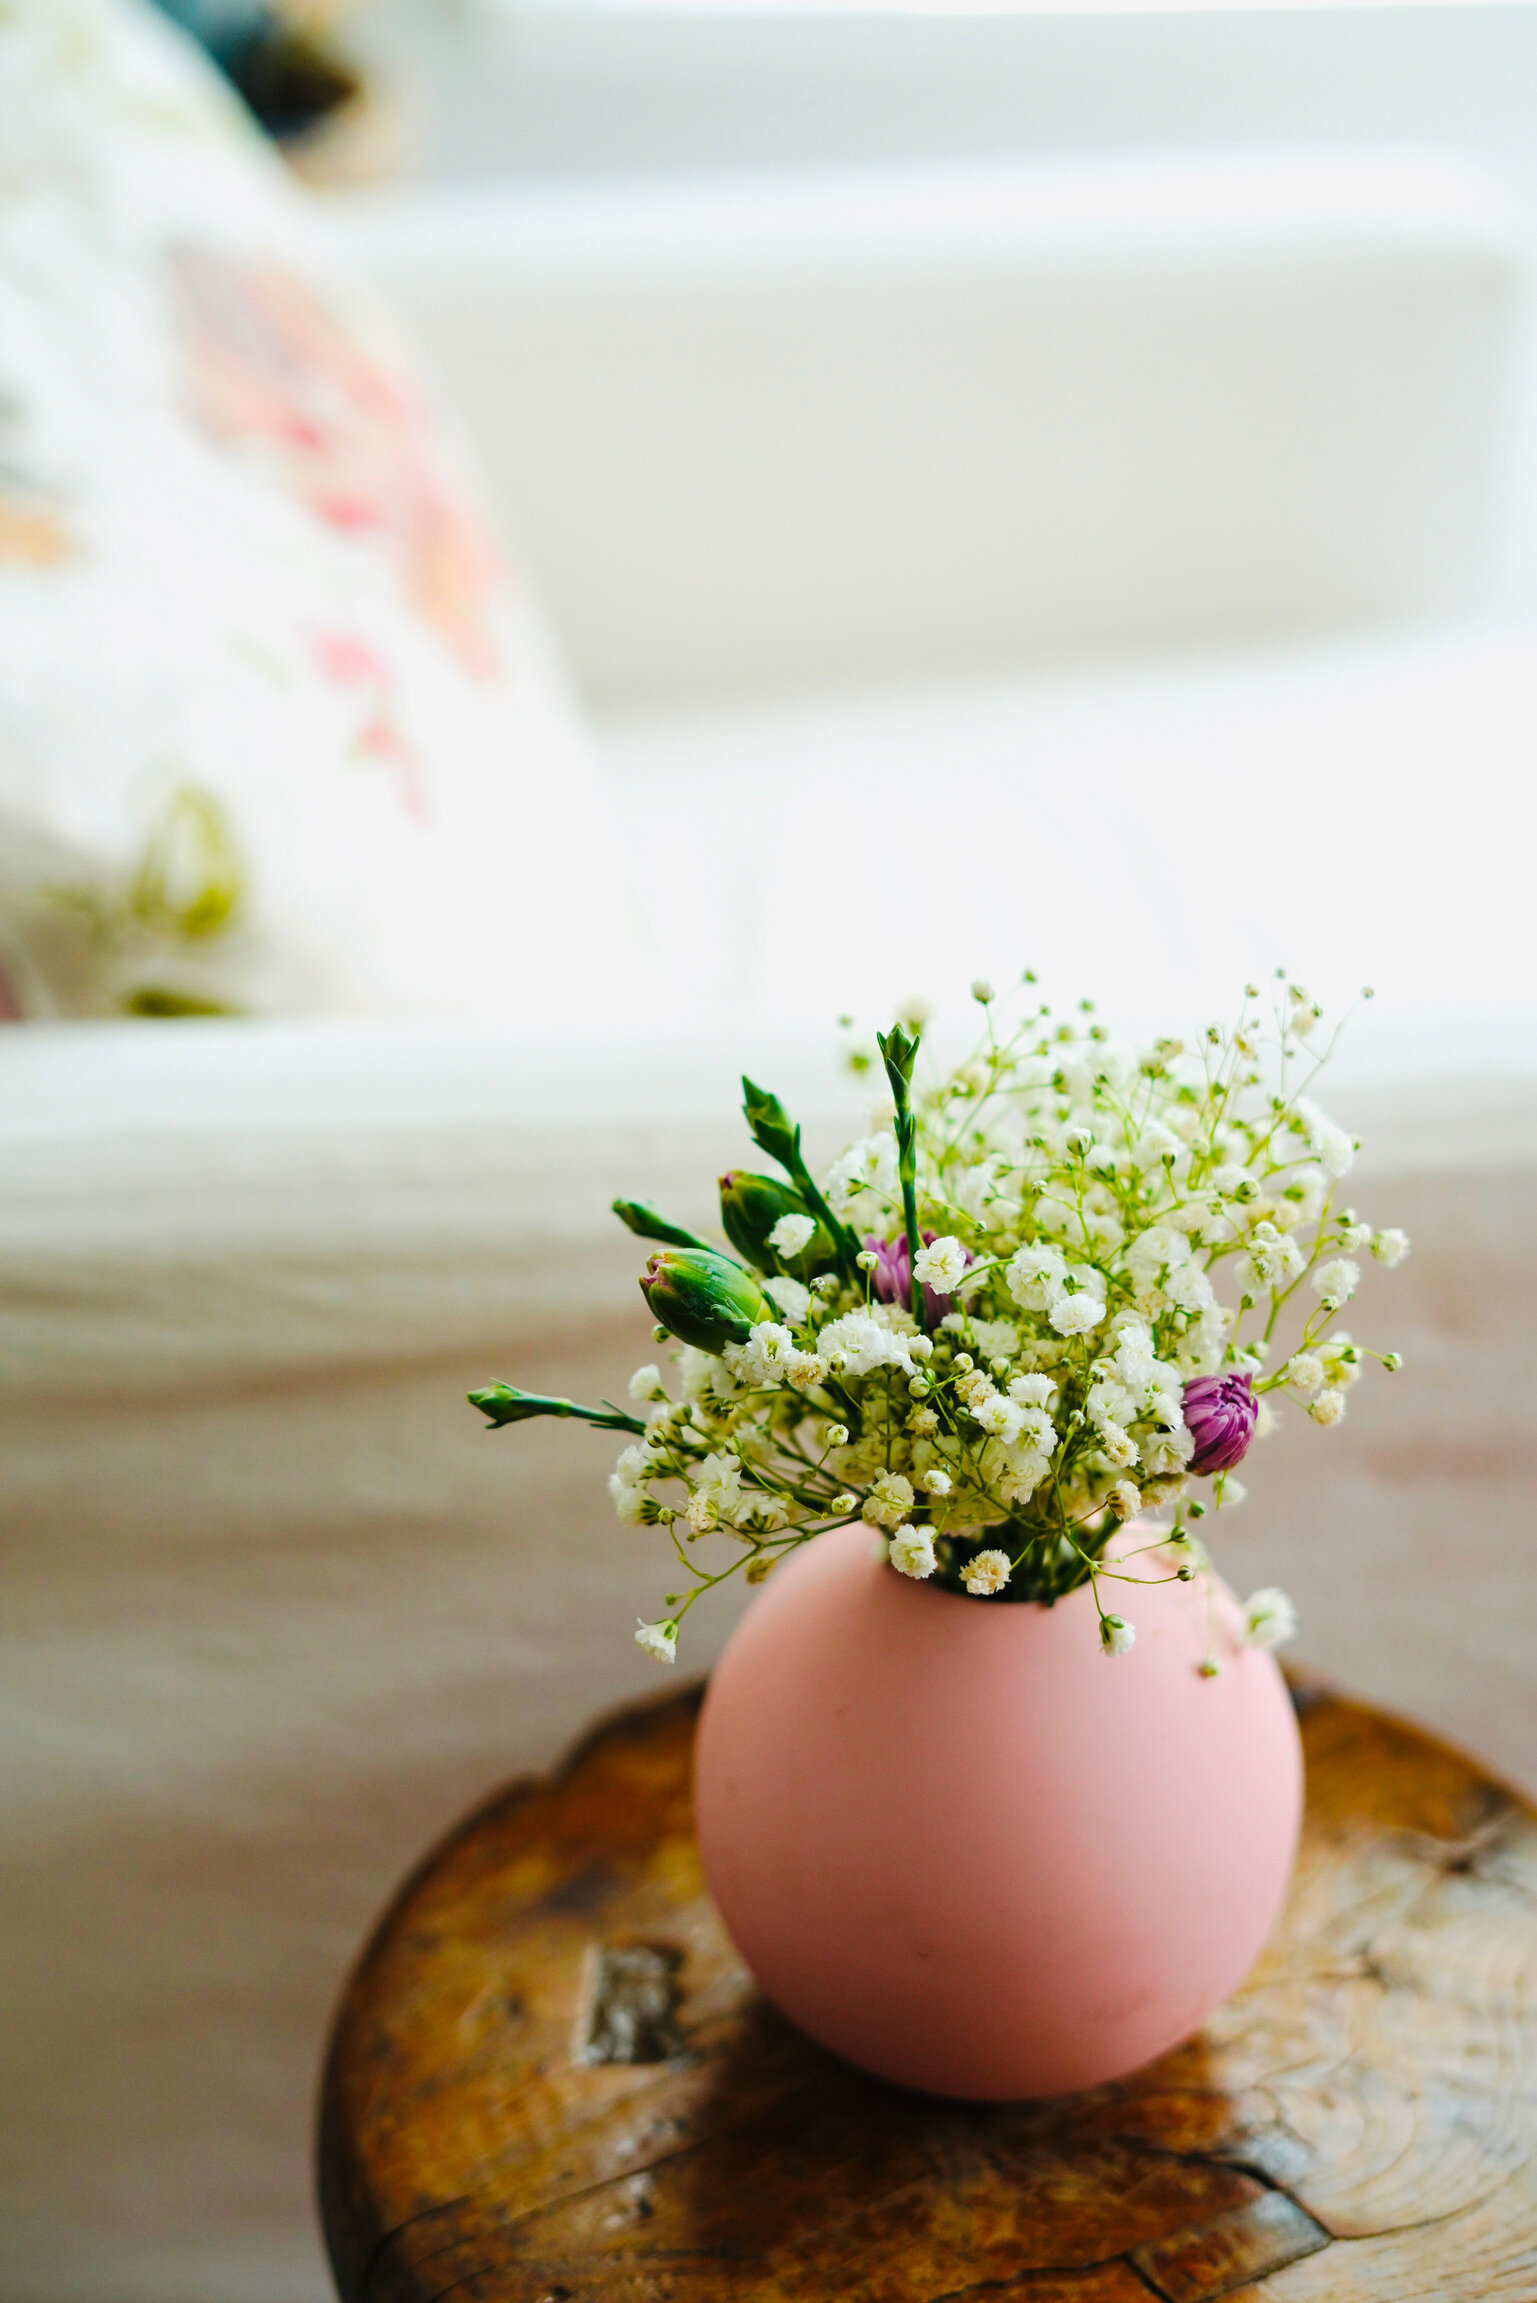
The first arrangement seems to be the easiest one, first obvious picks. Then it gets a bit more challenging, but it all works out in the end. If flowers break off with a bit of stem, I place them in a bud vase (made for one stem).

Tip: Cut the flowers short, usually 1.5 times the vase. Adjust as you go, pull out stems that seem too high and cut some more off. Have fun, keep it loose and organic.

STEP 5 : Placement
Spread the joy! Now that you have several arrangements, place them throughout your house for enjoyment in every room. I always like fresh flowers in my powder room and on a small table near where I sit. My desk also gets to be pretty, to make it more pleasing when I am at my computer.
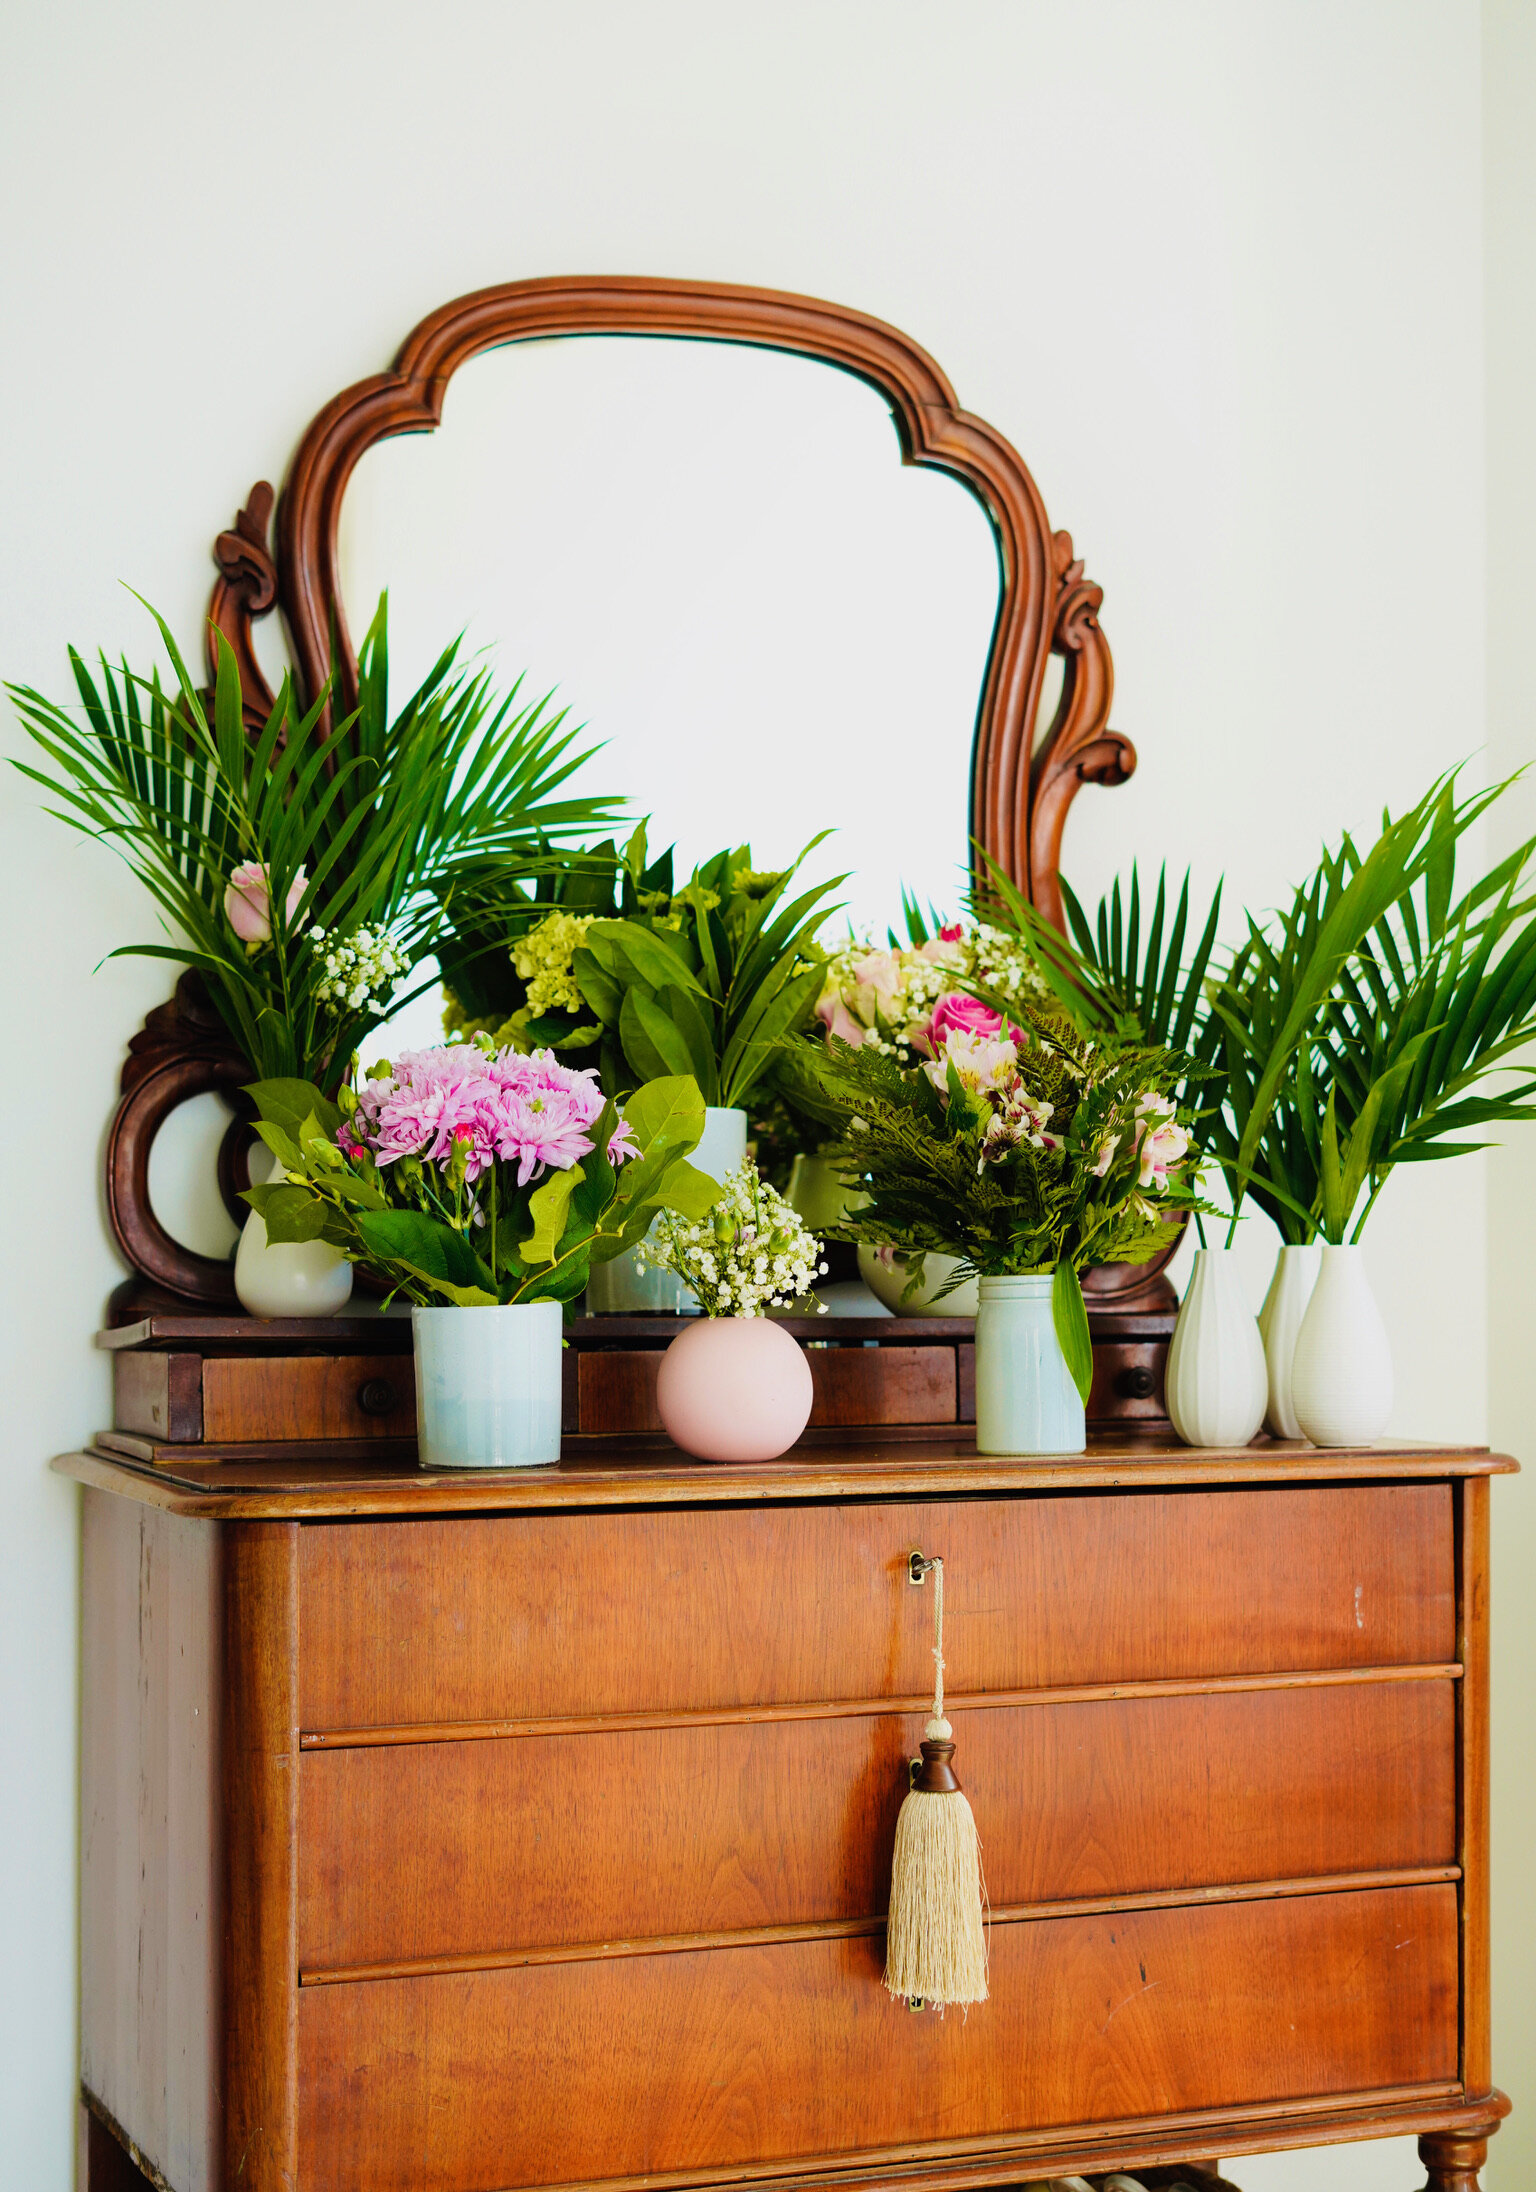
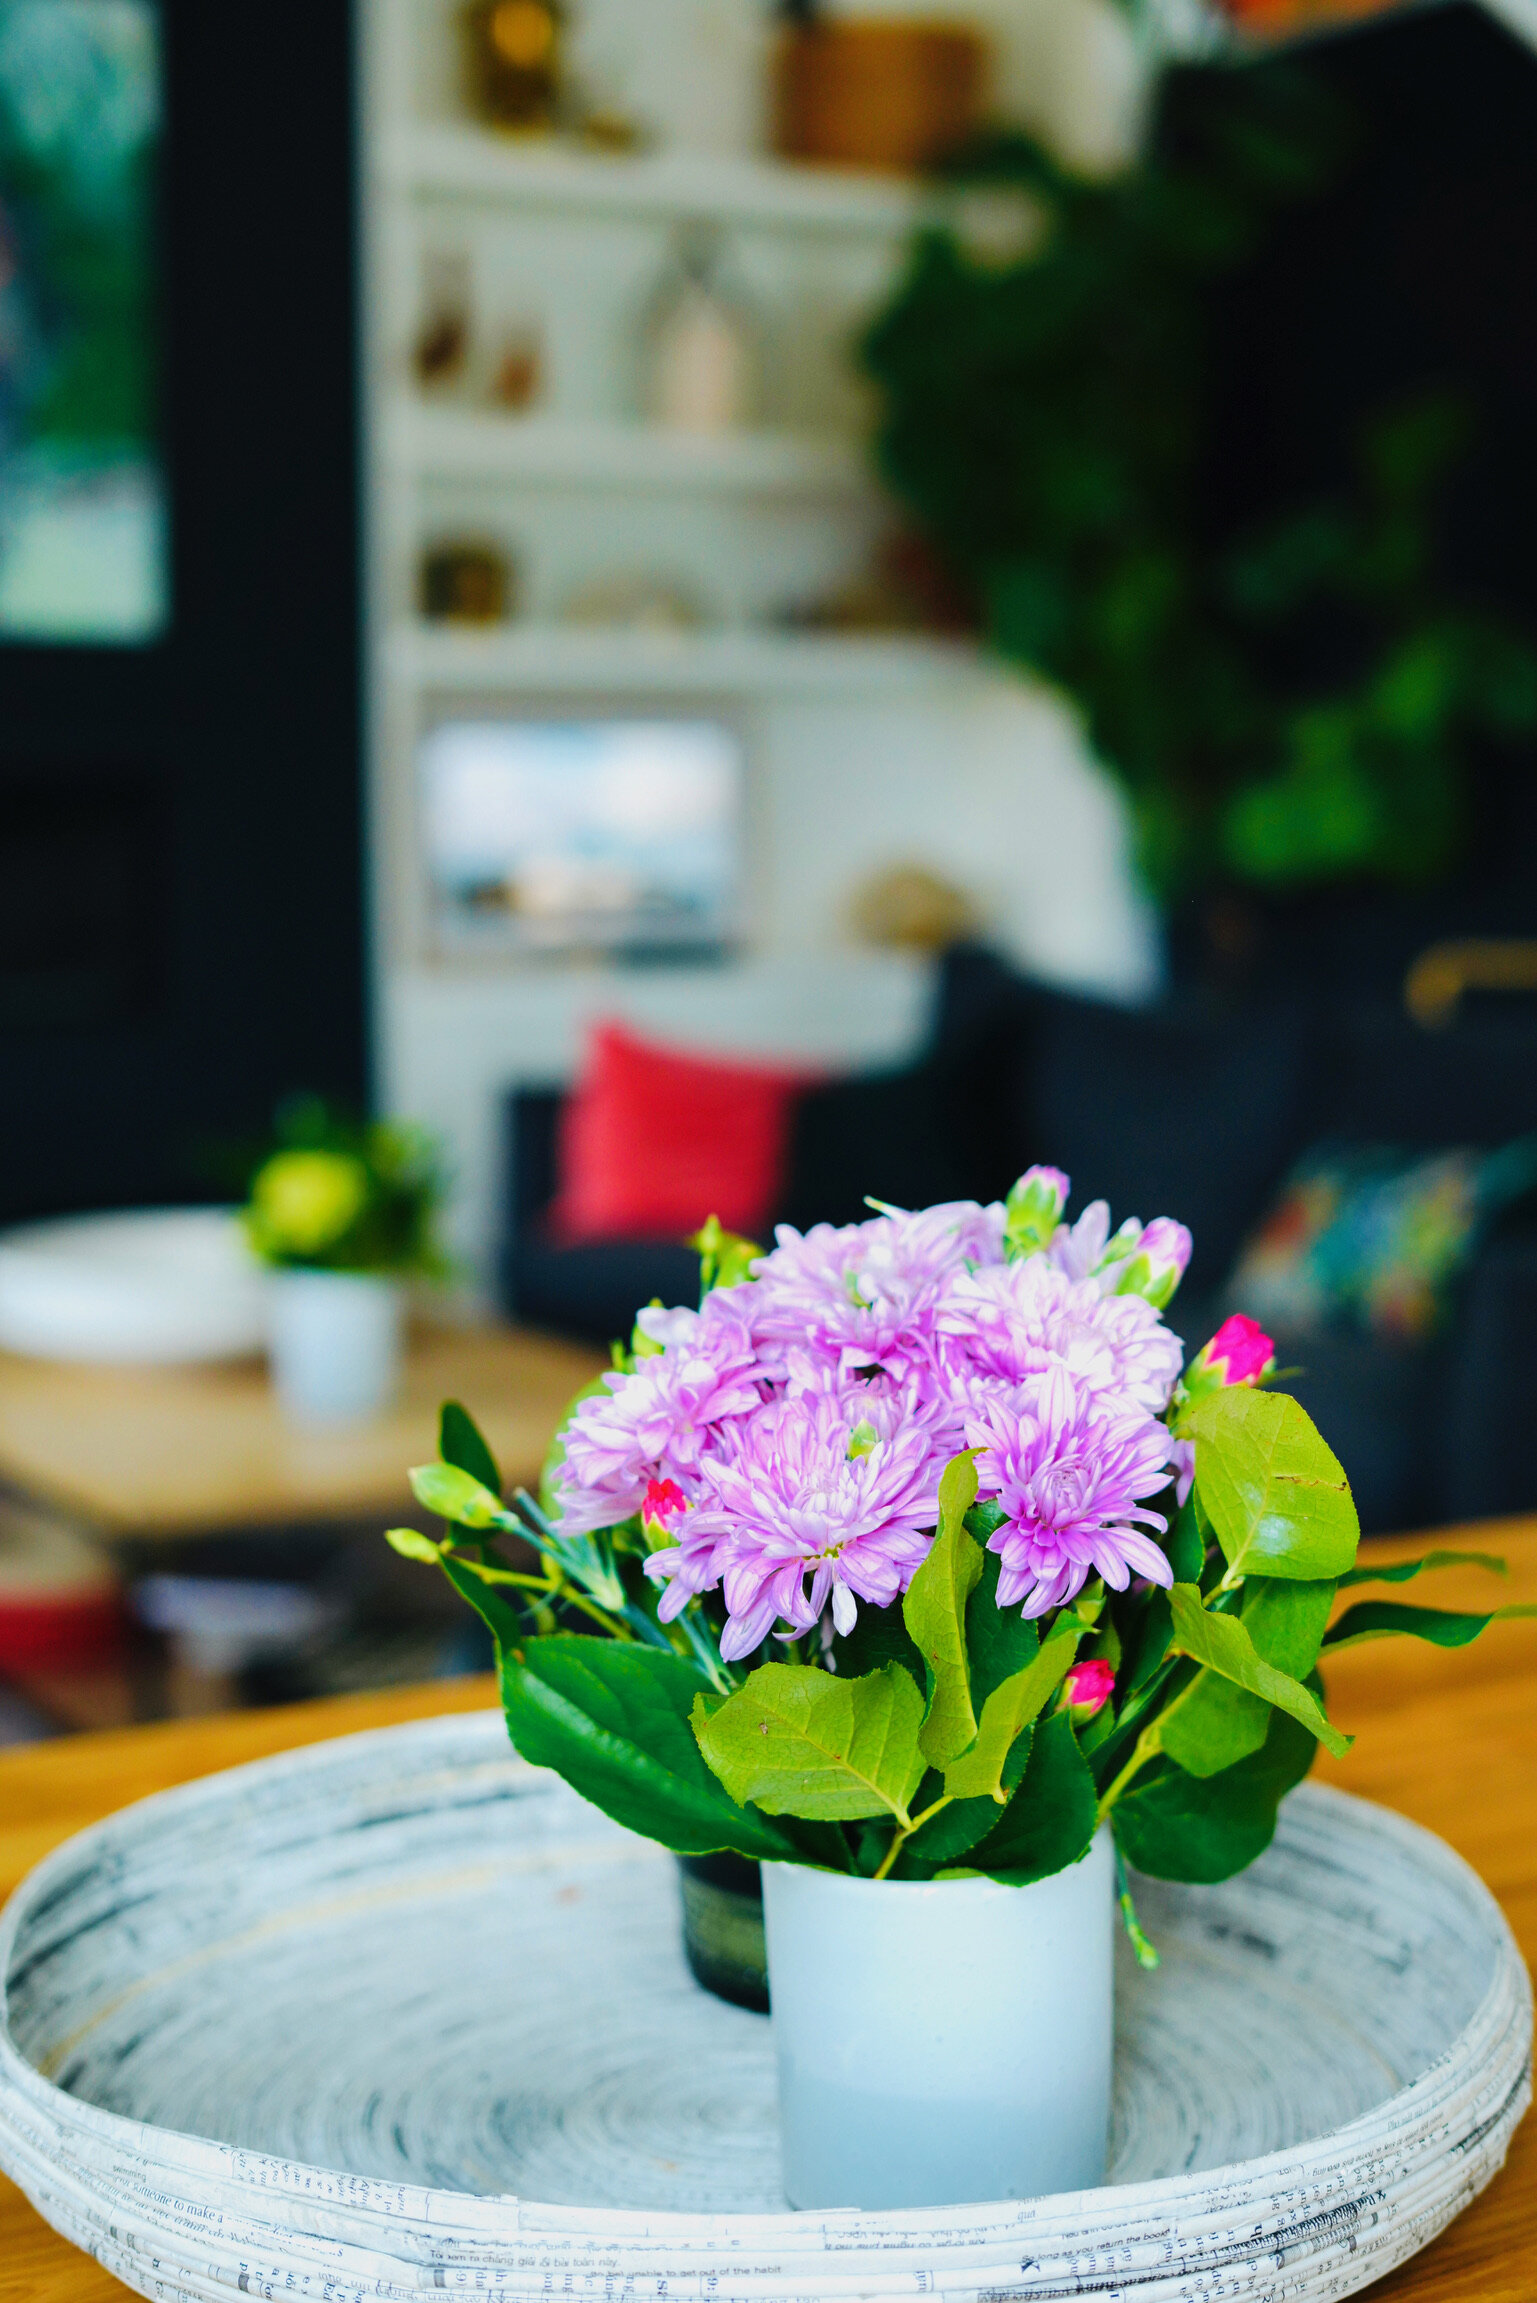
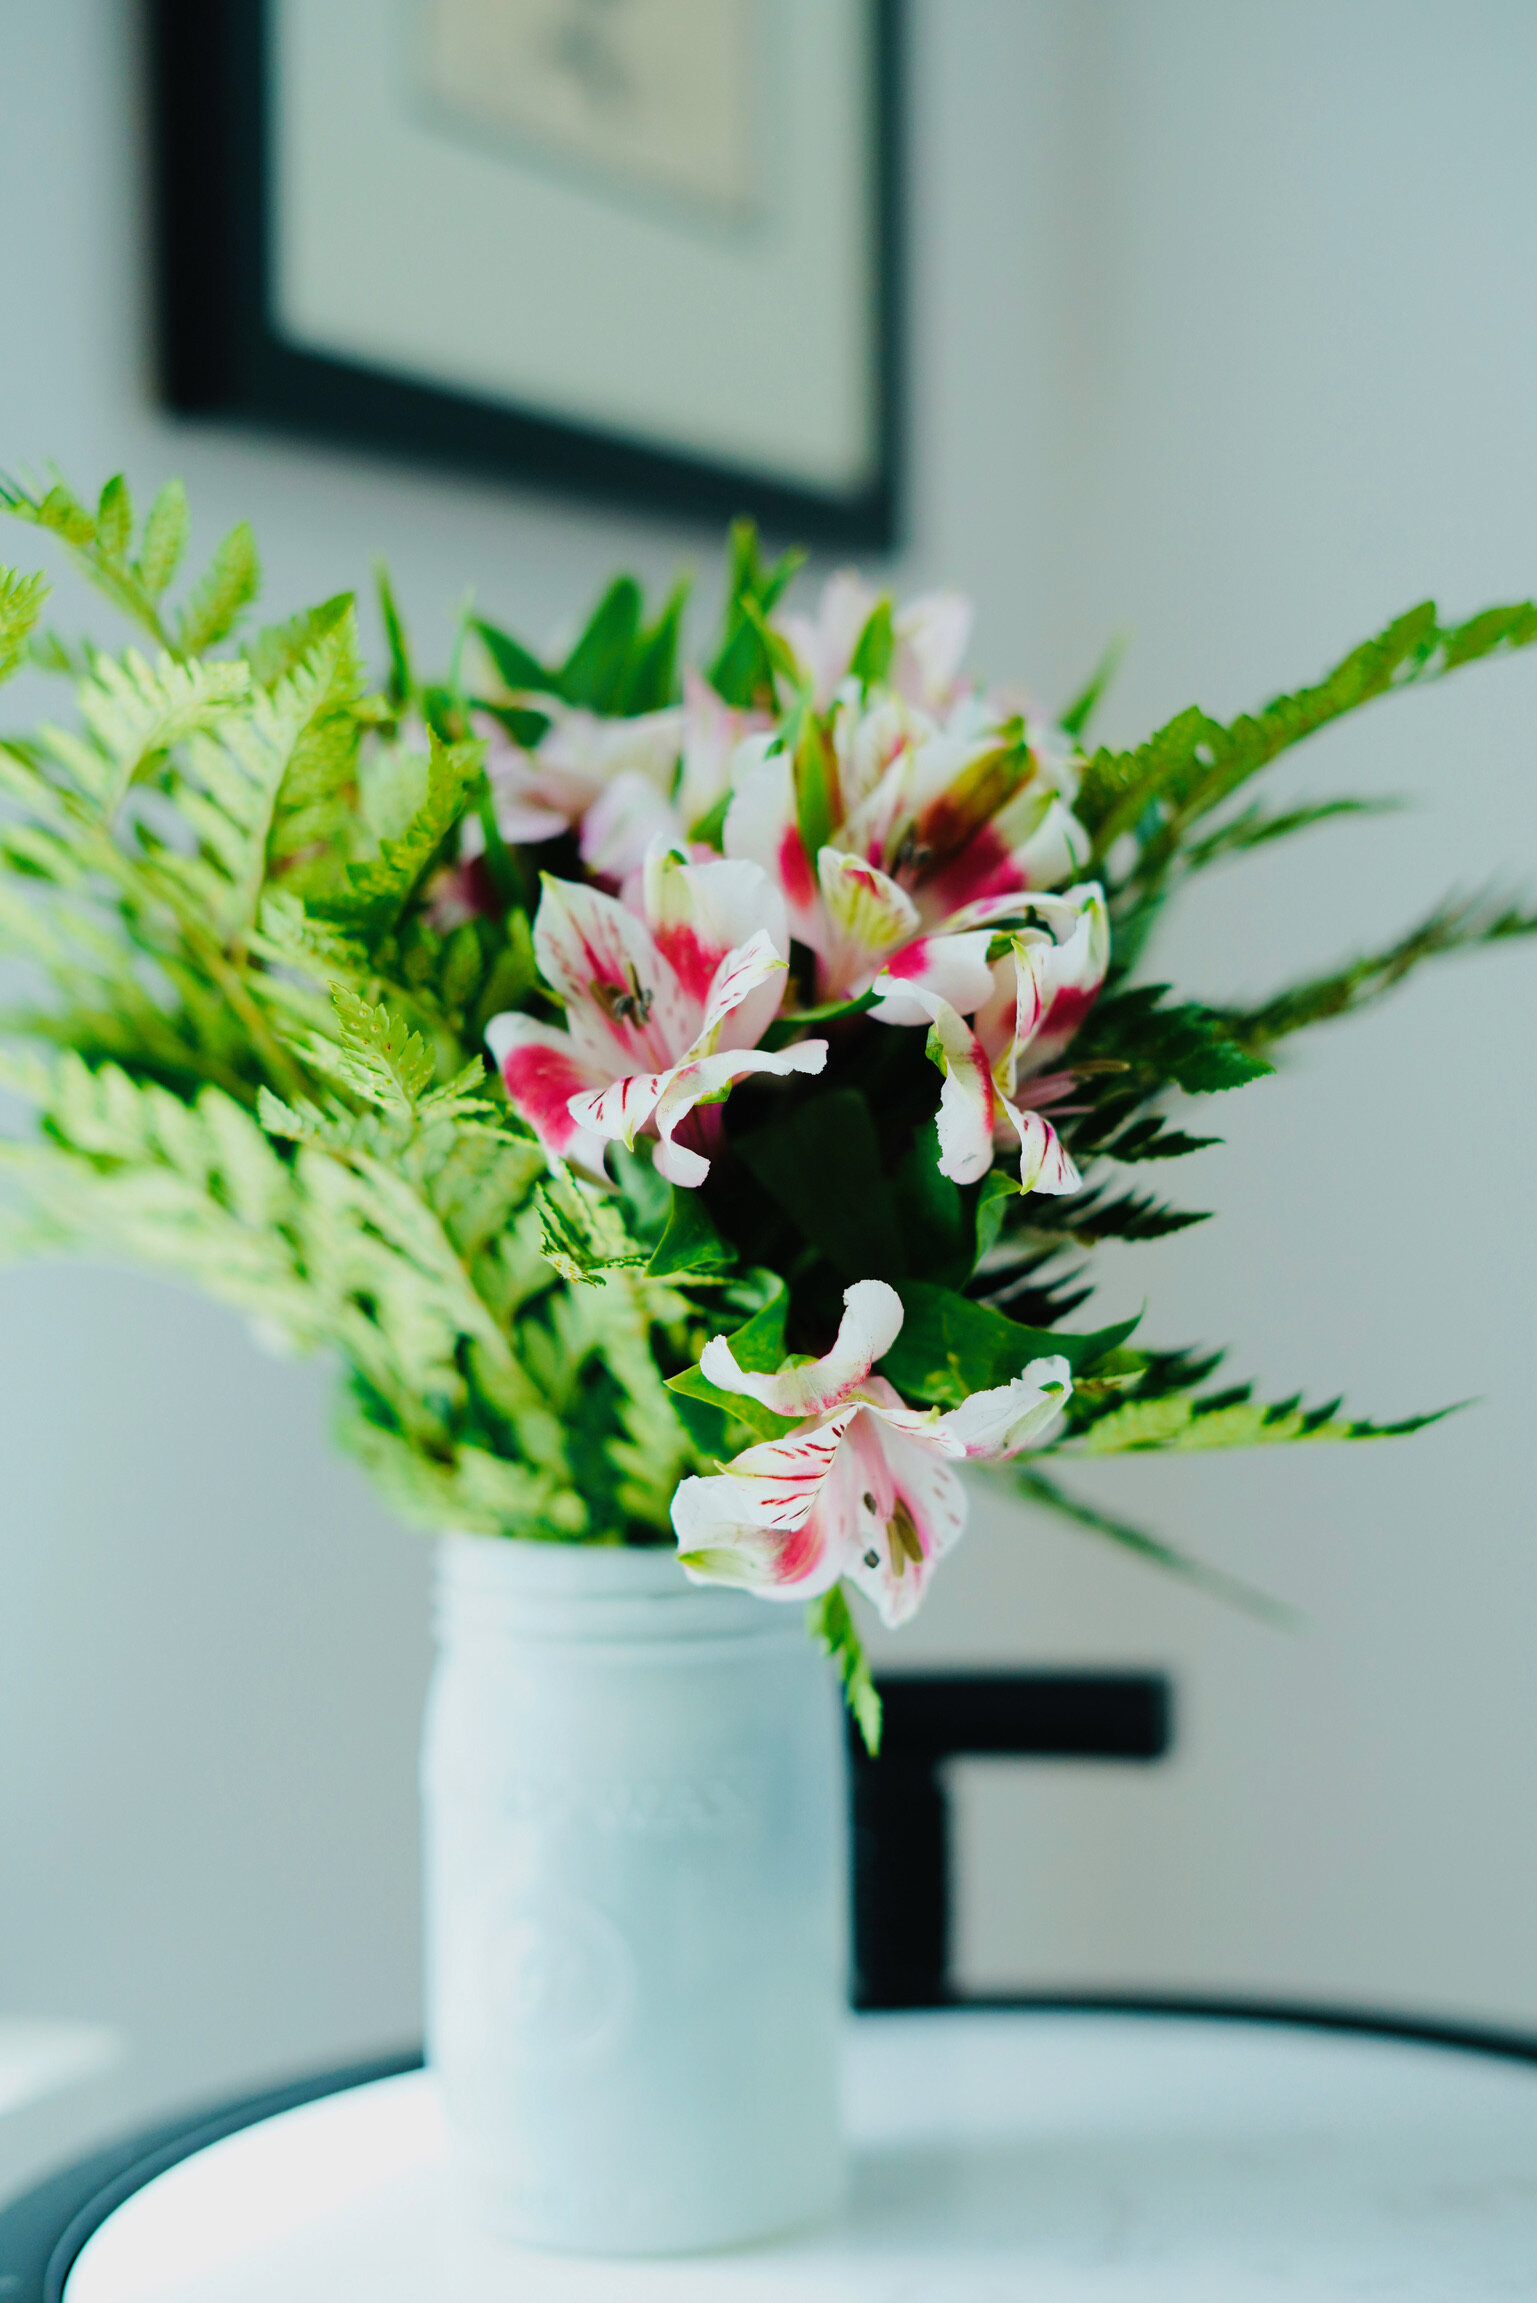
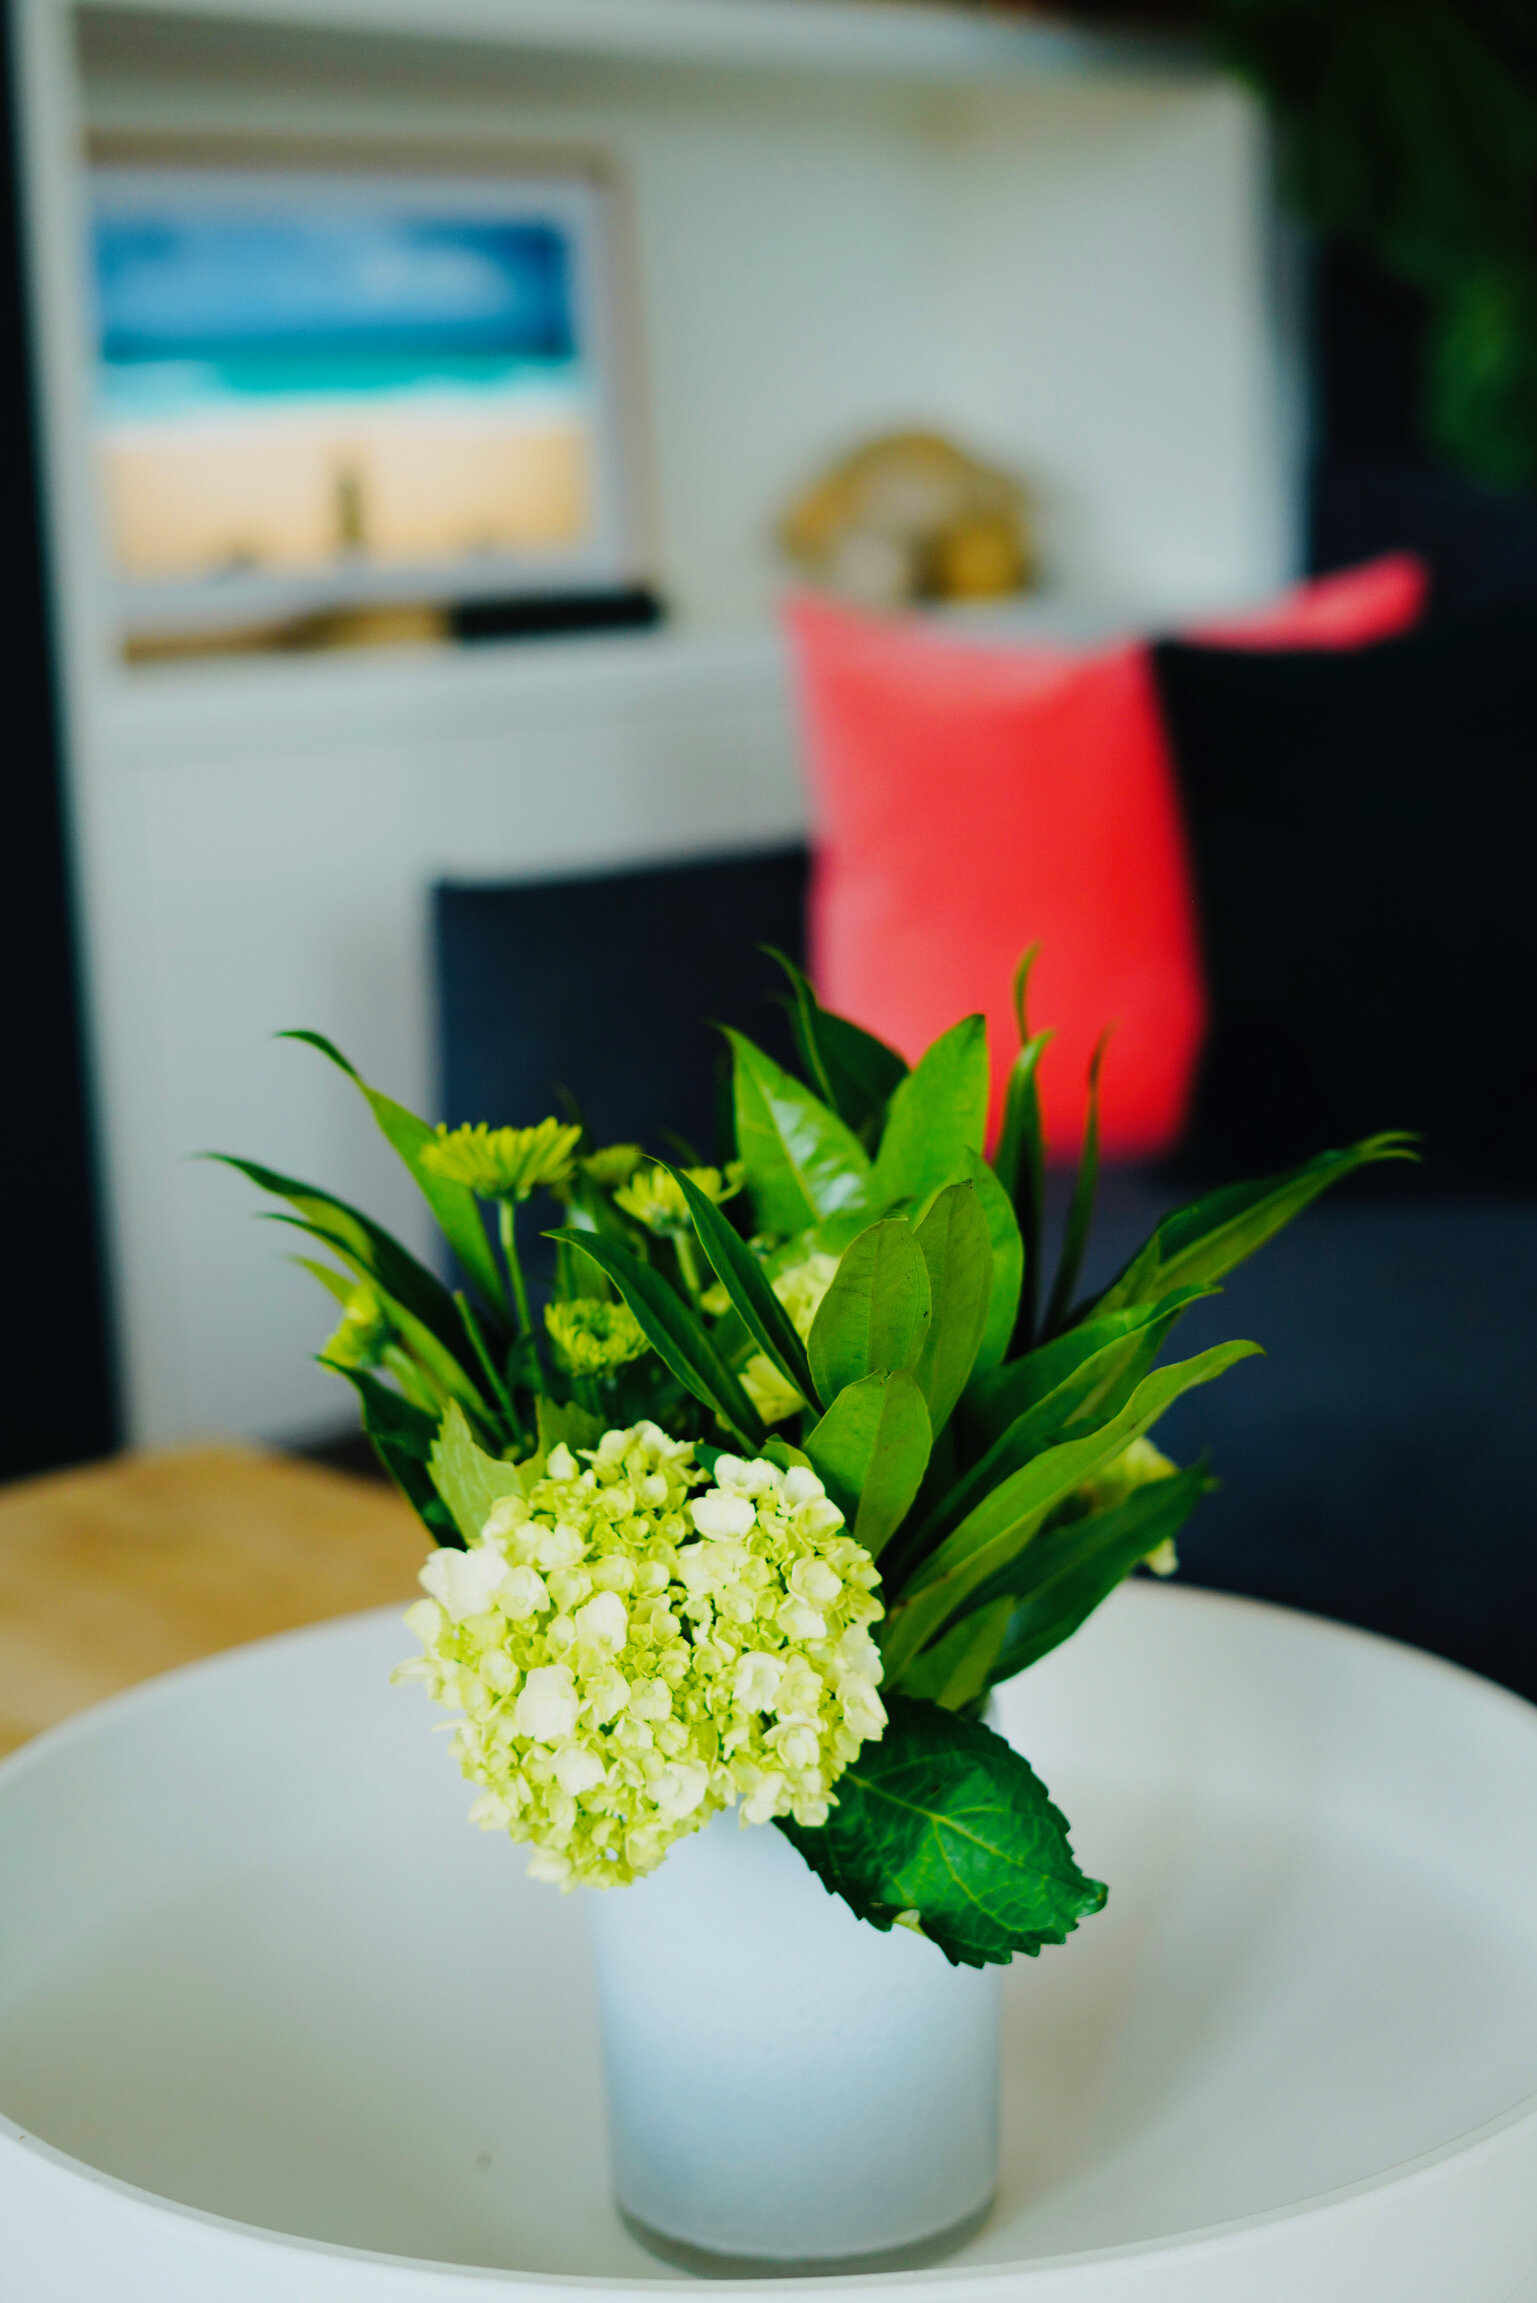
Tip: Don’t forget to change the water every few days and maybe snip off some of the ends to help them drink. Also make sure there are no leaves in the water as they tend to start to rot. Some suggest adding a drop of bleach or a copper coin to keep the flowers fresh longer.

A Warm Welcome Starts with the Front Door
This February I was excited to share some of my thoughts with Avenue Magazine on what makes a home welcoming and how a home can encourage conversation and connection. I had a lovely time with Käthe Lemon discussing front entrances and living spaces over a nice cup of tea (step one in achieving a cozy feeling). If you’d like some ideas on how to make your own home a little warmer and inviting take a look at the article here.


Gratitude in the business of Interior Design
A client of mine who received a complimmentary one our consultation (in a weak moment of mine), sends me a lovely card and a cheque.
I know I am not very consistent with blogging, but every now and then I have a story idea relating to my clients or interior design, but often life and work gets in the way of taking the time to write a post.
This week I received a card with a cheque from a client I had visited this spring for a free consult. A complimentary consultation is something I do not offer normally unless it is a simple meet and greet for a larger project such as a new build or a larger renovation. Every now and then I get a phone call from someone who would like a free consultation, and my answer is always no, I do not provide that service. The reason is: I typically meet with clients for a minimum of two hours, and during those hours I will share my insights and expertise gained over the last 10 years of running my business. And this in fact IS my business and how I earn my living, to provide my expertise in home renovations and design.
During the meeting I urge clients to write things down as I will give them a lot of information that will save them time and money down the line. With some clients this is the only meeting we will have, and they can move forward with information in hand, these are the do-it-your-selfer. Naturally and thankfully some meetings lead to larger projects and longer engagements.
Back to the card, here is part of what my client Carol wrote: Though you advised it was not your usual practice, you agreed to provide a complimentary consult which was much appreciated. We have also consulted with another designer who charged for her time so as you were so helpful, I feel its only fair to pay you for yours.
What a nice person I say. And of course during the meeting I provided a lot of valuable information... and so felt I had gone against my philosophy... and my belief that what designers provide is extremely valuable and should not be free, just like any other service you pay for.

the card
from Carol
Bring Spring In
April 2017 - Here's a column in Saturday's paper. Just a few ideas from yours truly on how to bring spring in - and make your home happy. I for one am so happy spring is here. Can't wait for the deck to be all set outdoors to enjoy the sunshine outside too.
Blog feature on Robert Sweep
Recently I was contacted by a local store in Calgary, Robert Sweep, by the lovely Ashleigh, to be featured on their blog and email newsletter.
We met over a nice lunch in Bridgeland, and I was so impressed with Ashleigh's positive attitude and energy. Thanks for a great interview and blog post!

Summer home
This summer I spent some lovely time with my sister Anna in Finland. The last 4 summers she has been working on fixing up this lovely house (I helped her with a few things when I visited), but all in all she has done a huge job, mostly on her own. She is a very handy person and also a great artist. You can see her work here www.annahackman.com. Enjoy my little story.
Feature article in Avenue Magazine
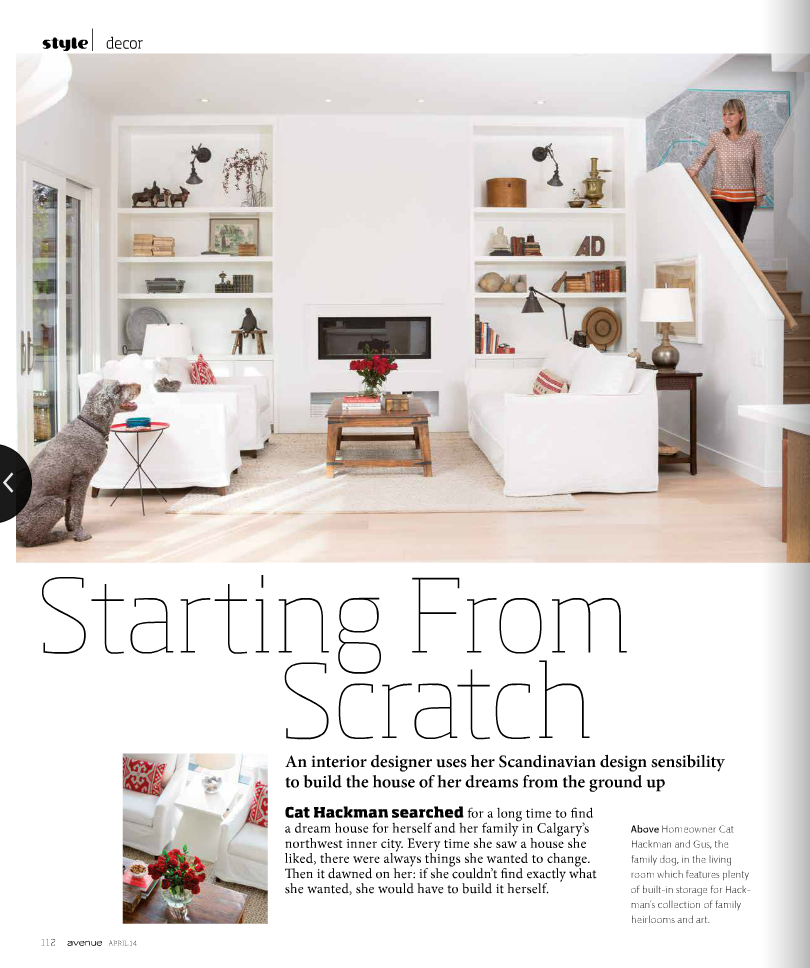
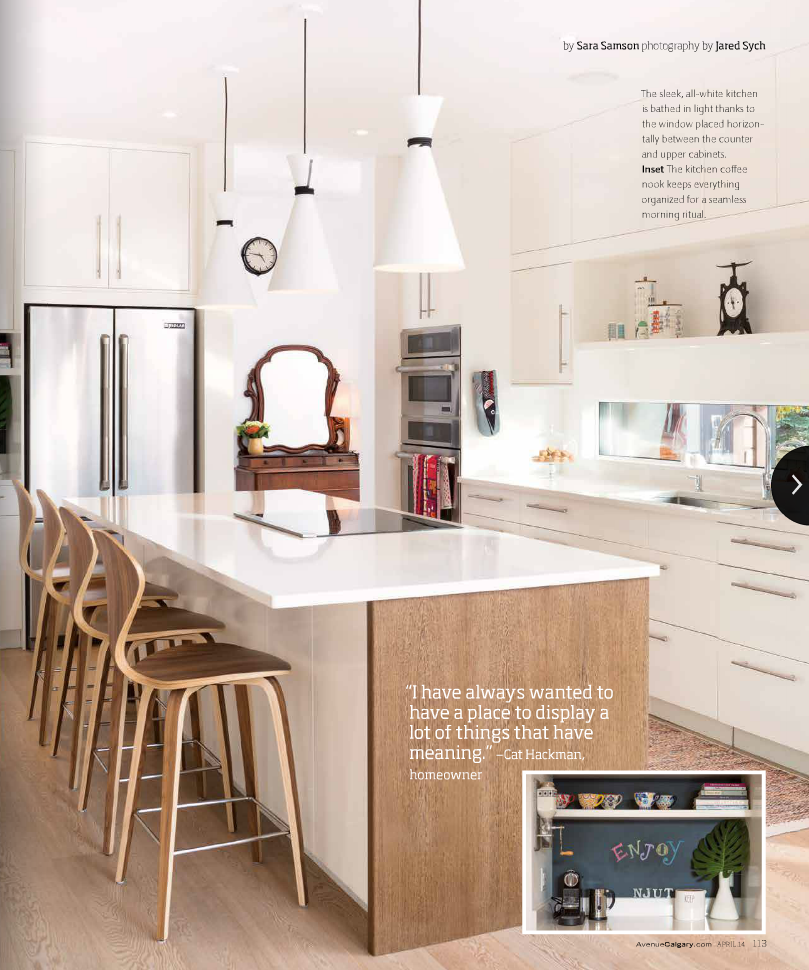
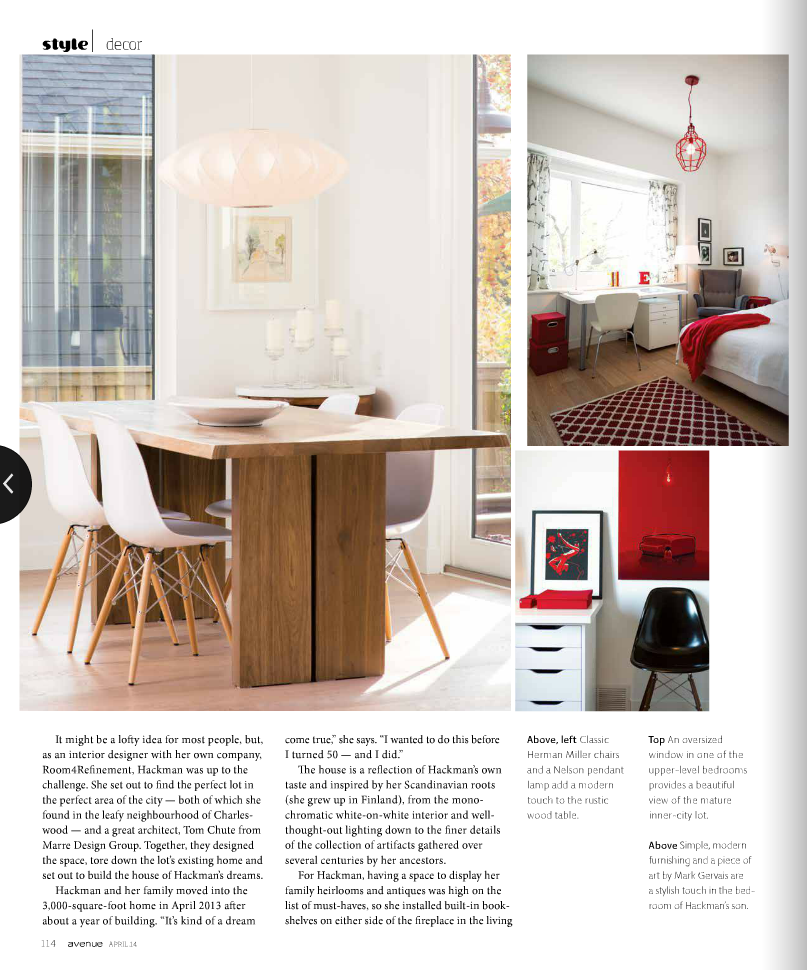
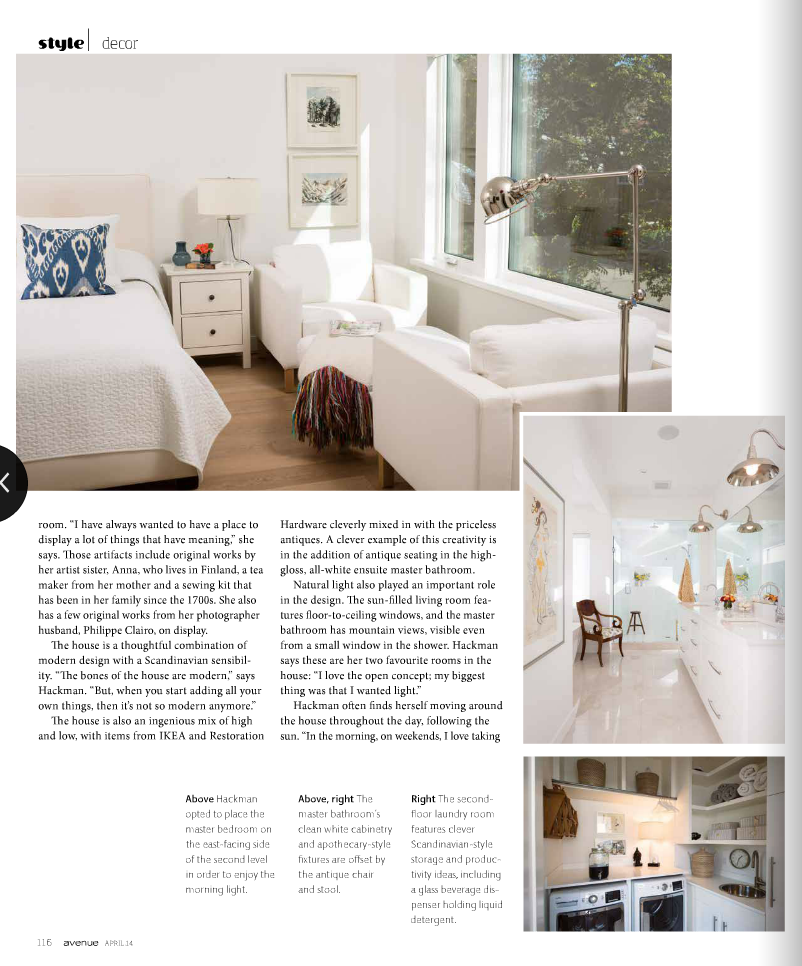
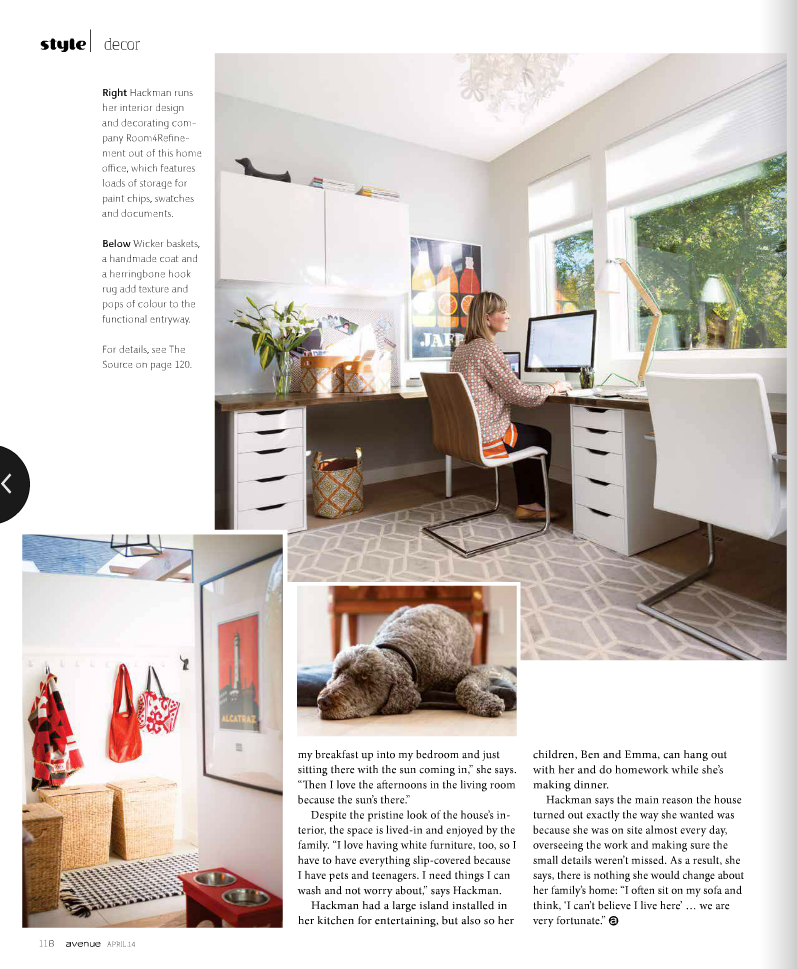
I am so delighted with the feature of our house in the April 2014 issues of Avenue Magazine. It feels surreal to have your own home depicted so nicely. It was a long day of photography, but the crew from Avenue was so fun to work with and the end result is great. Here are the pages, and if they are hard to read you can download the Avenue reader for your tablet and read it there.
Here is also a clip from a recent CTV morning show I was on in regards to this article.